Figure 11 Removing a battery module
Install the battery modules
1. Insert a new battery module into the enclosure.
2. Push the battery module into the enclosure until
you hear a click to indicate that it is fully seated.
3. Repeat the procedure to install the second battery
module.
Install the new bezel
Install the replacement bezel that came with the kit by
pushing it in place at the front of the enclosure.
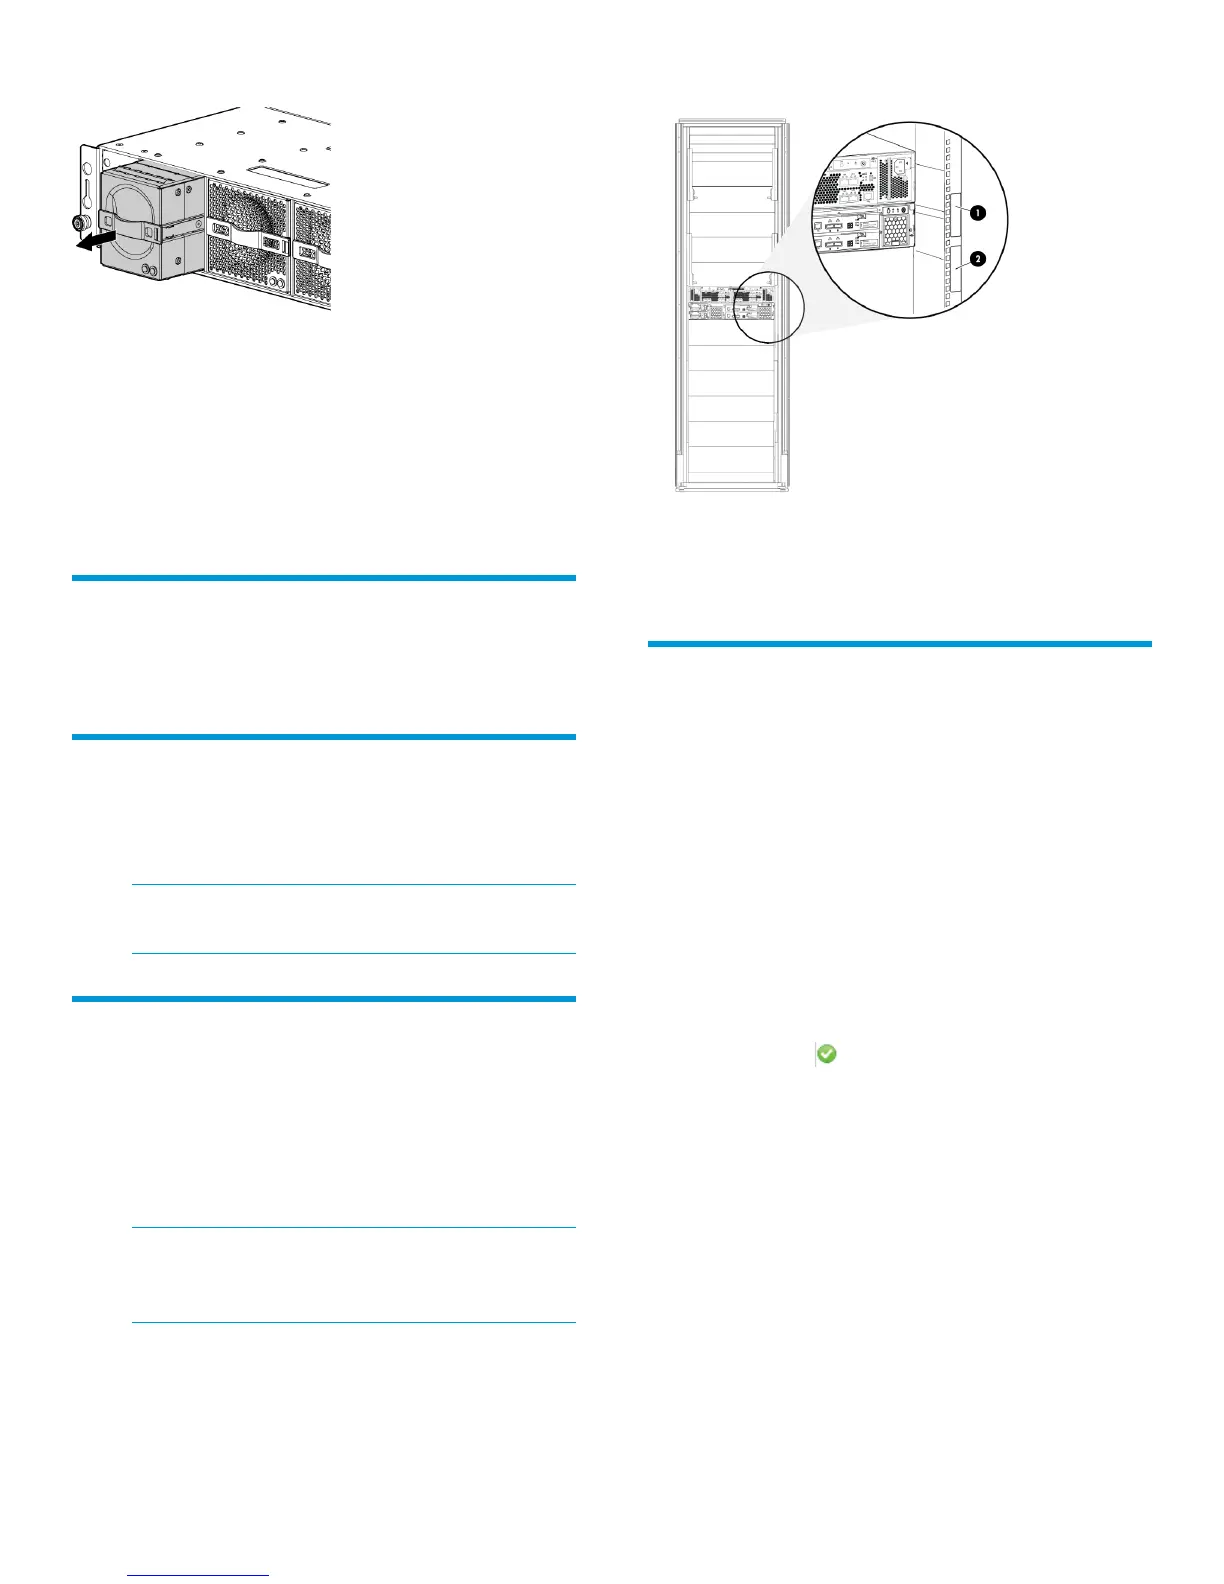
Attach the upgrade label to the rack
Attach the rack upgrade label below the bundle serial
number label on the right rear mounting rail of the
rack. See Figure 12 (page 5).
NOTE: Do not cover the original warranty
bundle serial number label.
Powering up the storage system
From the rear of the chassis:
• Power on the disk enclosure by pressing the
power switch for five seconds.
• Power on the controllers.
The controllers boot automatically.
NOTE: Wait approximately 10 minutes for
the system to become operational before you
verify the component status.
Figure 12 Placement of the rack upgrade label
1. Original warranty bundle serial number label
2. Rack upgrade label
Verifying operation
Do the following to verify the components are
operating properly:
1. At the rear of the chassis, verify that each
controller health LED is lit green. If an LED is not
green, verify that the controller is properly seated
in the enclosure.
2. Verify that the IP address of the previous
management module is retained by browsing to
https://ip_address:2373 and verify that
the HP P6000 Control Panel GUI is accessible.
3. From HP P6000 Command View:
• Navigate to the controller, and verify that the
status is (Good).
• Verify that the cache size has been updated.
• Verify the health status of the original virtual
disks and DR groups.
If you want to use a different IP address, you must
connect the management module to a laptop and set
the address manually.
Page 5