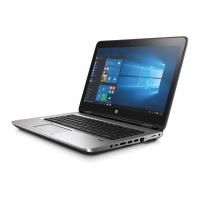
3. Position the computer upside down.
4. Lift the cable up to disengage it from the adhesive that secures it to the chassis (2).
5. Remove the Phillips M2.0×3.0 screw (3) that secures the board to the computer.
6. Remove the board and cable from the computer (4).
Reverse this procedure to install the power button board.
64 Chapter 6 Removal and replacement procedures for Authorized Service Provider parts

 Loading...


