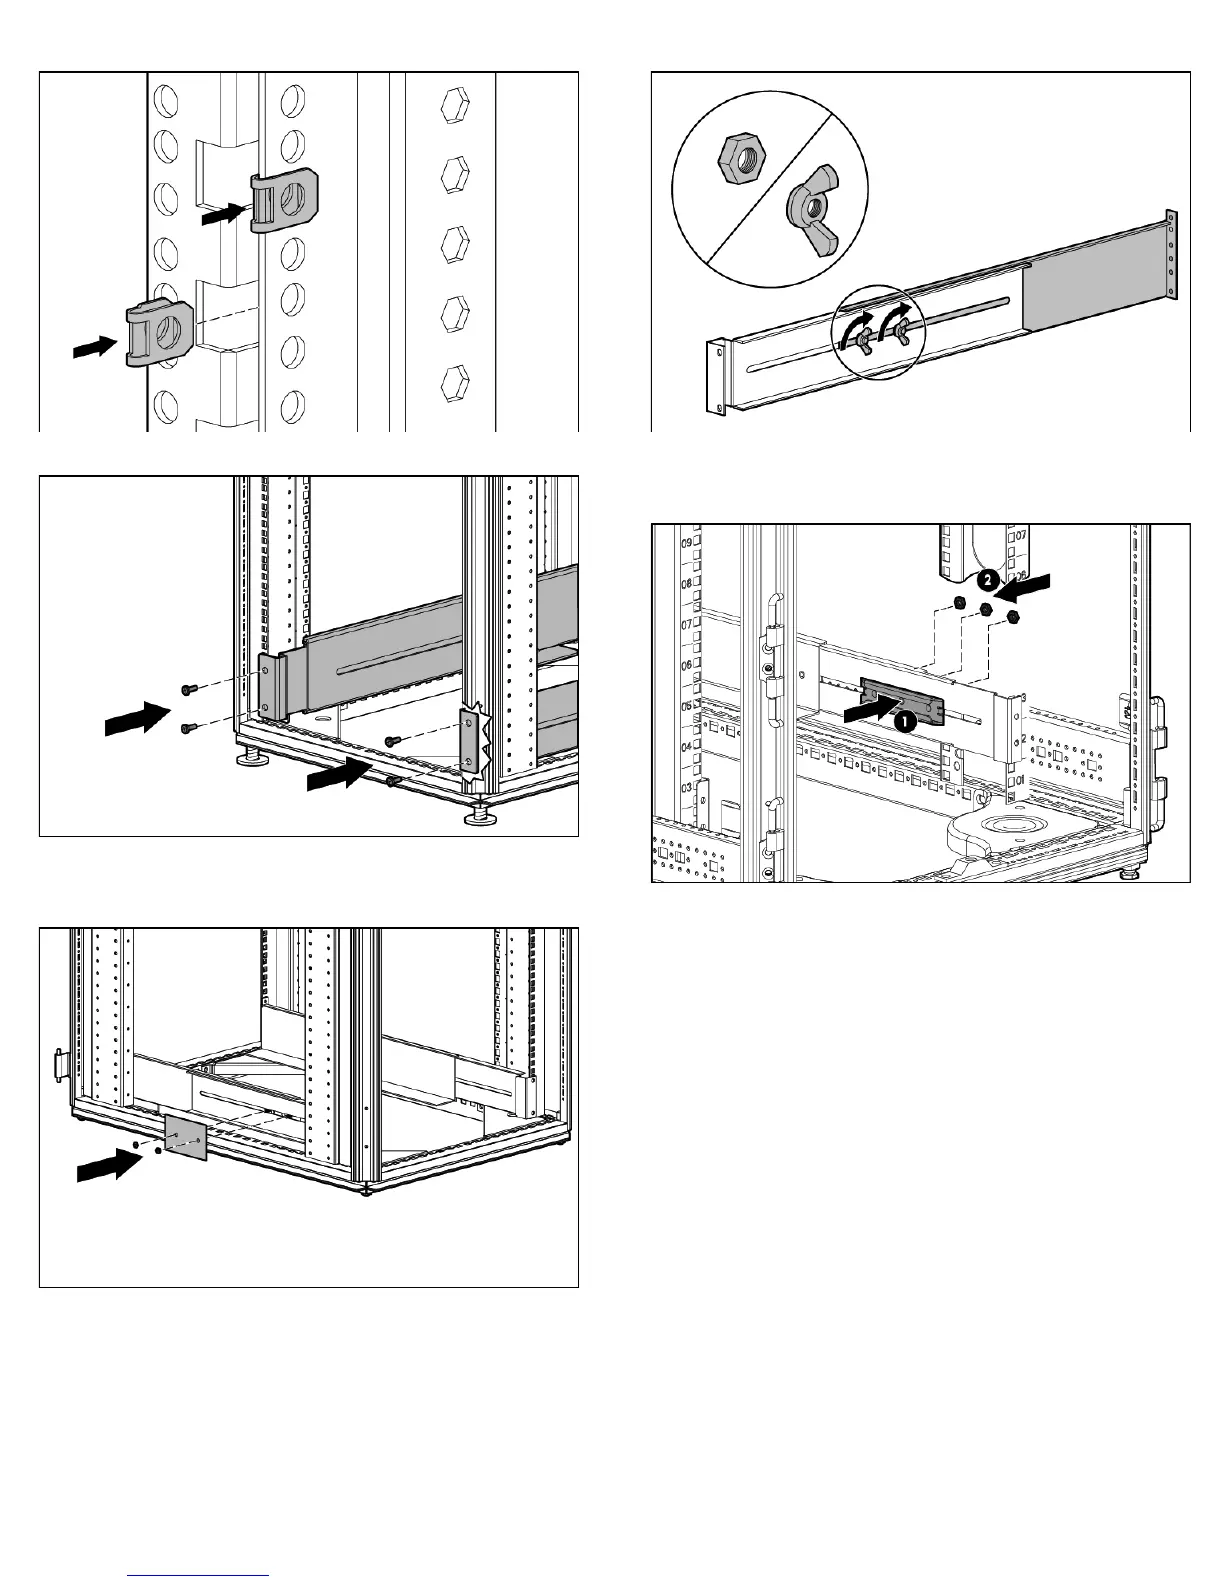
3. Install clip nuts into the rear of the rack.
4. Insert screws through the mounting rail into the clip nuts.
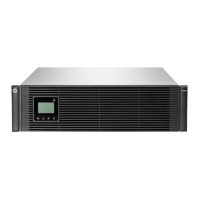
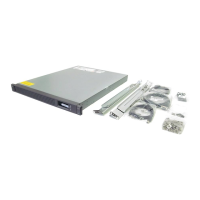
5. Install the rail reinforcement plates and tighten using hex nuts
with captive washers included in the kit, instead of the nuts
included with the rail.
6. Tighten the wing nuts or hex nuts.
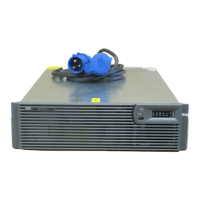
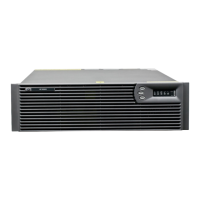
7. Install the rear mounting brackets using hex nuts. Wait until the
unit is installed and the brackets are adjusted before tightening
the nuts.
Powering down the UPS
1. Shut down all load devices.
2. Switch the load segment circuit breakers to the Off position.
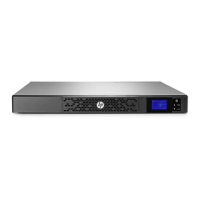
3. Press any button on the front panel LCD display to activate the
menu options.
4. Select TURN UPS ON/OFF, TURN UPS OFF, and then press the
right arrow button.
5. Confirm the selection. Press and hold the right arrow button for
three seconds, until the UPS stops beeping.
The output relays open, the UPS transfers to Standby mode, and
the Power On LED turns off.
6. Press ESC until the HP logo appears.
7. Disconnect the UPS from utility power.
8. Wait at least 60 seconds for the UPS internal circuitry to
discharge.