Solid-state drive
NOTE: The solid-state drive spare part kit includes replacement thermal material and thermal shielding
material.
Description Spare part number
1-TB, M.2 2280-SATA-3/DS, PCIe, NVMe, solid-state drive with TLC 941850-001
512-GB, M.2 2280-SATA-3/DS, PCIe, NVMe, solid-state drive with TLC 941853-001
360-GB, M.2 2280-SATA-3/DS, PCIe, NVMe, solid-state drive with TLC 941852-001
256-GB, M.2 2280-SATA-3/DS, PCIe, NVMe, solid-state drive with TLC 941851-001
Before removing the solid-state drive, follow these steps:
1. Shut down the computer. If you are unsure whether the computer is o or in Hibernation, turn
the computer on, and then shut it down through the operating system.
2. Disconnect all external devices connected to the computer.
3. Disconnect the power from the computer by rst unplugging the power cord from the AC outlet, and then
unplugging the AC adapter from the computer.
4. Remove the bottom cover (see Bottom cover on page 30).
5. Disconnect the battery cable from the system board (see Battery on page 32).
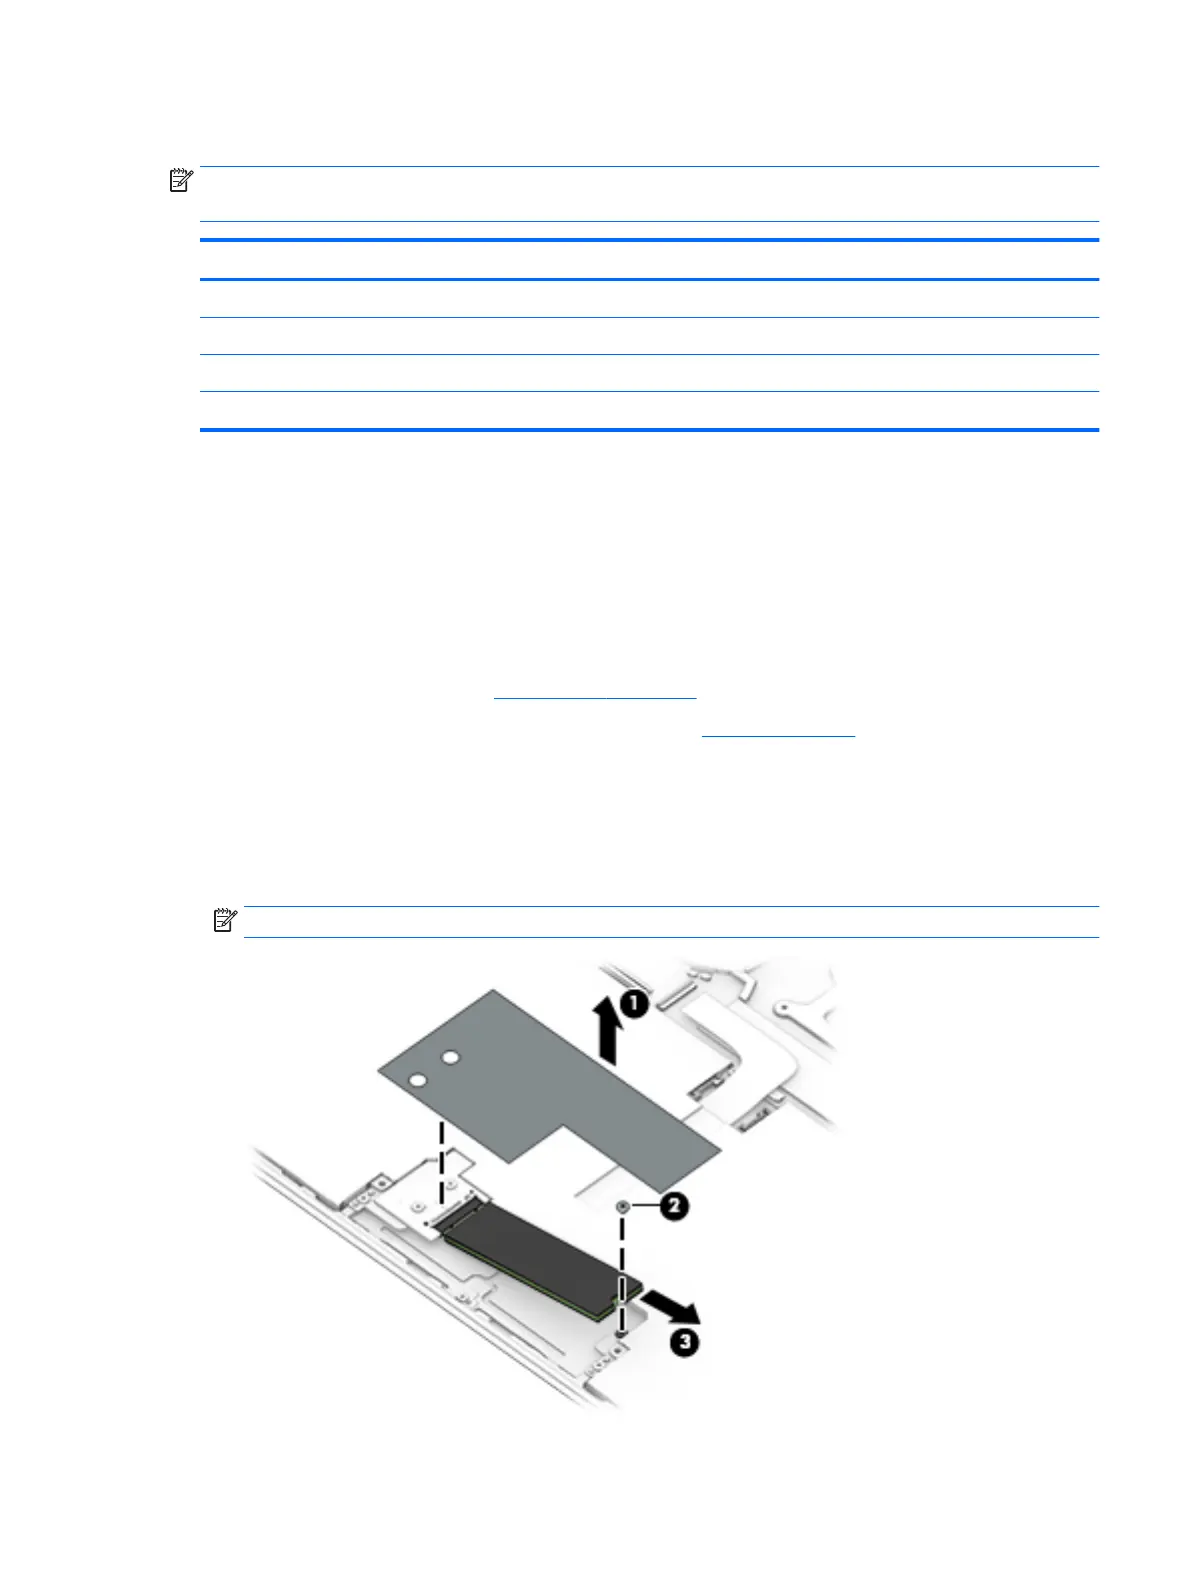
Remove the solid-state drive:
1. Remove the thermal shielding material (1) that secures the solid-state drive to the battery.
2. Remove the Phillips M2.0×1.8 screw (2) that secures the solid-state drive to the solid-state drive bracket.
3. Remove the solid-state drive (3) by pulling it away from the connector.
NOTE: Solid-state drives are designed with notches to prevent incorrect insertion.
Component replacement procedures 33