●
Recongure the workstation after installing a non–plug and play expansion board or other option. Refer
to the Hardware installation problems section of this document for instructions.
●
Be sure that all required device drivers have been installed. For example, if you have connected a printer,
you must install a printer driver.
●
If you are working on a network, plug another workstation with a dierent cable into the network
connection. There might be a problem with the network plug or cable.
●
If you recently added new hardware, remove the hardware and verify if the workstation functions
properly.
●
If you recently installed new software, uninstall the software and verify if the workstation functions
properly.
●
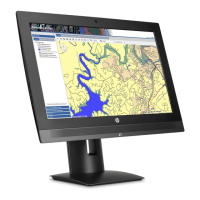
If the monitor connected to a tower, desktop or all-in-one computer is blank:
—
Plug the monitor into a dierent video port on the computer if one is available. Alternatively,
replace the monitor with a monitor that you know is working properly.
—
Verify that the computer and monitor are plugged into a working electrical outlet.
—
Verify that the power light is on.
—
Turn up the brightness and contrast controls of the monitor if the monitor is dim.
●
If the internal display on an all-in-one computer is blank, open the computer and make sure the graphics
card is properly installed.
●
Upgrade the BIOS. A new release of the BIOS might have been released that supports new features or
xes your problem.
Customer Self-Repair program
Under the Customer Self-Repair program, you can order a replacement part and install the part without onsite
HP technical assistance. Customer self-repair may be required for some components. See
http://www.hp.com/go/selfrepair for information on the program.
NOTE: Some components are not eligible for customer self-repair and must be returned to HP for service.
Call HP Support for further instructions before attempting to remove or repair these components.
HP troubleshooting resources and tools 51

 Loading...