JUPITER
IT - 30
6. For standard clamp transducers, press key MODE/MXMNPK to select “AC”, “DC” or
“AC+DC” measurement. Anyway, the instrument automatically recognizes AC or DC
quantities.
7. Insert the red cable into input terminal V L and the black cable into input terminal
COM/E/N. For standard transducers (see §) with Hypertac connector, use optional
adapter NOCANBA. For information on the use of clap transducers, please refer to the
relevant user manual.
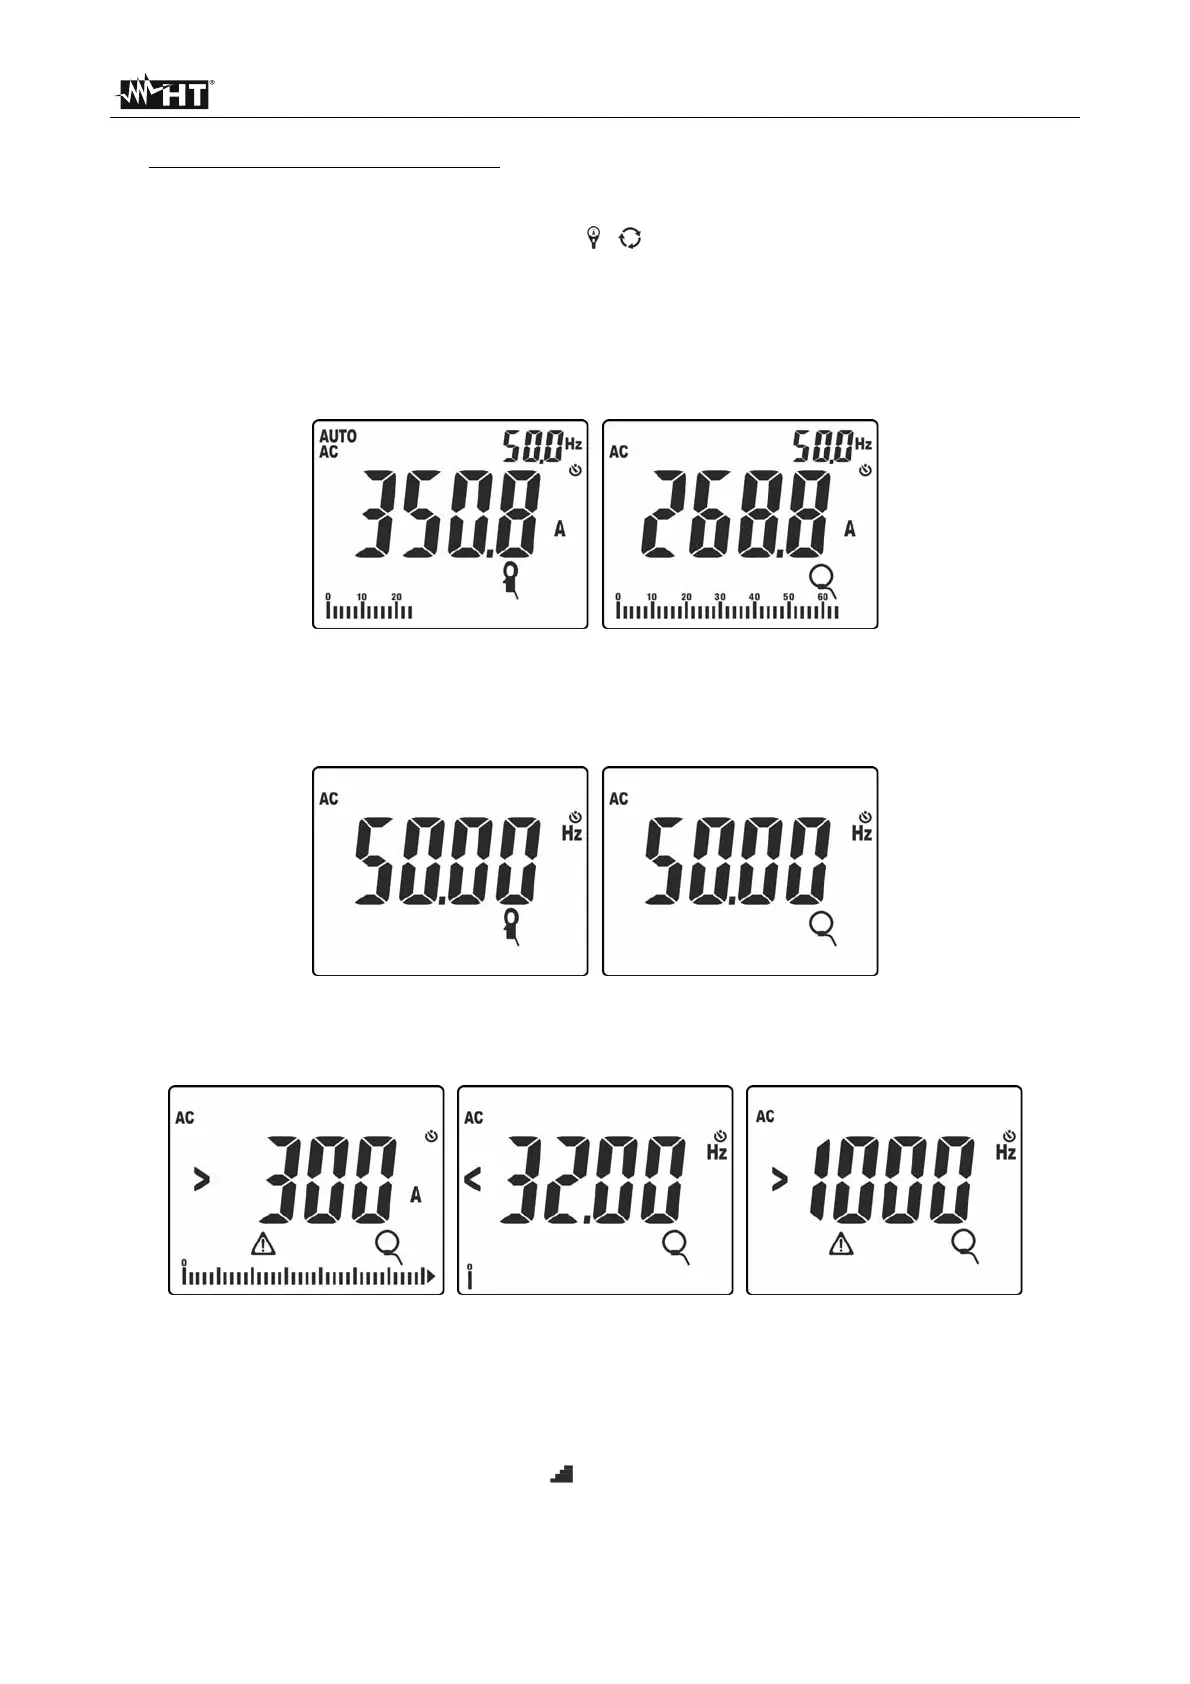
8. Insert the cable into the center of jaws (see Fig. 38). The value of current is shown in
Fig. 39
Fig. 39: Result of AC current measurement with standard and flexible clamp
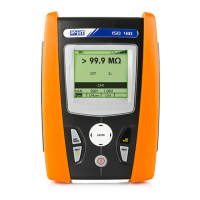
9. Press key MODE/MXMNPK to display the value of frequency of AC current with a high
resolution (see Fig. 40)
Fig. 40: Result of frequency measurement with standard and flexible clamp
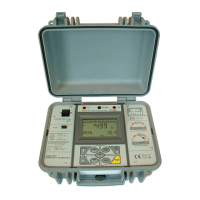
10. The following screens may be shown on the display:
Fig. 41: Anomalous situations on current measurement with clamp transducers
11. Message
“>300A” indicates that the value of current measured is higher than the set
full scale (300A in case of Fig. 41). If the display shows the messages
“<32.00Hz” or
“>1000Hz”, the measured value of current frequency is out of the measuring range
32Hz ÷ 1000Hz.
12. To use HOLD, MAX/MIN/PK, H/H%/H functions, see § 4.2