Installation Process
Before You Start
Precautions Page 1
Start
Installing and Laying
Out Cables
Pages
11 to 36
Installing and Laying Out
Fibers
Pages
37 to 40
Checking the Installation
Pages
41 to 42
Checking Fiber
Attenuation
Page 42
End
Installing and Laying Out
Power Cables: DC Power
Distribution Box
Pages
12 to 13
Installing and Laying Out
Power Cables and
PGND Cables
Pages
18 to 19
Power Cable Connections
Between the Cabinet and
Subrack
Pages
14 to 17
Cabinet Power Ports and
Subrack Power Ports
Pages
21 to 23
Installing Ground Cables
for the Power Distribution
Box and Subracks
Page 20
Installing and Laying Out
External Alarm Cables
Pages
26 to 27
Installing and Laying Out
NMS Cables
Pages
24 to 25
Installing and Laying Out
Cabinet Indicator Cables
Pages
28 to 29
Installing CRPC
Plug-in Frames
Page 9
Installing Fiber
Management Trays
Page 10
Precautions About
Board Operations
Page 2
Installation Tools Page 3
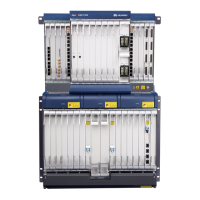
Introduction to the
OSN 9560 Equipment
Page 4
Installing Components
Pages
5 to 10
Installing Subracks
Pages 5 to 8
Cable Holes on the Top
and Bottom of the
N63E Cabinet
Page 11
Attaching Engineering Labels
Pages
43 to 44
Installing and Laying Out
CRPC Cables
Page 32
Installing and Laying Out
Clock Cables
Pages
30 to 31
Installing and Laying Out
E1 Cables
Pages
34 to 35
Installing and Laying Out
Cables in the Subrack
Interfacing Area
Page 33
Installing and Laying Out
F1 Serial Port Cables
Page 36
 Loading...