507
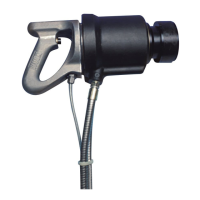
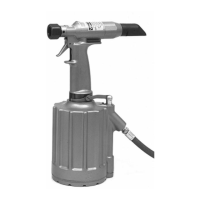
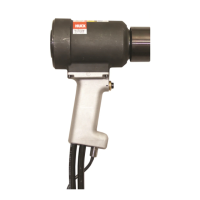
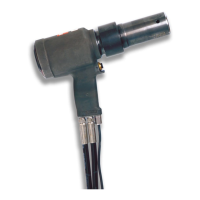
HYDRAULIC INSTALLATION TOOL
(HK480)
For safe operation. Please read completely
WARNINGS:
To avoid severe personal injury: Wear
approved eye and ear protection. Be sure
of adequate clearance for Operator’s
hands before proceeding with fastener
installation.
Do not pull on a pin without placing fas-
tener/collar in a workpiece, and also, collar
chamfer MUST be out toward tool. These
conditions cause pin to eject with great
velocity and force when the pintail breaks
off or teeth/grooves strip. This may cause
severe personal injury.
Operators should receive training from
qualified personnel.
Do not bend tool to free if stuck.
Only use tool to install fasteners. NEVER
use as a jack/spreader or hammer.
CAUTIONS: Remove excess gap from
between the sheets. This permits enough
pintail to emerge from collar for ALL jaw
teeth to engage with pintail. If ALL teeth do
not engage properly, jaws will be damaged.
TO INSTALL A HUCKBOLT FASTENER:
1. Check work and remove excessive gap. (Gap is the
space between sheets. Gap is excessive if not
enough pintail sticks through the collar for the nose
assembly jaws to grab onto).
2. Put HUCKBOLT® pin in hole.
3. Slide HUCKBOLT® collar over pin. (The beveled
end of the collar must be towards the nose assem-
bly and tool.)
4. Push nose assembly onto the pin until the nose
assembly anvil stops against the collar. Tool and
nose assembly must be held at right angles (90
degrees) to the work.
5. Depress tool trigger to start installation cycle.
6. When forward motion of nose assembly anvil stops
and pintail breaks off, release trigger. Tool will go
into its return stroke, push off the installed fastener
and eject the pintail.
7. The tool and nose assembly is ready for the next
installation cycle.