RIGGING
There are almost as many ways to rig for individuals as there are individuals. For that reason,
we are showing you how to adjust your Hudson rather than giving you specific rigging numbers.
We have also put these adjustments in the order that we think they should be done, to make
your life easier. For example, it is harder, though not impossible, to rig the feet with the rigger
mounted. It is also important that when you are taking measurements that you take them from
consistent points from seat to seat.
Feet
The feet are probably the most overlooked when it comes to rigging, but rigging them properly
can have a large impact on your comfort, and your ability to apply all of your power. There are
three adjustments that can be made to the feet:
Foot angle
The foot angle, or rake, is the angle of the shoes from the keel. This angle can be adjusted by
loosening the bolts on the stern side of the toe bar with a 7/16” wrench, and sliding the hairpin
up for a steeper angle, or down for a shallower angle.
Tip: If the hairpin is not sliding freely, try loosening off the bolts on the stern side of the shoe
plate.
Most rowers are very comfortable, and very effective in the range of 39 to 42 degrees from
horizontal. Some pitch meters are equipped to measure this angle, or you can use an angle
locator available at most home improvement stores.
• Using the wing nuts, secure
the toe bar in matching
notches of the channel on
both sides.
• Measure the angle off the heel
plate.
• Loosen the two ¼” bolts on
the stern side of the toe bar
with a 7/16” wrench.
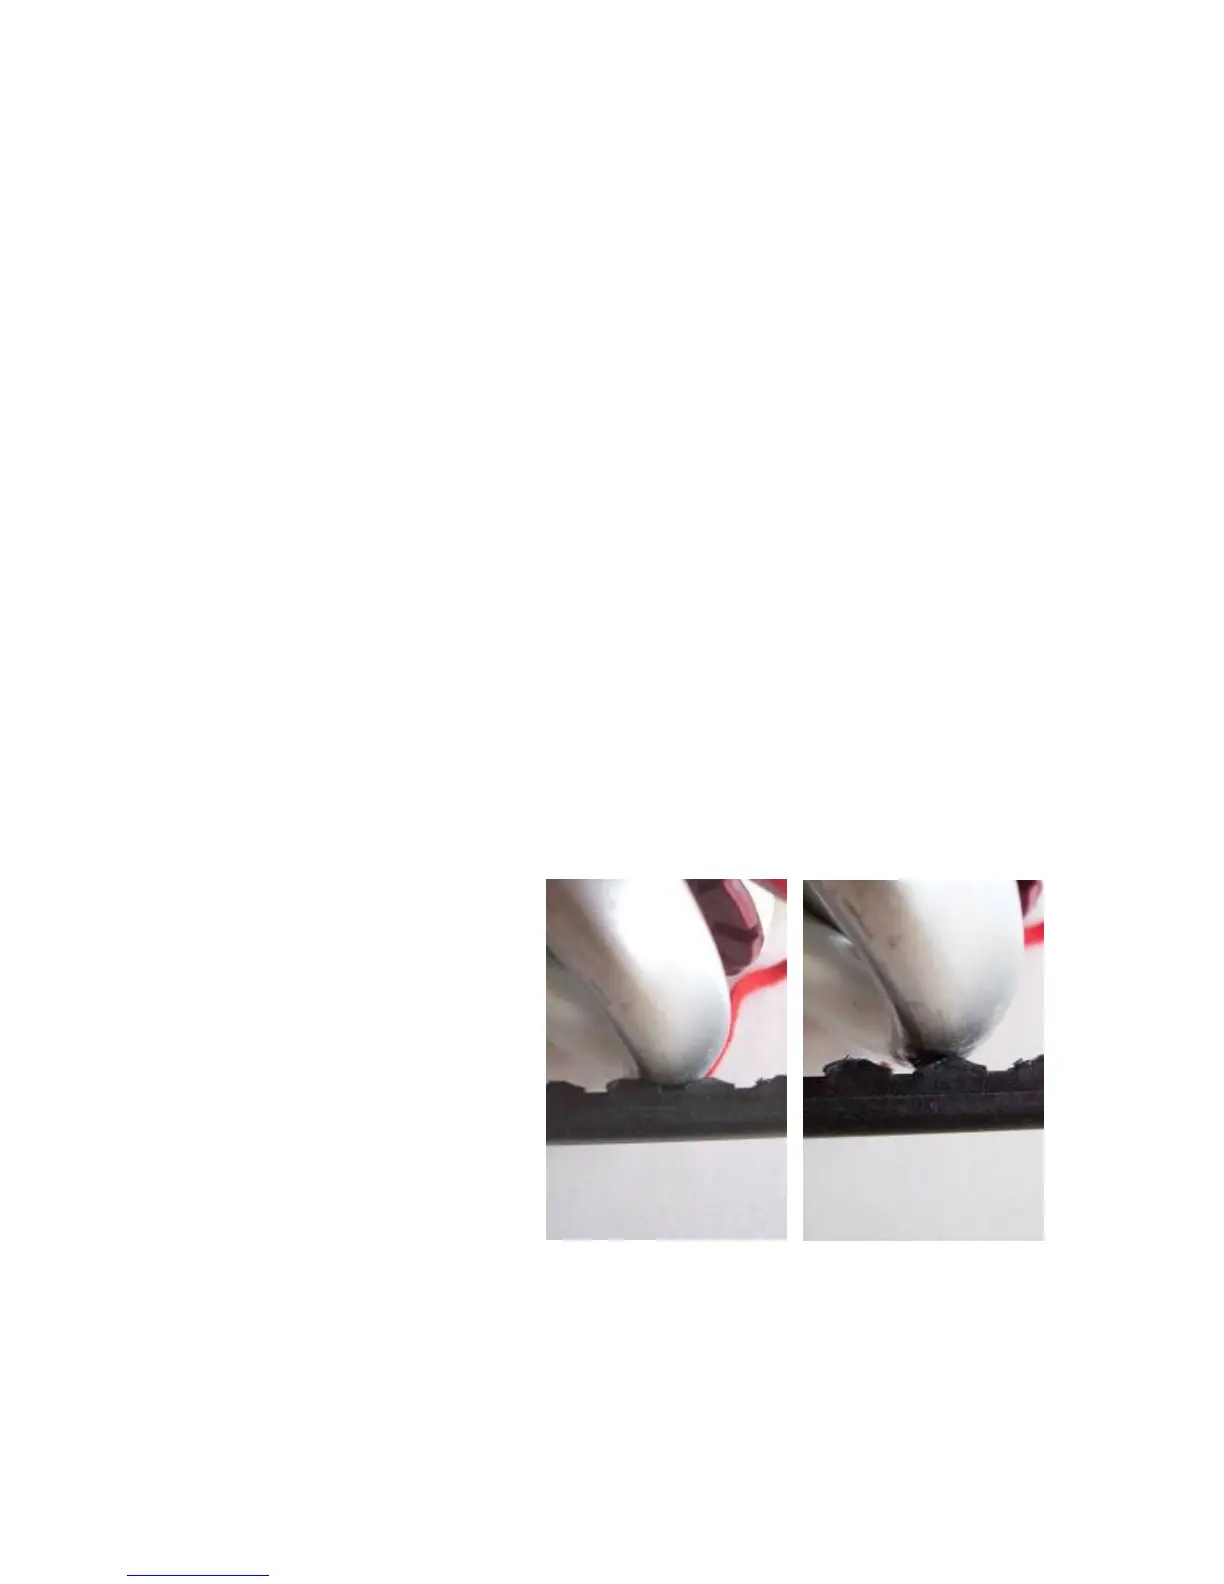
• Slide the hairpin up (through
the toe bar) to increase the
angle, or down to decrease
the angle. It is important that
the hairpin is properly seated
in the bottom of a hollowed
out notch in the center
channel (see photo).
• Tighten the centre channel wing nut.
• Measure again, and repeat steps if necessary.