7
STEP 6
Turn table over
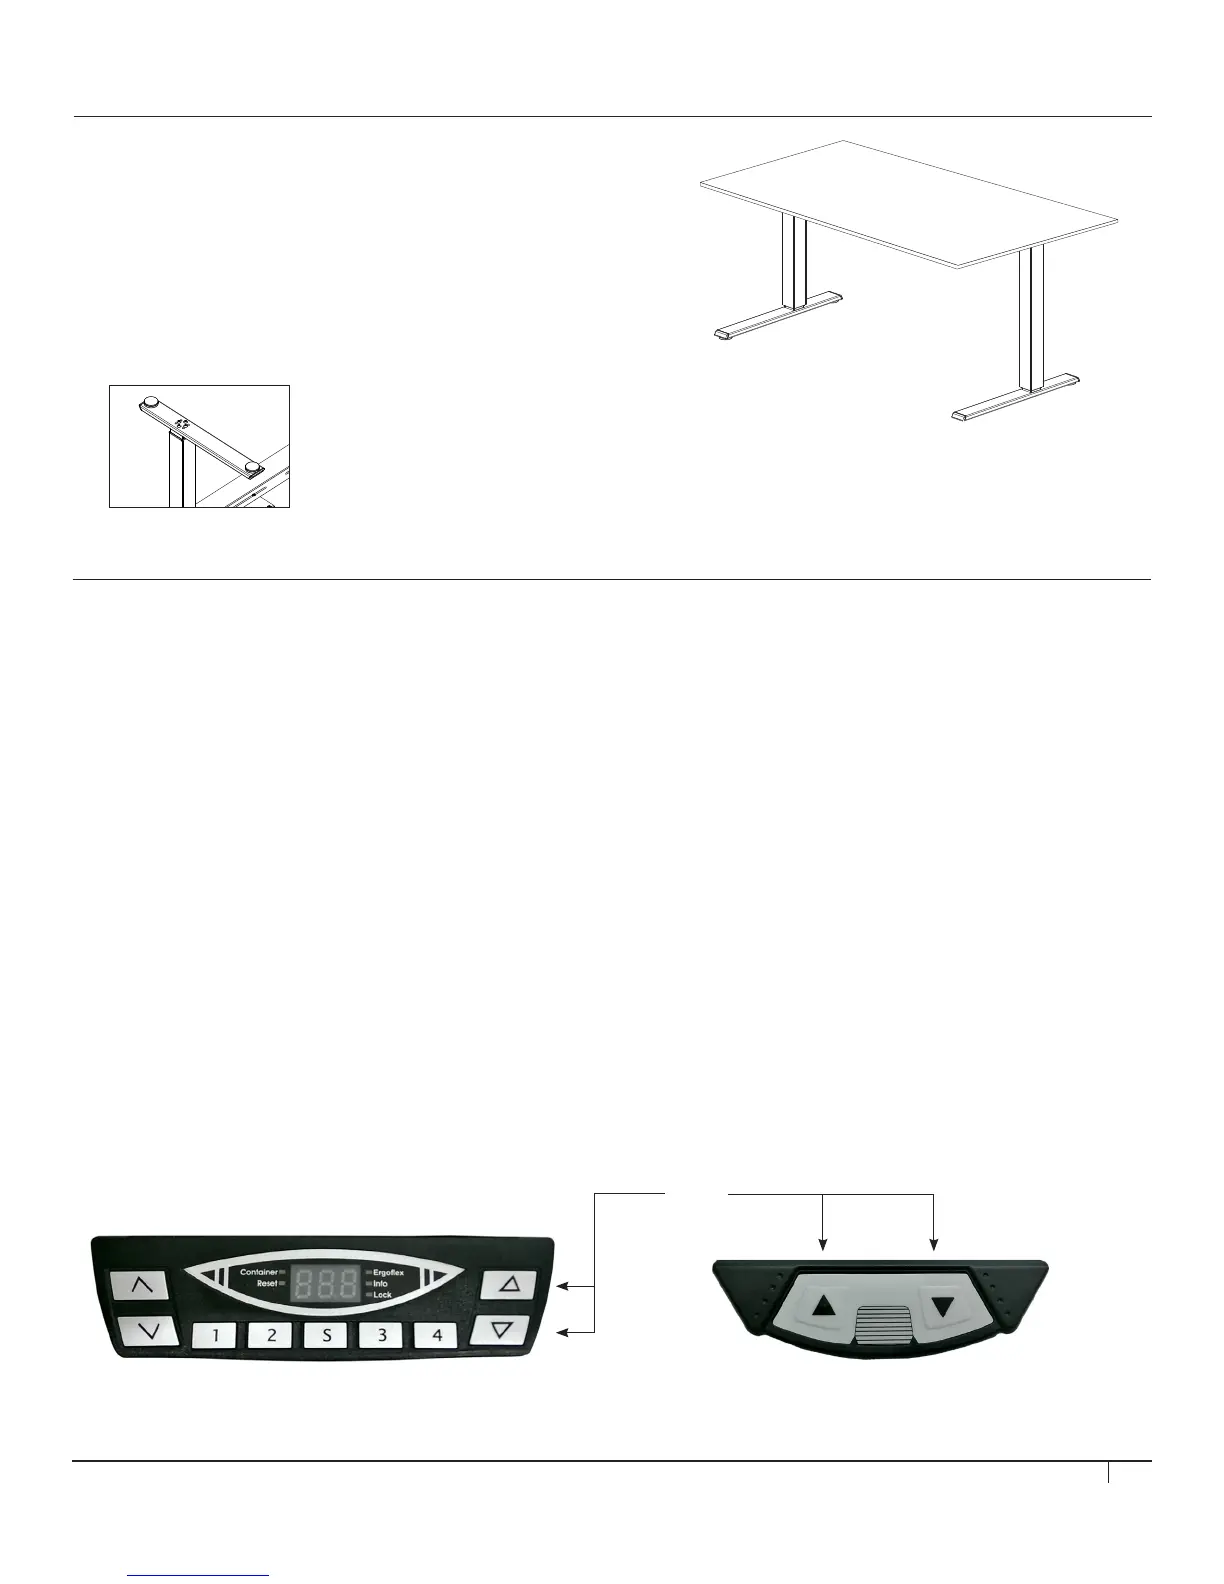
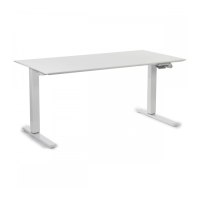
• With assistance, flip table over so it rests on its FEET. Put table
in its intended location and adjust LEVELING PADS, located
under the feet (fig. E) so that table is stable and level.
• Ensure the frames are aligned and the legs are parallel to
each other before operation. Failure to do so could cause the
collision sensor to falsely trigger.
STEP 7
First-time Operation
• Attach plug end of POWER CABLE to standard 120V/60Hz wall socket. Ensure there is enough play in the cable to allow the
table to raise and lower.
• Once power is connected, the SMART CONTROLLER should click two times to signify the table is ready for normal operation.
• After you hear the two clicks, please perform a basic reset to synchronize the legs before first-time use.
Reset system
• Ensure all components are plugged into the SMART CONTROLLER.
• Ensure the table is upright and that both feet are on firm/even ground.
• Next, plug main power cable into an electrical power source.
• The SMART CONTROLLER will indicate that it is ready for the next step with two audible clicks. If you do not hear two clicks,
immediately refer to the troubleshooting section on page 11.
• Press and hold both the UP and DOWN BUTTONS (fig. F). The table will slowly move to its reset position (located midway
between its maximum and minimum height) and stop.
• Once the table stops moving, the buttons can be released and the table can be operated normally.
Digital Touchpad Analog Touchpad
fig. F
fig. E