4
43548-01 • 04/30/09 • Hunter Fan Company
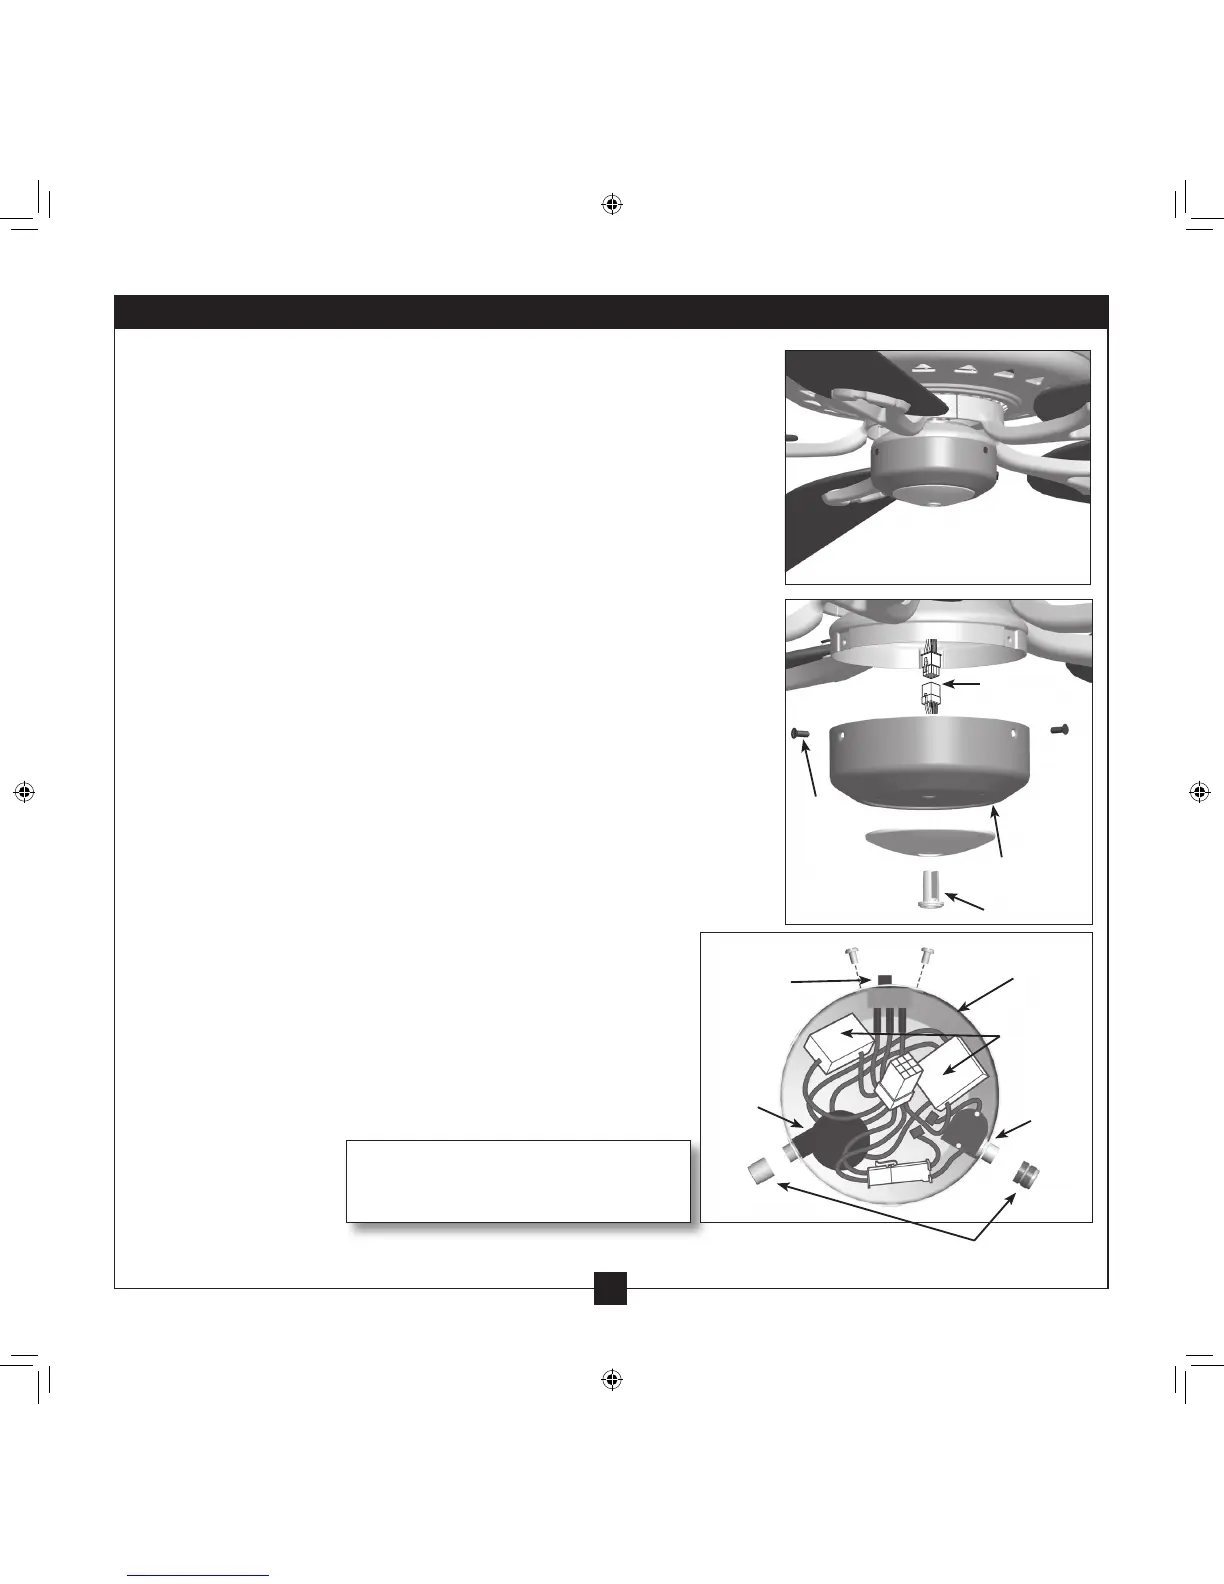
Before installing the light xture, remove the wiring harness and its components
from the fan’s lower switch housing. en install the wiring harness into the light
xture.
1. Unscrew the three screws from the upper switch housing. Disconnect the 9-pin
plug connectors. Remove the lower switch housing.
2. Push the plug button from inside the lower switch housing to remove the
plug button and switch housing cap. Unscrew the two attachment screws on
the bottom of the switch housing.
NOTE: Save the plug button and switch housing cap should you choose to
remove the light xture in the future.
3. Locate the reversing switch and carefully remove the two screws holding the
reversing switch to the lower switch housing. en, remove the reversing
switch from the housing.
4. Remove the patented breakaway connector from the end of the fan pull
chain. Carefully loosen the bellmouth nut from the pull chain and remove
the pull chain switch from the light xture housing.
5. Locate and carefully remove the two capacitors from the lower switch
housing.
You have now disconnected the wiring harnness and its components from the
lower switch housing.
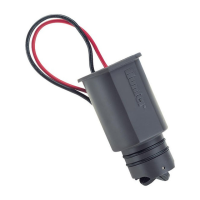
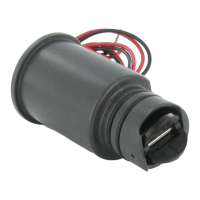
Removable Switch Housing
9-Pin Plug
Connector
Lower Switch
Housing
Plug Button
Screw
Steps 1–2
WARNING: Improper installation could
cause the light xture to fall.
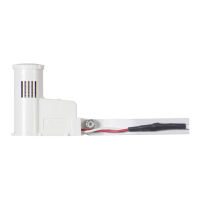
Fan
Speed
Switch
Steps 3–4
Reversing
Switch
Light
Switch
Light
Assembly
Housing
Capacitors
Bellmouth Nuts
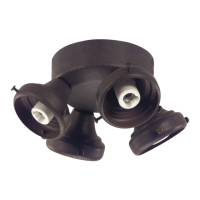
Installing the Light Kit on Fans With Removable Switch Housings