5
43548-01 • 04/30/09 • Hunter Fan Company
Installing the Light Kit
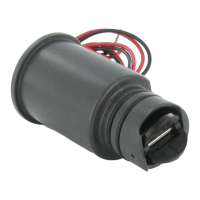
Wire
Connector
Steps 10–11
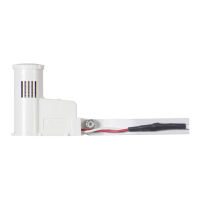
Light Kit
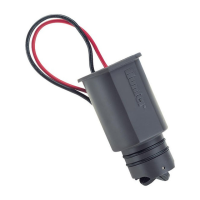
Plug
Connector
Detail
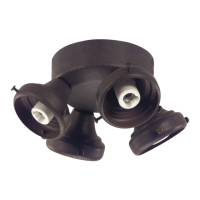
6. Insert the pull chain and fan pull chain switch through the round
opening on the side of the empty switch housing. read the
bellmouth nut over the pull chain and hand tighten the bellmouth
nut.
7. Reattach the breakaway connector to the pull chain.
8. Insert the reversing switch into the square hole on the side of the
switch housing. Install and tighten the two screws you removed
previously from the other switch housing.
9. Carefully place the capacitors in the switch housing.
You have now installed the wiring harness and its components in the
light kit.
10. Locate the two wires in the wiring harness (removed from the lower
switch housing) labeled “Connect Light Here” or “For Light use.” One is
white; the other is white with a black stripe. Unscrew the connectors to
expose the bare metal leads.
11. Locate the white wire and the black wire coming from the light xture.
Connect the black wire from the light xture to the black/white wire
from the wiring harness. Connect the white wire from the light xture
to the white wire from the wiring harness.
To connect the wires, hold the bare metal leads together and place a
wire nut over them, then twist the wire nut clockwise until tight.
CAUTION: Be sure no bare metal wires or wire strands are visible
after making the connections.
12. Reconnect the 9-pin plug connector.
13. Install screws to reattach the light kit to the upper switch housing.
Step 12
Plug
Connector
Steps 6–9
Lower
Switch
Housing
Screw
Fan
Speed
Switch