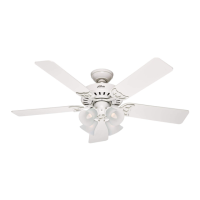
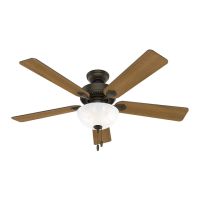
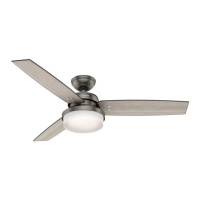
9
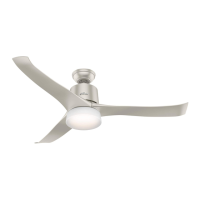
Ceiling Bracket Hanging Fan Wiring Installing Fan Body Blades Light Remote App
ON
Turn Power
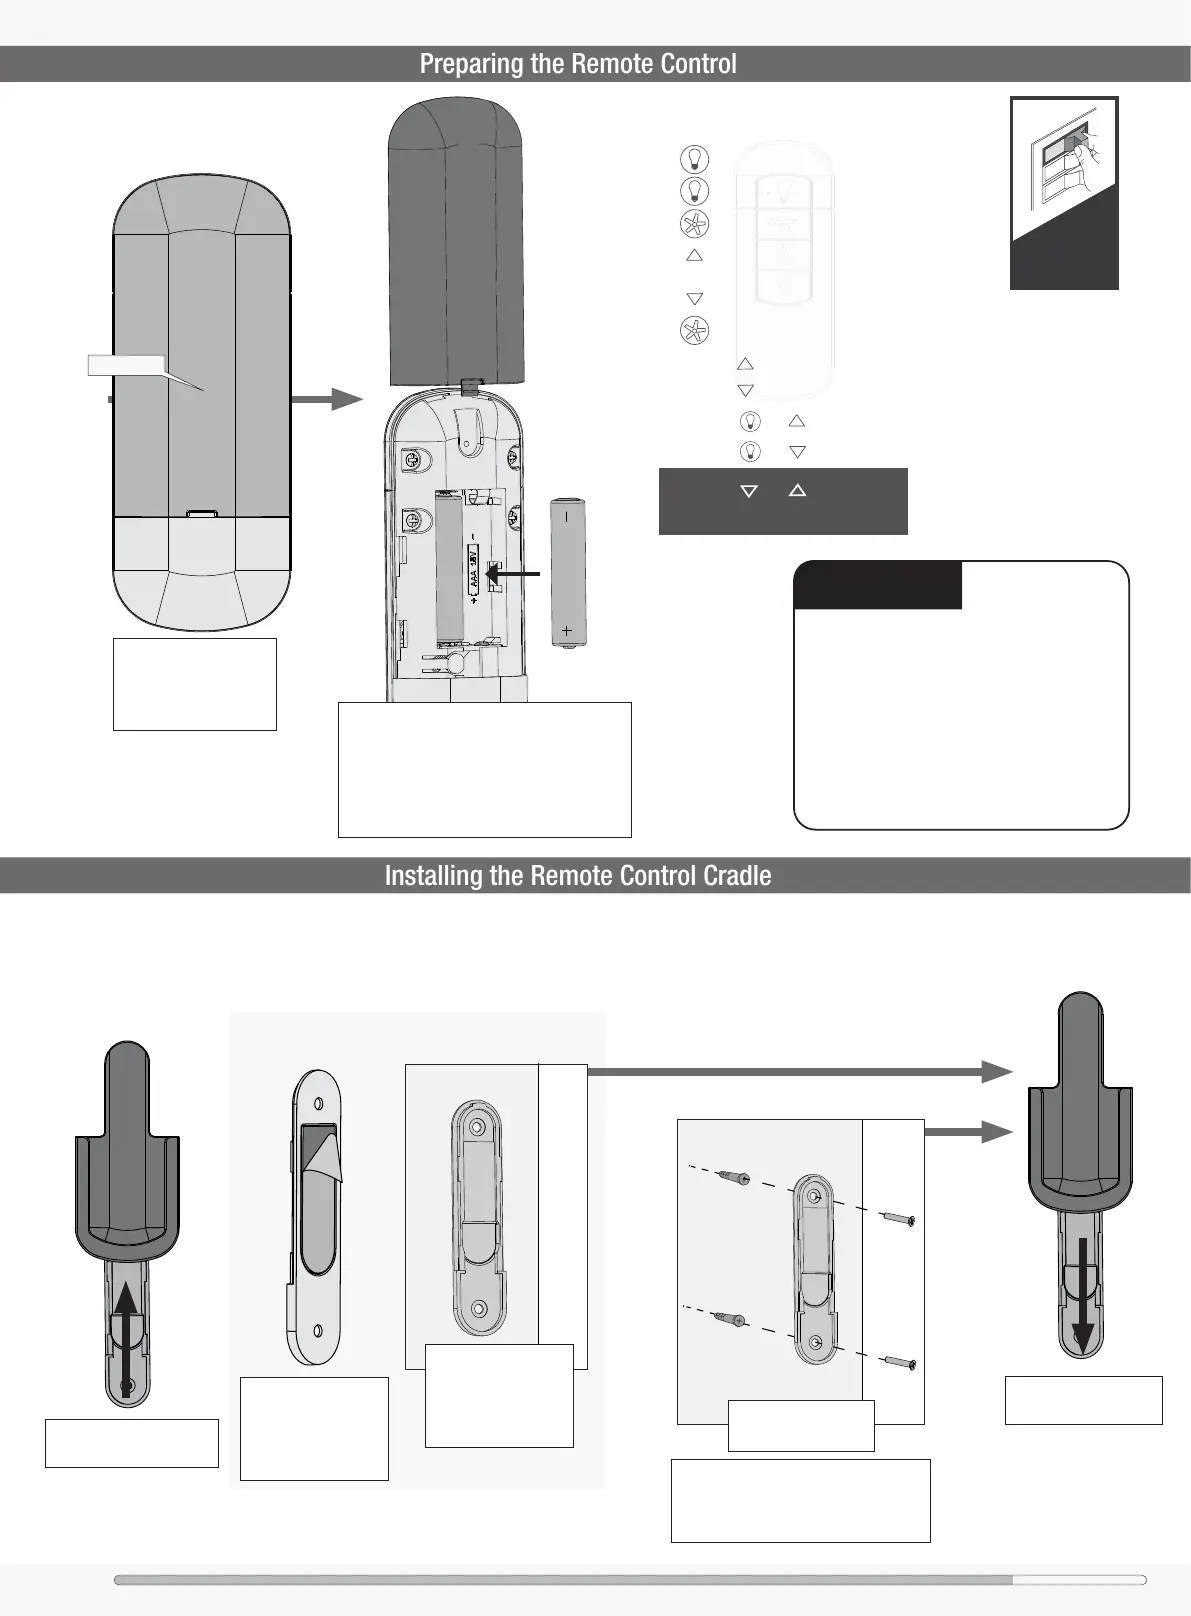
Preparing the Remote Control
The remote control is already
paired for use.
Installing the Remote Control Cradle
Option 1: Using Adhesive Strip
Option 2: Using Screws
You have two options for installing the remote cradle.
Choose which path works best for you.
Remove the cradle from
the cradle bracket.
Slide the cradle onto
the mounted bracket.
If you are installing into drywall, drill two
9/64 width holes using the cradle bracket
as a guide. Gently hammer the included
drywall anchors into the pre-drilled holes.
Choose your cradle
installation location.
Separate the lining
from the back of the
adhesive strip on
the cradle bracket.
Press the cradle
bracket against the
wall and hold rmly
for 30 seconds.
Remote Function Guide
Fan On/Off+ Quick Press
Light Dimming+ Long Press
Light On/Off+ Quick Press
Raise Fan
Speed
Lower Fan
Speed
+ Quick Press
+ Quick Press
Key Press Function
Dimming Mode
On/Off
+
Long Press
Long Press
Long Press
Fan High
Fan Low
Fan Reverse+ Long Press
Enable Beep
Disable Beep
+
+
Long Press
Long Press
Battery Door
To access the battery
compartment, remove
the battery door to the
transmitter assembly.
Install two AAA batteries, found in the
remote control hardware bag, into the
transmitter. Clean the battery contacts
prior to installing the batteries. Please
contact your local battery recycling center
for proper battery disposal information.
• Always purchase the correct size and grade of
battery most suitable for the intended use.
• Replace all batteries of a set at the same time.
• Clean the battery contacts and also those of the
device prior to battery installation.
• Ensure the batteries are installed correctly with
regard to polarity (+ and -).
• Remove batteries from equipment which is not to
be used for an extended period of time.
• Remove used batteries promptly.