8
Site Survey/Comm Check
You can verify radio coverage at the proposed installation/valve
box site prior to installation.
Move the programmed controller to the valve box location, and
position it as closely to the nal installation as possible.
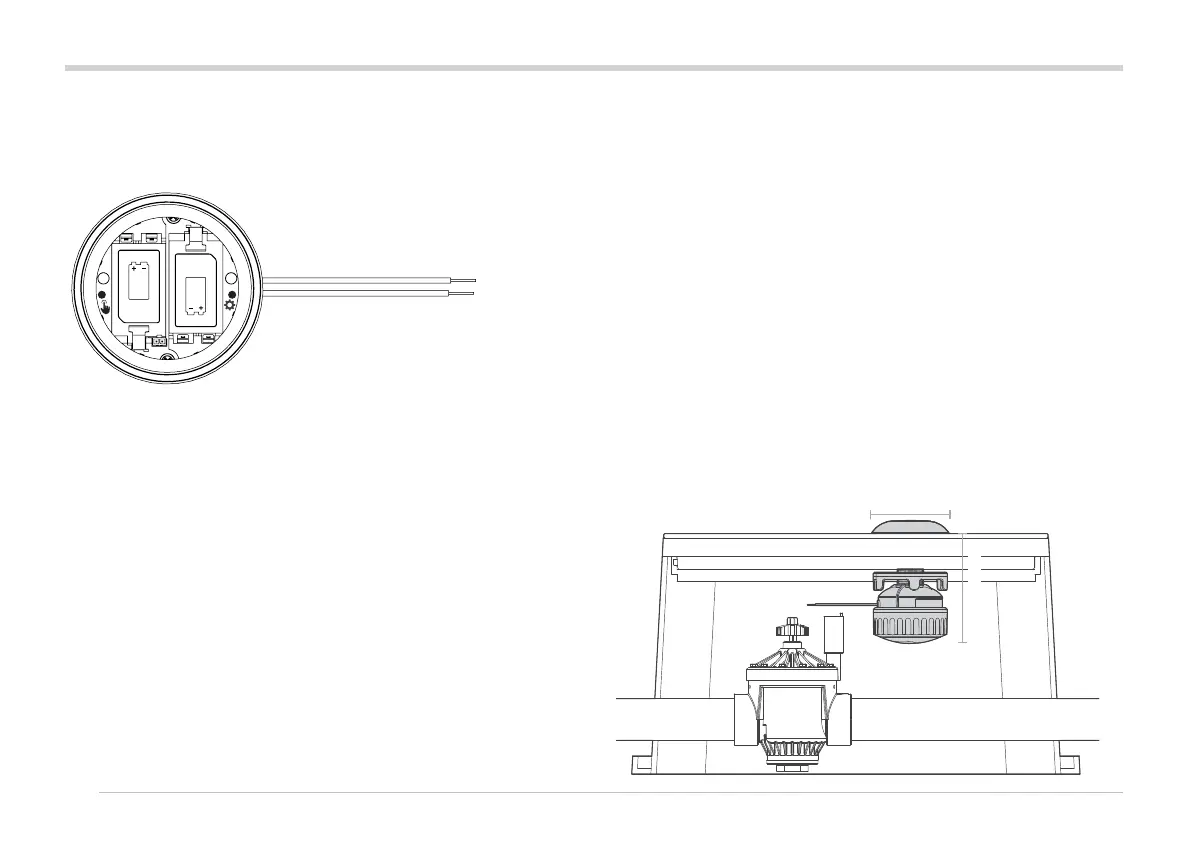
With the battery compartment open, install at least one battery.
Press the le (Manual) button three times. The LED will blink
amber every 2 seconds to show it's listening for the
WVOM-E signal.
Send a manual station start command to any WVL in the system:
• from the controller panel with a helper
• with a Hunter ROAM or ROAM XL Remote
• from a smartphone via central if that is an option
The LED will turn green if it hears the LoRa radio commands
from the WVOM-E. This indicates a probable successful
location.
Site Survey/Comm Check
If it does not turn green within a few seconds aer the
WVOM-E has sent a command, the signal was not heard.
a. If the command was sent to the WVL being tested, the
LED will turn red.
b. If the light does not verify communication, you must
improve the signal (elevate controller antenna or add a
Repeater), or the location may not work reliably.
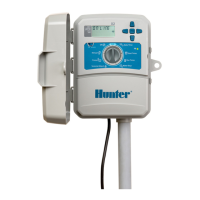
Installation
Complete the above steps rst, including station assignment.
Then proceed to install and connect the WVL in the valve box.
The WVL may be installed in its own valve box, next to the
valves it will operate. It can also be installed in the same box as
the valves.
Plan ahead to allow sucient clearance in the valve box
before drilling.
11 cm
16 cm