Installation and
Care Instructions
Provenance
™
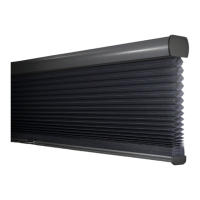
Woven Wood Shades
BASIC INSTALLATION:
Begin by unpacking your
woven wood shade. Be
careful not to discard the
brackets packaged in the
red hardware bag. Please
use all brackets included.
The number of brackets
recommended are based on the
width and weight of the shade.
Shades may be mounted to the
ceiling, wall or window frame
(FIGURES A-C)
.
Place the bracket on the shade,
putting the bolt through the slot
in the top of the shade
(FIGURES A)
.
Mark the drill holes. Remove the
brackets from the shade, place
the brackets at the pencil marks
and screw into place.
Fit the shade up into the bolt bracket so that the
bolt is visible under the headrail. Place the wing
nut on the bolt and tighten securely
(FIGURES A-C)
.
A Speciality Ceiling Mount Bracket can be
ordered separately
(FIGURE D)
.
Thank you and congratulations on purchasing a
Hunter Douglas
Provenance™ woven wood shade.
We know that you will be pleased with our product
for years to come.
Installation for your new woven wood shade is
simple. The only tools necessary are a screwdriver,
pencil and a small hand drill.
FIGURES A
FIGURES C
FIGURES D
WIDTH BRACKETS
18” to 36” 2
36 1/4” to 72” 3
72 1/4” to 96” 5
Two and Three on one
Headrail
5
FIGURES B