HUSQVARNA
AUTOMOWER® 330X / 430X
GLUING INSTRUCTIONS
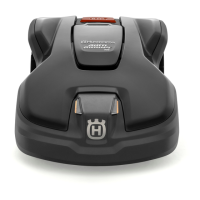
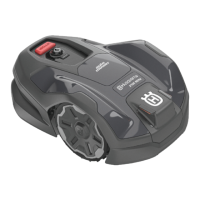
Congratulations - having received this package your‘re just one step away from having your
very own customized Husqvarna Automower®. The illustration shows the single foil parts with
their corresponding names. For a satisfying result, please follow the instructions below.
1. Please clean your Automower at first. Use a damp, soft sponge or cloth to clean the body. If the
body is very dirty it may be necessary to use a soap solution or washing-up liquid.
2. Place the foil on an even surface. Pull the carrier paper at the side or at a corner for
2-3 centimeters away.
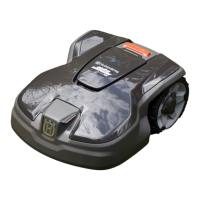
3. One after another, place the single foil parts at the corresponding areas (see pictures with the
numbers). Start with the released corner to fix the piece.
4. Slowly remove the rest of the carrier paper and carefully put the entire piece on the Automo-
wer®. Use the enclosed scratcher to get rid of caught air. Therefore calmly stroke over the fixed
piece of foil until you get a smooth result. Proceed as described with all pieces.
5. Once finished please check all edges for overlapping or lose edges. This will extend the longevi-
ty of the foil.
 Loading...