12 – English
ASSEMBLING AND ADJUSTMENTS
Safety when assembling and
settings
• Never leave the machine unsupervised with the engine
running. Always stop the blades, apply the parking brake,
stop the engine and remove the keys before leaving the
machine.
• Never allow children or other persons not trained in the
use of the machine to use or service it. Local laws may
regulate the age of the user.
• Electrical shocks can cause injuries. Do not touch cables
when the engine is running. Do not test the ignition
system with your fingers.
• The machine is tested and approved only with the
equipment originally provided or recommended by the
manufacturer.
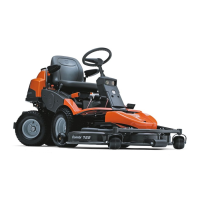
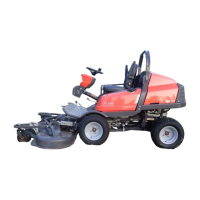
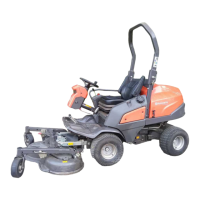
Cutting unit
The Cutting Unit Components
The components mentioned are:
1 Cotter pin
2 Link joint
3 Cutting unit bracket
4 Clipping height adjusters
5 Universal drive shaft with quick connectors
6 Attachment point for service position
7 Service strut
8 Belt cover
9 Gear
Fitting the cutting head
1 Place the machine on a flat surface and apply the parking
brake.
2 Start the engine and lower the lift arms to floating mode.
3 Turn off the motor.
4 Fit the universal drive shaft to the cutting unit. Slide the
ring sideways to release the quick coupling and the
universal drive shaft can be pushed onto the shaft pin.
5 Make sure the rubber casing is folded over the front
universal joint.
6 Remove the bolts and pins from the link joint on the lift
arms.
7 Slide in the cutting unit so that the link joint aligns with the
opening in the unit.
!
WARNING! The engine emits carbon
monoxide, which is a colourless, poisonous
gas. Do not use the machine in enclosed
spaces.
!
WARNING! The engine and the exhaust
system become very hot during operation.
Risk of burn injuries if touched.
4
1
5
3
2
6
7
4
8
9
!
WARNING! If the help function is engaged,
the lift arms will move with great force if
someone releases the lifting lever. Observe
caution to avoid trapping your hand.
Risk of crush injuries.
 Loading...