EasyManuals Logo

Huvitz HLM-1 Service Manual

Huvitz HLM-1
52 pages
To Next Page IconTo Next Page
To Previous Page IconTo Previous Page
Page #24 background imageLoading...
Page #24 background image
Auto Lensmeter HLM-1
23
No
Component
Removal method
1
WASHER (4)
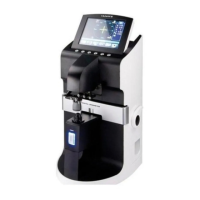
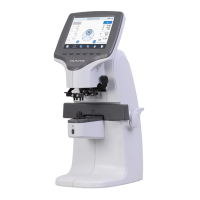
- Disconnect all cables from [10].
- Remove 4 screws and separate [10].
- Remove 3 screws and separate [11].
- Remove 2 screws, separate [12] and extract [13].
- Remove 2 screws and separate [9].
- Remove 2 screws and separate [7].
- Assembly is the reverse procedure of disassembly.
2
ROUND HEAD SCREW (4*6)
3
SPRING WASHER (4)
4
GROUND CONNECTION STICKER
5
B6_BASE-FRAME-ASSY
6
FOOT
7
HARNESS(MB(CN3) TO EXT RS232)
8
HARNESS(AC INLET TO CHASSIS GND)
9
AC SOCKET CONNECTOR(INLET)
10
PCB ASSY(HLM1 MAIN-V090)
11
SMPS(DELTA 40W)
12
B6_POWER-SW-BRK
13
POWER SWITCH
14
FUSE
15
HARNESS ASSY(MB(CN1) TO SMPS)
16
HARNESS(MB(CN15) TO MEM SW)
17
HARNESS(AC INLET TO POWER SW)
18
HARNESS(POWER SW TO SMPS)
19
WSFL-M3T0_5-NI
20
MACHINE-SCREW-PH-M3L10-NI
21
MACHINE-SCREW_FH_M3-5L-NI
22
PCB SUPPORT BOLT
23
B6_MB-SPONGE-GASKET
24
B6_MB-EMI-TAPE
25
B6_CAMERA-SPONGE-GASKET
26
B6_CAMERA-EMI-TAPE
27
B6_POWER-SW-SHEET
28
MACHINE-SCREW-PHW-M3-L6
29
M0_COM-SPEC-STICKER

Other manuals for Huvitz HLM-1

Questions and Answers:

Question and Answer IconNeed help?

Do you have a question about the Huvitz HLM-1 and is the answer not in the manual?

Huvitz HLM-1 Specifications

General IconGeneral
BrandHuvitz
ModelHLM-1
CategoryMeasuring Instruments
LanguageEnglish

Related product manuals