Pg 3.17 H22
CALIBRATION PROCEDURE FOR MITSUBISHI PLC
100E NOT APPLICABLE TO "P" MODELS WITH 50E SOFTWARE
In manual mode position a piece of material which is longer than the shuttle full stroke length (i.e.. M-16A =
32.500") and close the front VISE. Simultaneously depress "FWD" & "REV" buttons on the PLC to access
parameters. A password is required at this point which can be obtained from Hyd-Mech Service Department.
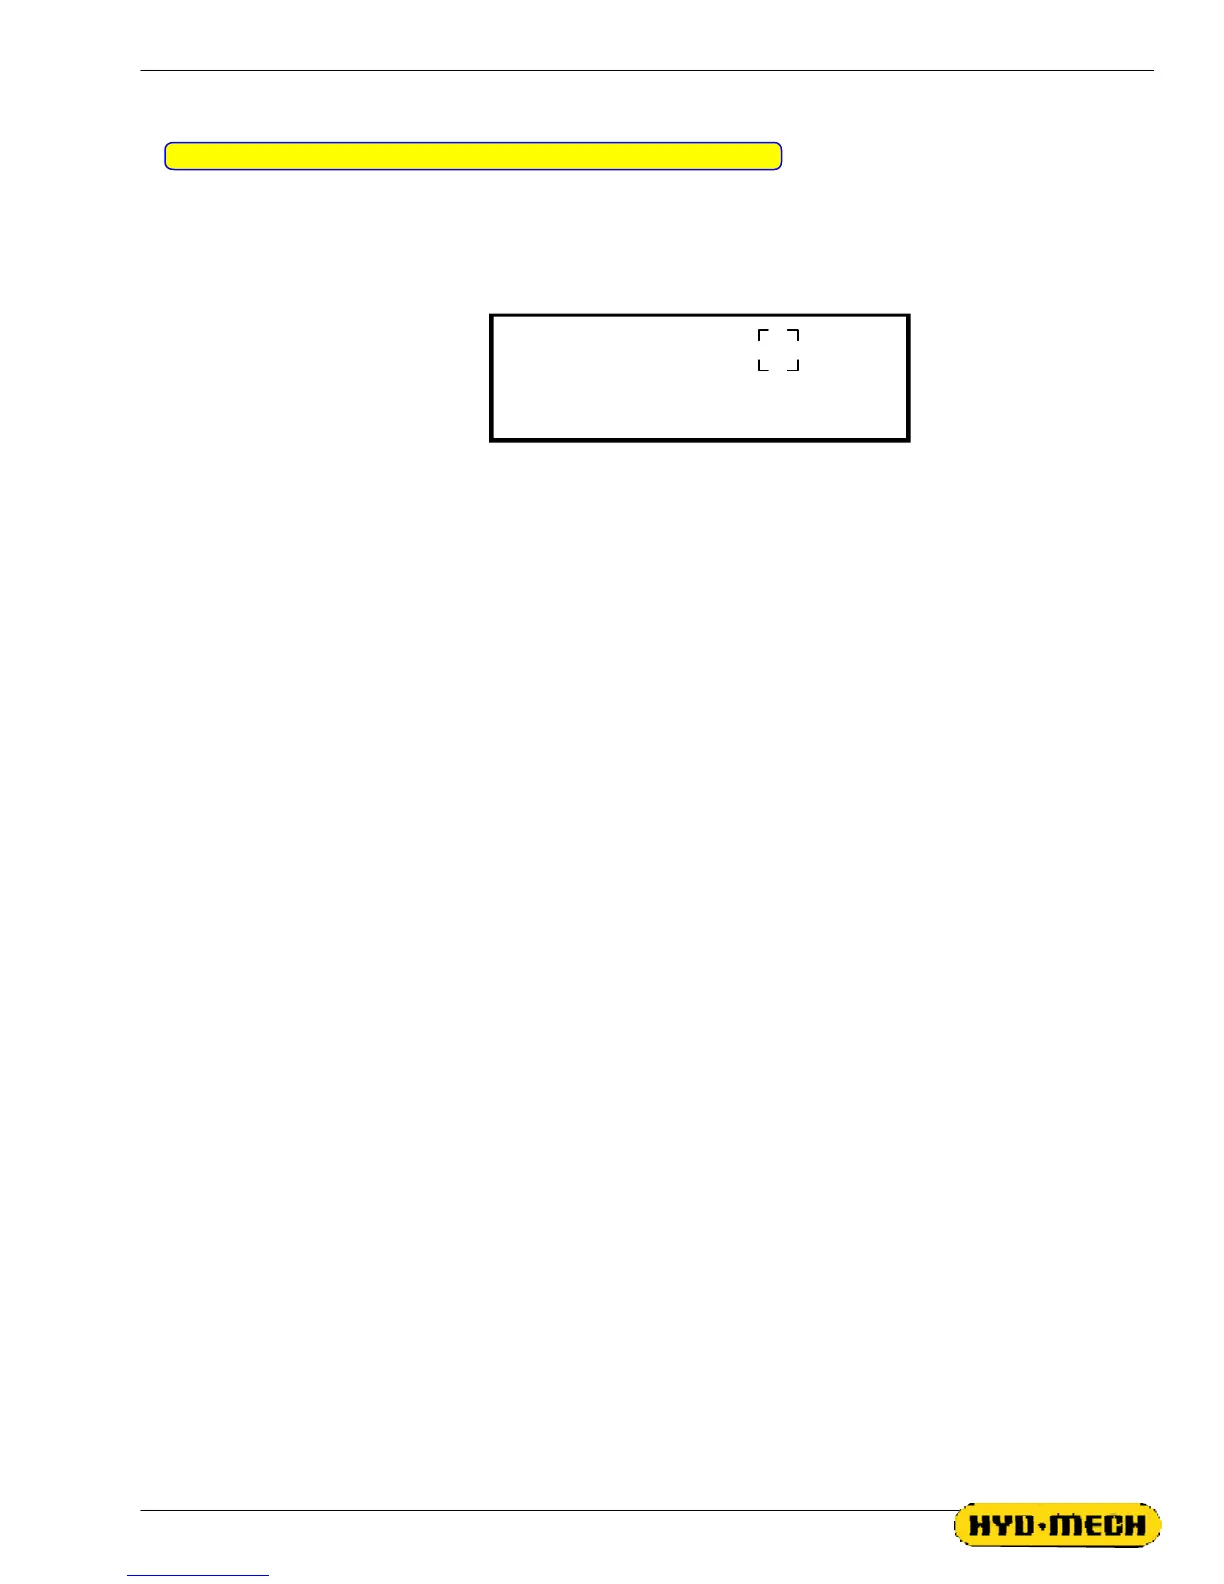
SCREEN WILL DISPLAY:
With the cursor @ shown position (as illustrated above) press enter. The cycle start button will then start to flash
& "0" will change to "1" indication self-calibration mode. Start the blade and the trim cut will be made. After the trim
cut is made the head will rise, the shuttle will retract fully in slow, clamp the material and come fully forward in slow
to the home position and make a cut. After the cut is complete "1" will change back to "0". Measure the cut part
length.
Cursor down to ACT.LTH. and enter length of cut part plus the actual kerf value. Then exit the parameters by
toggling the AUTO/MAN button (the cycle start button will stop flashing). The ENC.RES. & full stroke values will now
automatically be calculated and programmed by the PLC.
NOTE: When first entering the parameters screen if not running the self calibration do not use the enter
key but use the cursor keys to scroll through the parameters.
To check length control consistency:
1) Perform test cuts of three different lengths (i.e. 6", 12", 20") and measure as accurately as possible.
2) If the measurements indicate a linear problem (measured length error increases as the programmed
length increases), the ACTUAL LENGTH value will have to be adjusted.
3) The Length Calibration Procedure MUST be performed to allow a change to the ACTUAL LENGTH
parameter. This may be done with material in the machine (cut and measure material length) or with no material
in the machine (let machine complete the calibration cycle, then enter new value).
To adjust ACTUAL LENGTH parameter:
- If part length error gets longer as the programmed length increases; ACTUAL LENGTH value should be
increased.
- If part length error gets shorter as the programmed length increases; ACTUAL LENGTH value should be
decreased.
- Make small adjustments at a time (i.e. .020" - .030") and recheck with test cuts.
EXAMPLE: If part length error gets longer as programmed length increases:
Existing ACT.LTH.=33.070"
Change ACT.LTH. to 33.070 + .020 = 33.050"
LTH.CLB. "ENTER" 0
ACT.LTH. 00.000



 To Next Page