2.4 Measuring
2.4.1 Measuring a New Sample
Click [New] in the measurement window to start the measurement.
Handling Procedure:
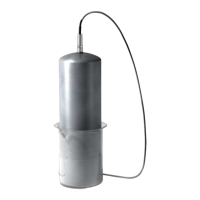
Rinse the tube (Sensor-unit) with sample fluid.
Shake off the remaining fluid.
Place the tube in fresh sample fluid and click on [New].
Fill in the sample name and click on [OK] to start the measurement. The measurement box will begin blinking and the
buttons [Save now] and [Cancel] will appear.
After completion of the measurement, the buttons [Save now] and [Cancel] disappear and the measurement box will
stop blinking.
When all measurements are stable, the values will be saved along with the date and time of the measurement. If the
measurement procedure takes longer than seven minutes to complete, it will automatically terminate and the incomplete
results will be saved, regardless of measurement stability. These incomplete results will be marked in the data file with an
asterix (*). When this occurs, a warning will appear on the screen with a red dot reporting: ‘Measurement not stable’.
This could mean that just one measurement was not stable!
After the results are saved, the measurement will continue, but new data will not be stored in the data file unless you click
the [Save now] button or start a new measurement procedure by clicking on [Start].
By clicking on [Save now], the measurement data is instantly saved. By clicking on [Cancel], the measurement
procedure is interrupted and no data is saved.
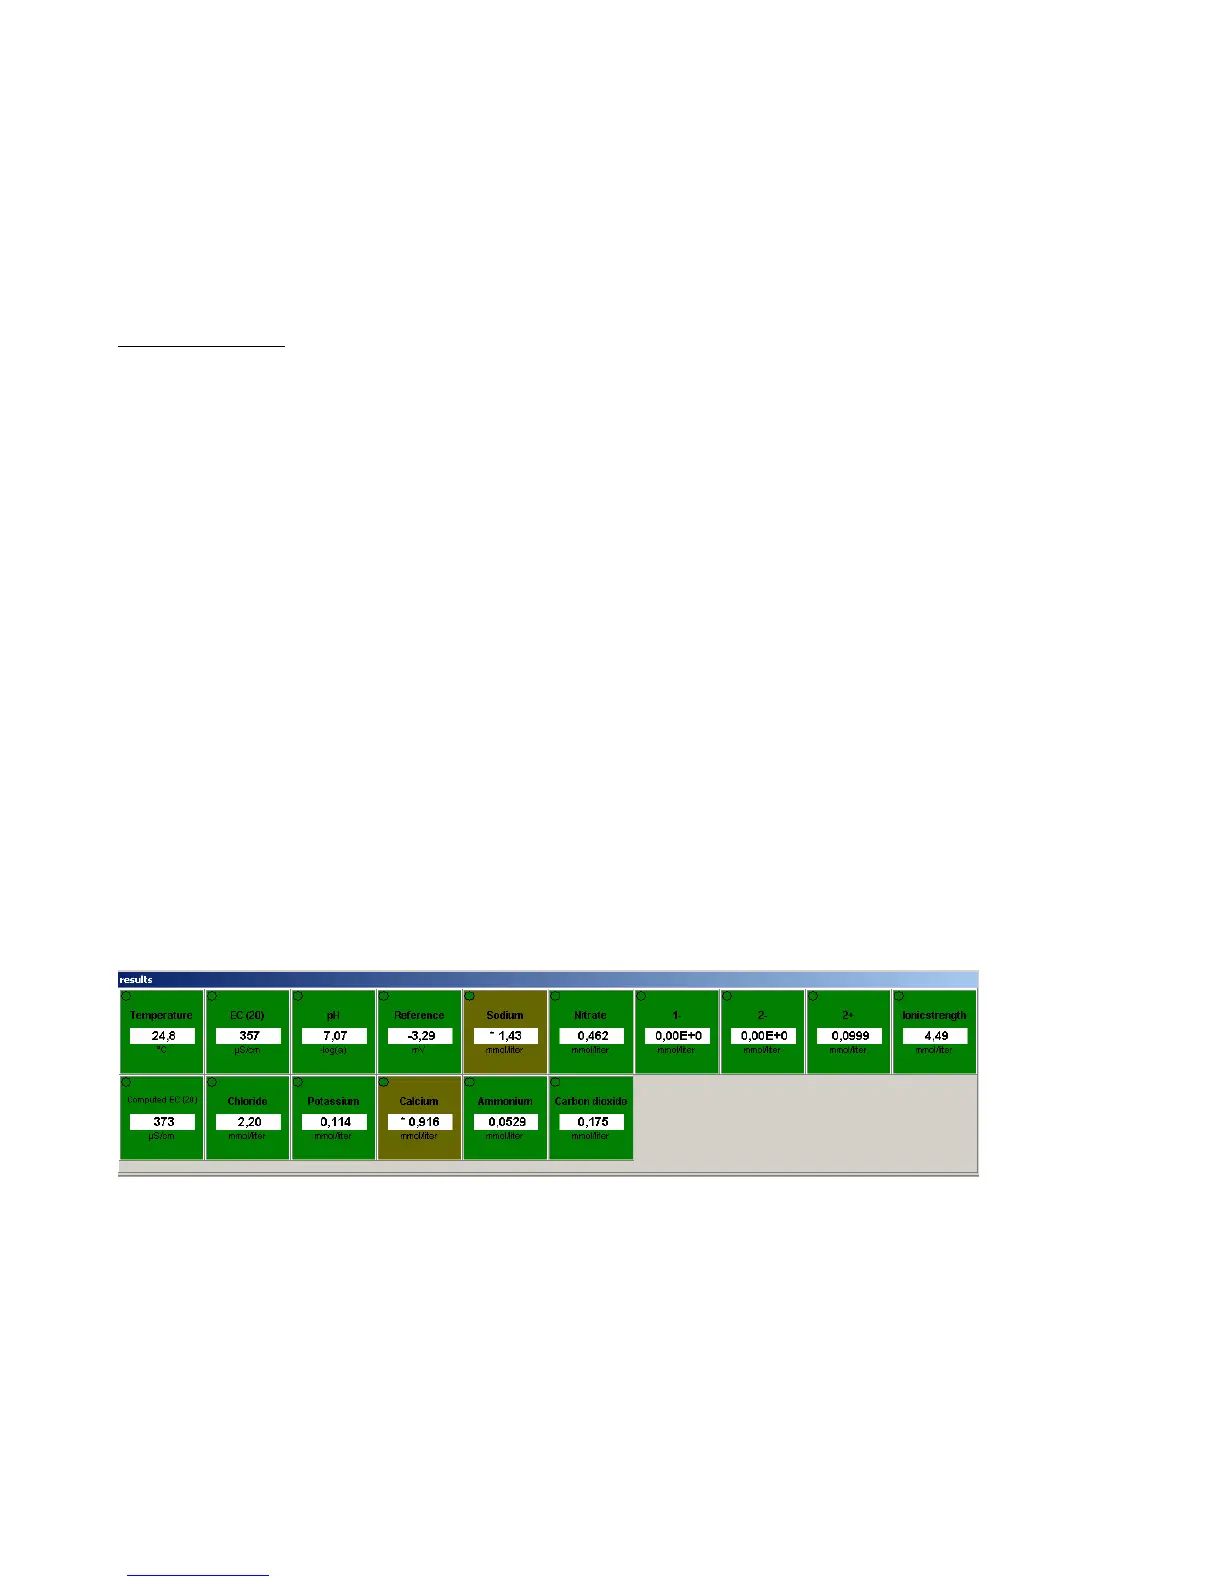
2.4.2 Measuring Panel
When the Hydrion10 program is active, the measuring panel will be visible. One parameter is shown per box. The results
can be displayed in different units. The result bar, in which results are displayed, will be white or gray. If the result bar is
gray, a one-point or multi-point calibration is required. For more information, put the mouse pointer over the bar and you
will be shown what sort of calibration is required.
Read the following chapters for an explanation of the boxes, result bars and the text displayed.