2 The Hydrion10 Program
2.1 General
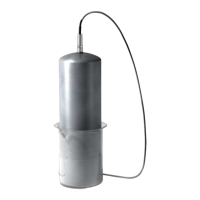
2.1.1 Starting the Hydrion10 Program
Double-click the icon with the left mouse button (shown below) to start the Hydrion10 program.
Once a connection is established between the program and the Sensor-unit, all data from the Sensor-unit will be
transferred to the program. When this exchange is complete, the program will be ready for use.
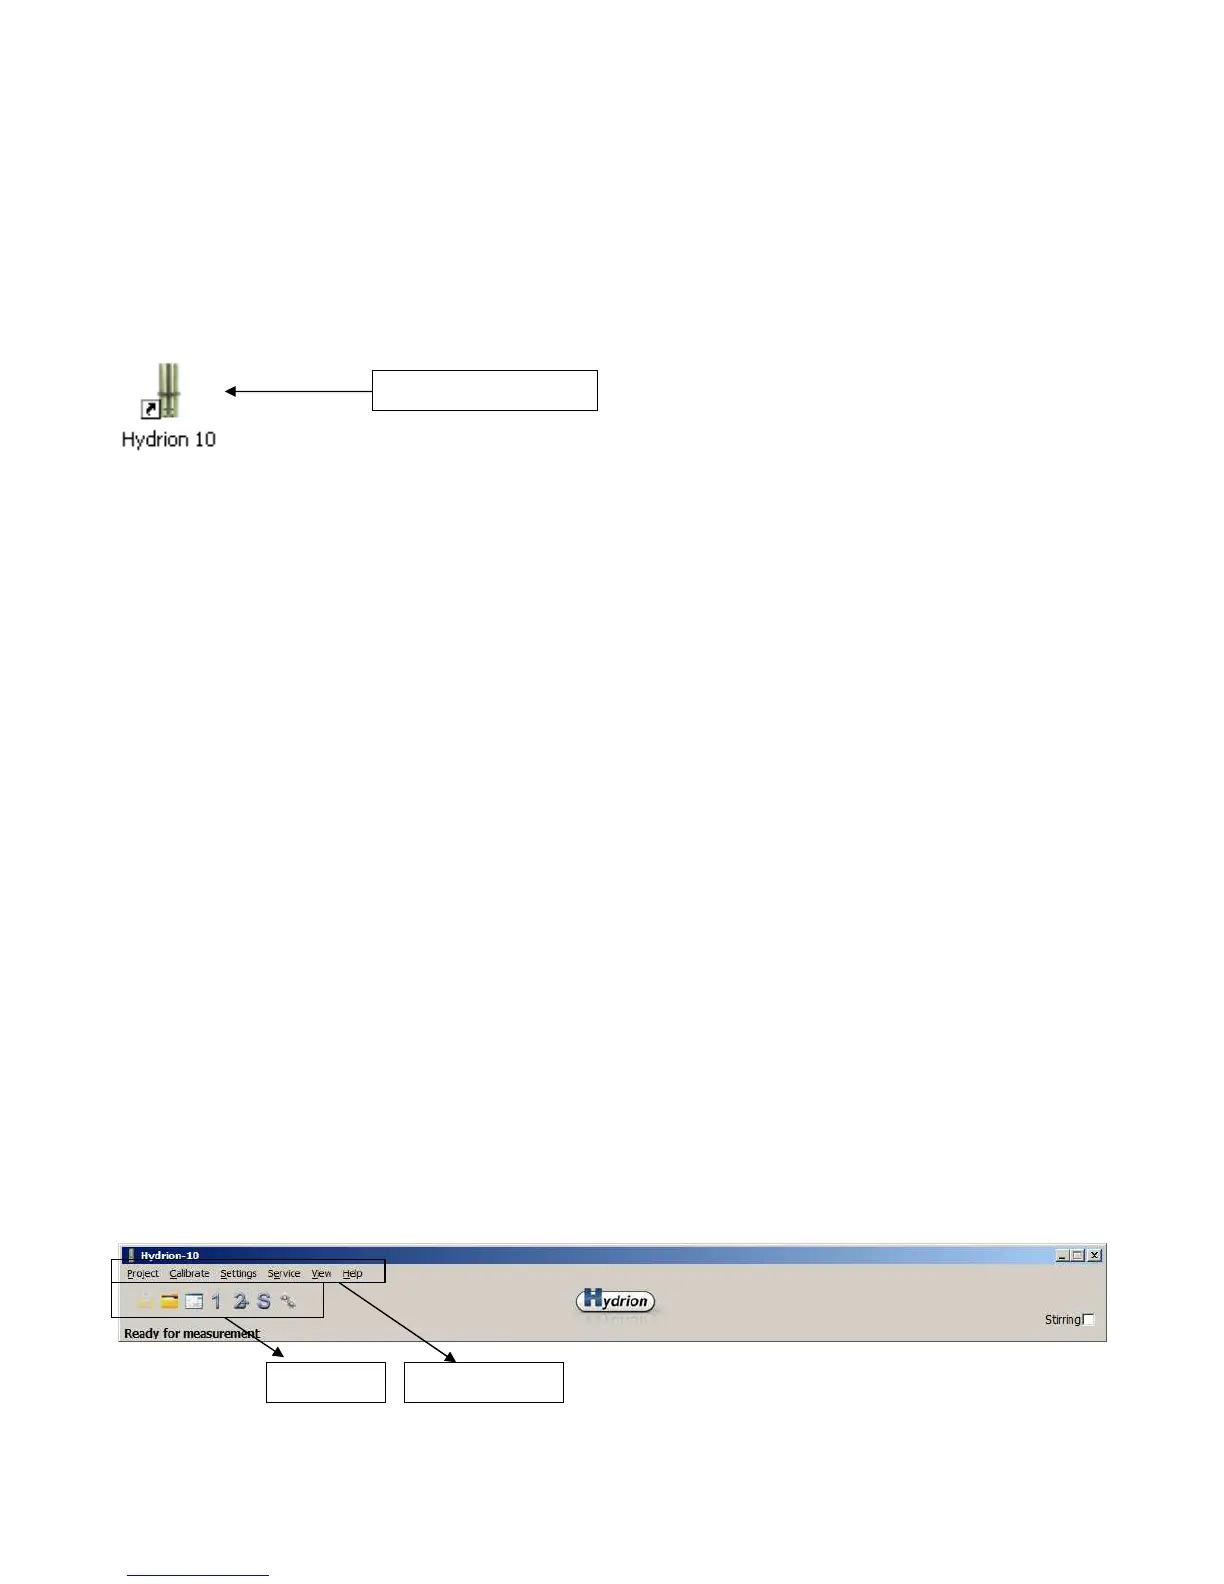
2.1.2 The Menu Bar of the Hydrion10 Program
The menu bar consists of two parts as shown in the figure below:
The left-hand side is meant for operating the program; this is handling the actual menu.
The right-hand side shows the battery status (not important in this version).
Clicking on [Project] will open the following drop-down menu:
Project:
Create a new project [New]
Open an existing project [Open]
View the results [View]
Close the active project [Close]
Close the Hydrion10 program [Exit]
Opening recent project
All of these options can be activated with a single-click on the left mouse button.
Clicking on [Calibrate] will open the following drop-down menu:
Calibrate:
Create a new calibration set [New]
Select a calibration set [Calibration set]
Start a one-point calibration [One-point calibration]
Start a multi-point calibration [Multi-point calibration]
[Service] is only accessible by a certified Hydrion service engineer
[Help] is used to solve problems.
Toolbar Main menu bar
Double-click to start