Installation Manual 5.1.2
30
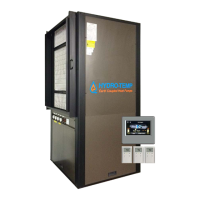
The other override mode is a timed override. This is useful if there happens to be a zone that has occasional
occupancy. To enable this option press the “Timer Button” (as shown below). A pop-up will appear. Adjust
the override on time by using the “Plus/Minus” buttons and then enter “Done”
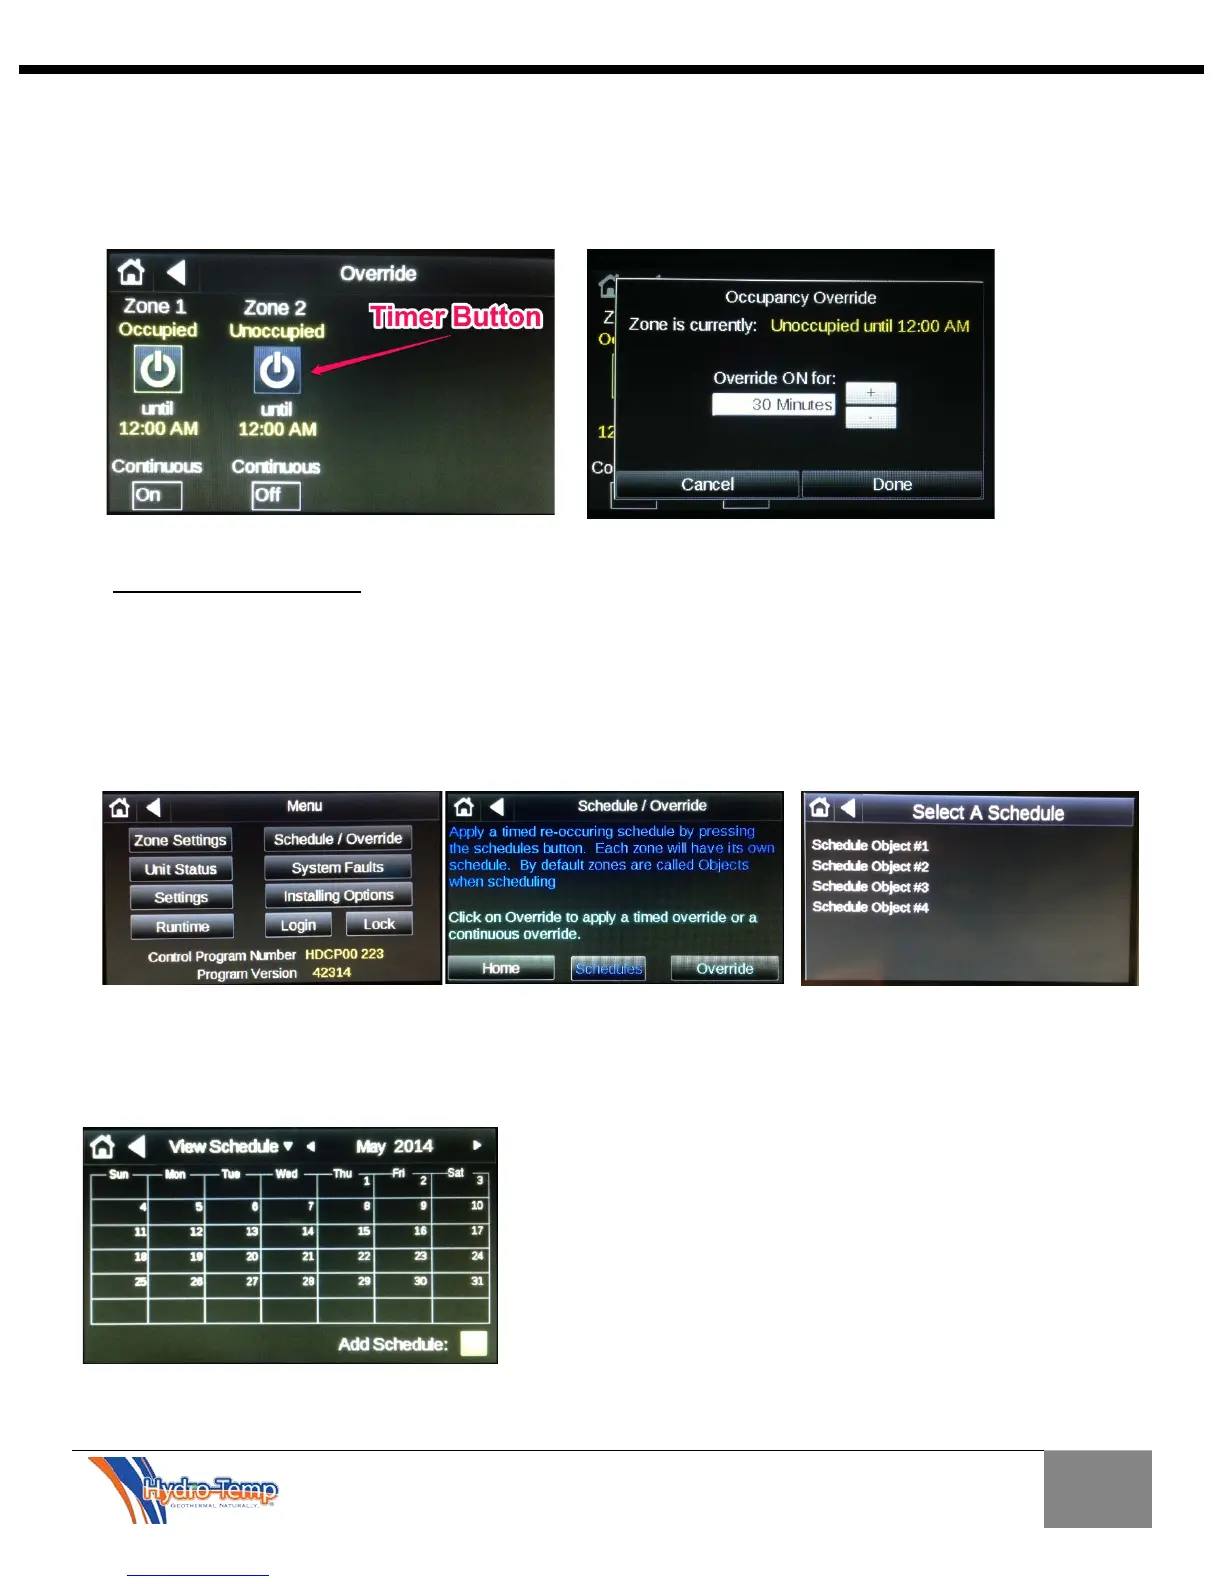
Next we will discuss setting of schedules. This mode will allow you to set specific periods of the day to be
occupied. Each day can be set to have different schedules. To navigate to “Select a Schedule” Screen, press
the”Schedule/Override” button on the Menu screen, “Schedules” on the Schedule/Override screen. Choose
the zone for which you would like to set a schedule. Note; Object #1 is Zone #1, Object #2 is Zone #2 and so
on.
In this example we will set a schedule for Zone #1 (Object #1). Select Object #1 and a calendar page will be
displayed showing all of the current schedules. Since this is the first time a schedule is being entered the
calendar will be blank as shown.
Press the “Add Schedule” Button.