Repair 1800 SRM 1038
2. Install the O-ring on the plug.
3. Put the spring guide inside the brake housing
below the plug hole. Verify the flat area of the
guide is against the housing.
4. Install the spring on top of the guide.
5. Put the plug and pin assembly in the hole in the
brake housing and through the return spring.
6. Apply and hold pressure on the plug while the
plug is installed into the housing. Verify that the
pin is correctly installed in the spring guide and
that the flat areas on the spring guide are against
the housing. See Figure 15.
7. When the threads fully engage the housing, re-
leasethepressureontheplug.SeeFigure17.
8. Tighten the plug to 60 to 75 N•m (44 to 55 lbf ft).
9. Put the brake housing on a bench. The cover side
of the housing must be toward you.
10. Install the disc spacer in the bottom of the brake
housing. See Figure 14.
NOTE: If a thick-splined stationary disc is used in-
steadofthespacerandstandardstationarydisc,it
must be installed against the housing. Next, install
a friction disc followed by a standard stationary disc
and continue to complete the stack. Brake housings
aredesignedtouseonlyonetypeofdiscconfigura-
tion. Do not interchange parts.
11. Install the disc pack.
a. Apply the same fluid used in the brake cool-
ing system to the disc surfaces as the discs
are installed.
b. Install a stationary disc in the housing. The
first stationary disc must be against the disc
spacer. Make sure the splines on the outer
diameter of the stationary disc engage the
splines in the brake housing. Verify the wide
spaces on the outer diameter of the disc are
over the return spring assemblies. See Fig-
ure 13.
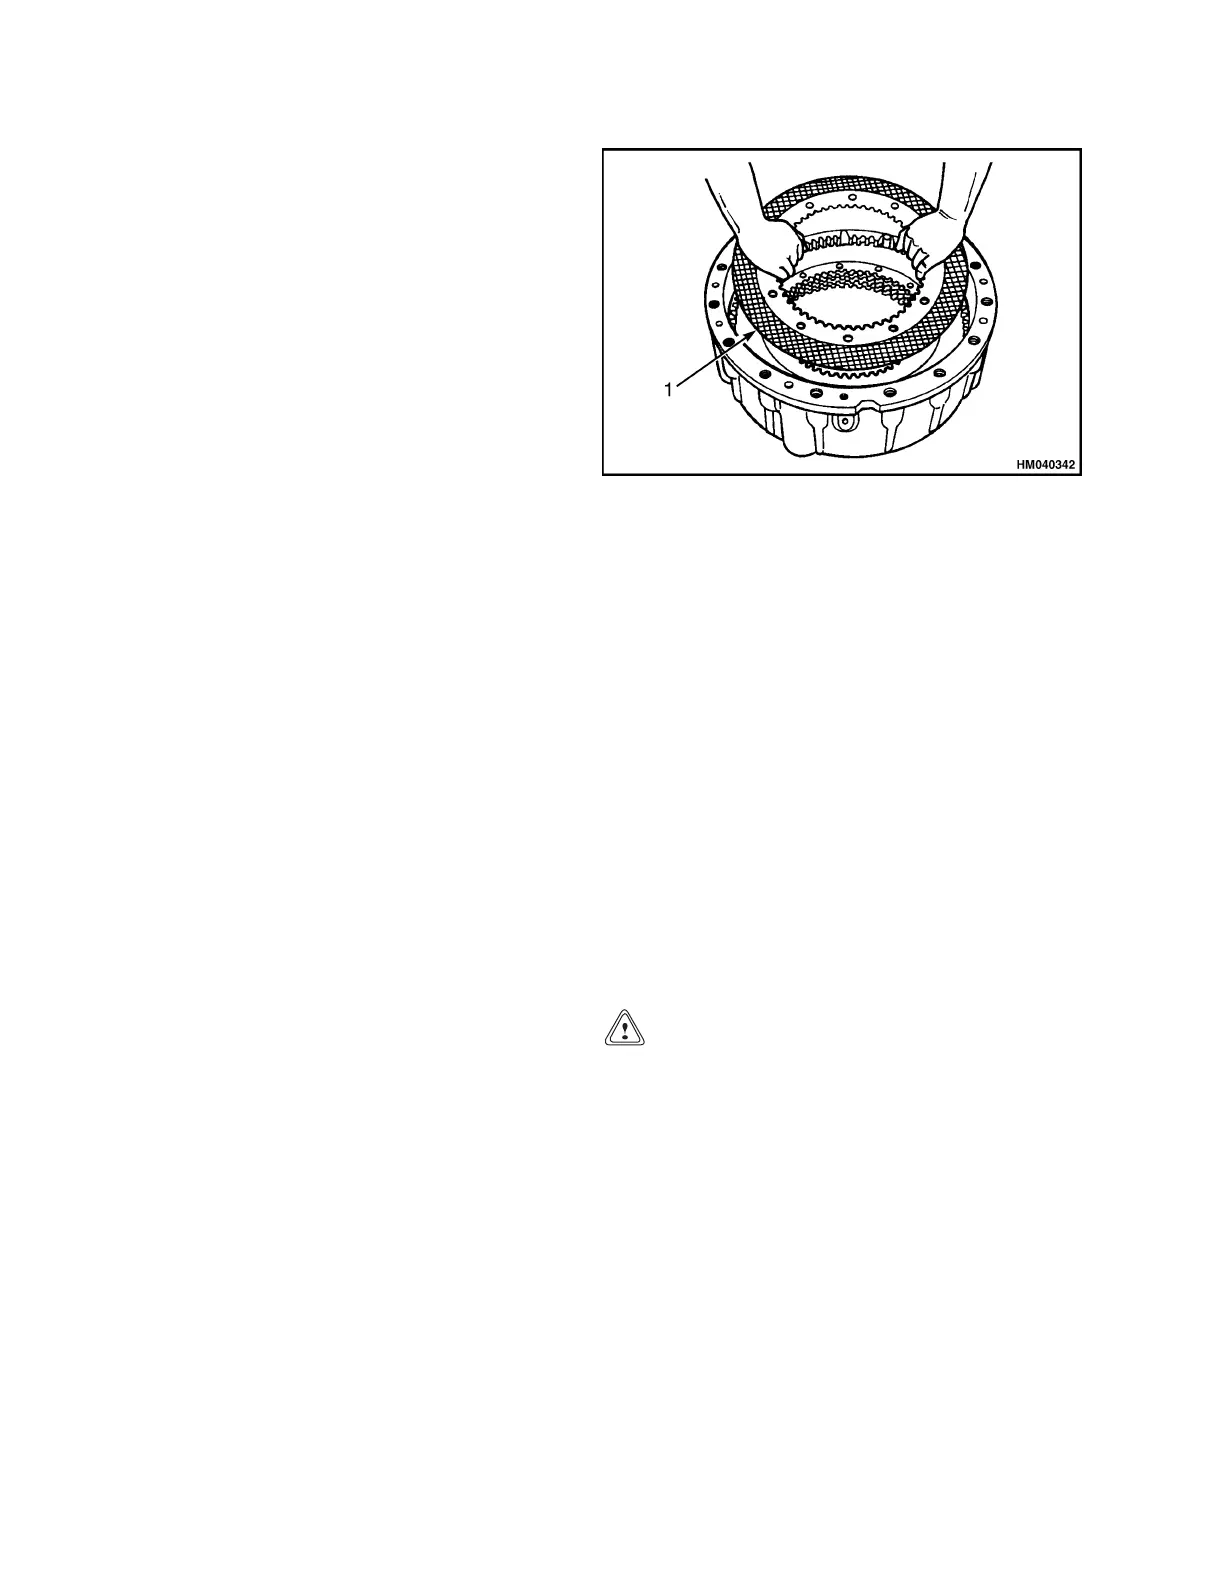
c. Install a friction disc in the housing. See
Figure 20.
1. FRICTION DISC
Figure 20. Friction Disc
d. Complete the installation of the disc pack.
Repeat steps Step b and Step c until the com-
plete disc pack is installed.
12. Align all of the teeth on the inner diameter of the
friction discs. When the discs are aligned, the
wheel hub can be installed without damaging the
discs.
13. Lubricate the outside diameter of the piston, the
housing bore, and the seals with the same fluid
used in the brake system.
14. Lower the piston into the housing until the piston
is installed on the guides of the return springs.
Verify the surfaces on the piston and the hous-
ing are not damaged when the piston is installed.
See Figure 21.
CAUTION
To prevent housing or piston damage, use fin-
gers or a non-metallic object to install the seals
and round spacer. Fluid can leak between the
housing and the piston if the surfaces are dam-
aged.
NOTE: The sealing arrangement between the piston
and the housing consists of one spacer and two piston
seals. See Figure 22.
15. Put the first seal in the space between the hous-
ing and the piston. The rubber part of the seal
must be toward you. Push on the seal until
the complete plastic bottom surface of the seal
touches the shoulder of the piston. See Fig-
ure 23.
10