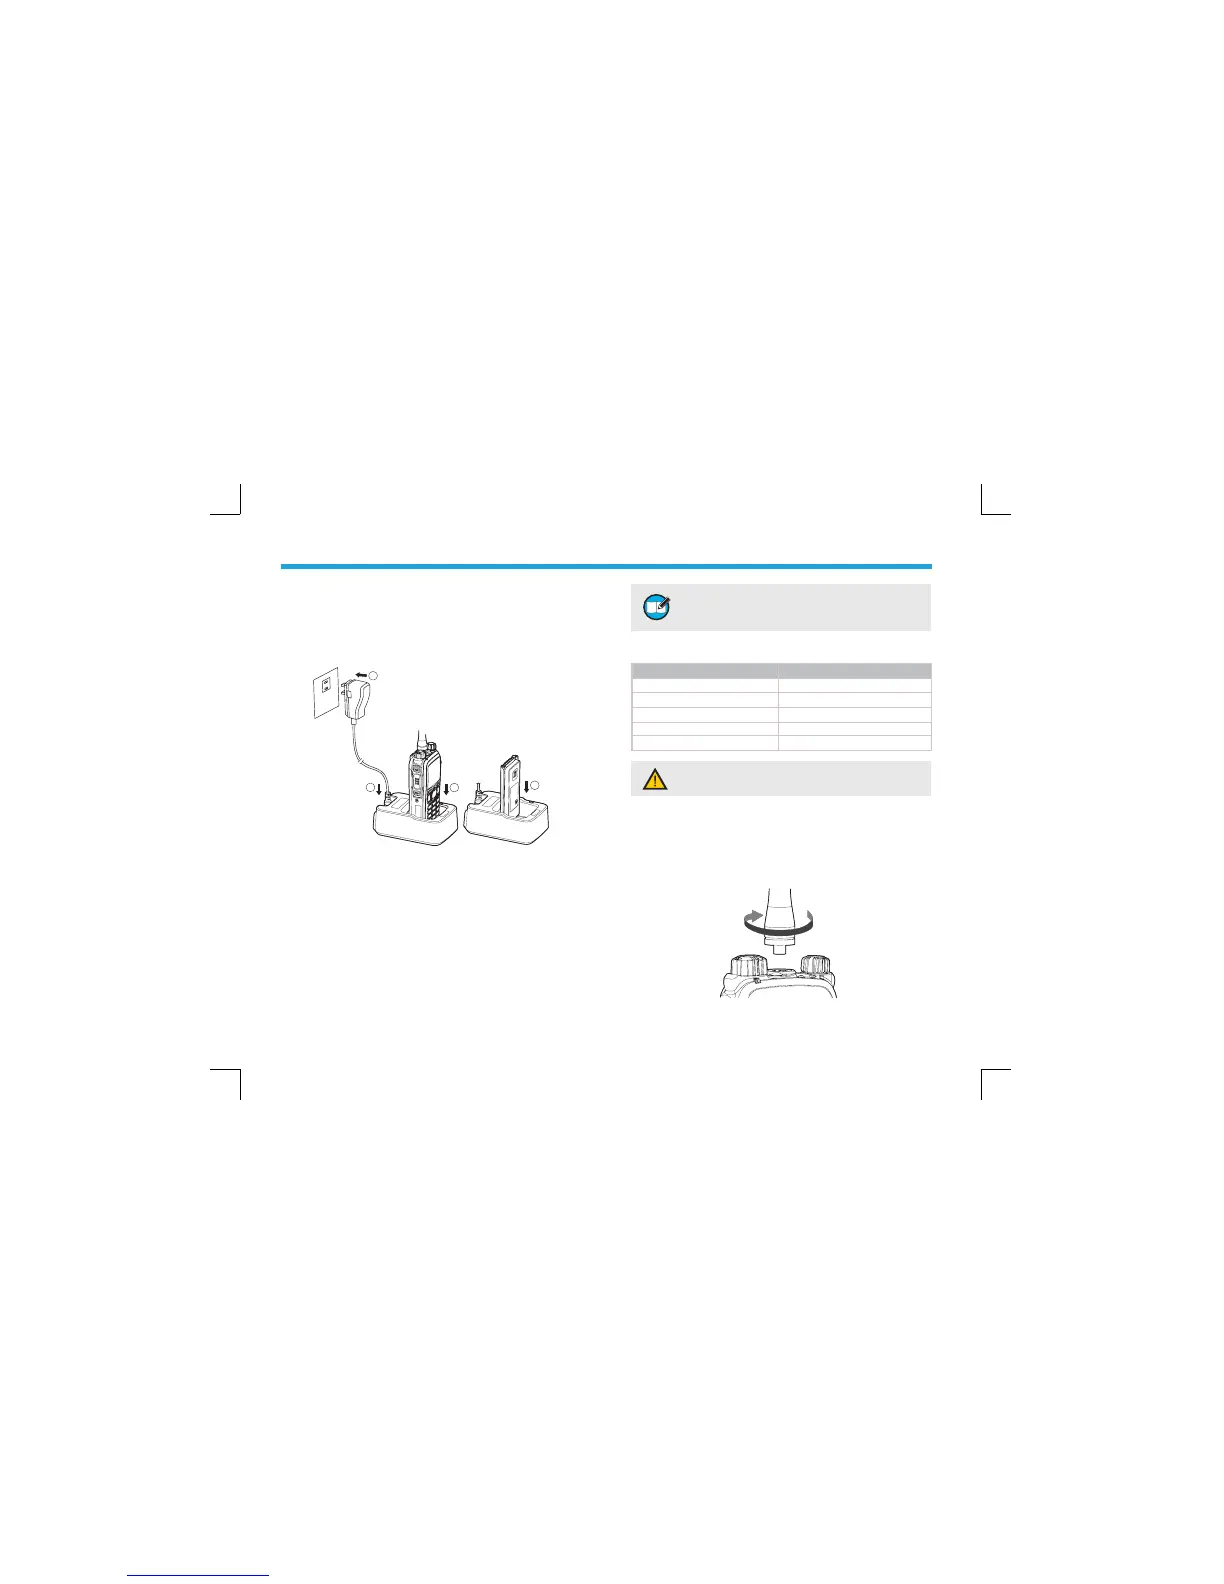
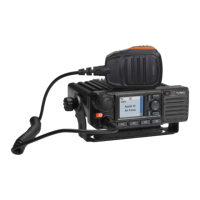
Charging the Battery
Use only the charger and battery specified by Hytera.
Charger LED can indicate the charging progress.
Procedures
1. Connect the power adapter to AC source. See arrow
ķ
.
2. Plug the power adapter into the rear socket of the
charger. See arrow
ĸ
.
3. Place the radio with the battery attached, or the battery
alone, into the charger.
4. The charging process initiates when LED glows red,
and is completed when LED glows green.
Before Use
4UZK :UGINOK\KUVZOSGRHGZZKX_VKXLUXSGTIK
VRKGYKINGXMKZNKHGZZKX_LUXNU[XYHKLUXK
OTOZOGR[YK
Charge Indicator
LED Indicator Charge Status
LED fl ashes red slowly. Standby (no load)
LED glows red. Charging
LED glows orange. 90% charged
LED glows green. Fully Charged
LED fl ashes red rapidly. Failure
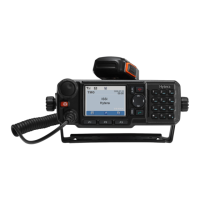
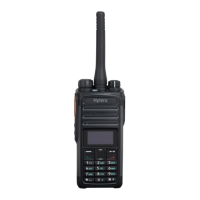
Attaching the Antenna
Turn the antenna clockwise to fasten it.
To remove the antenna, rotate it counter-clockwise.
)G[ZOUT (KY[XKZUXKGJZNK9GLKZ_/TLUXSGZOUT
(UUQRKZZUMKZTKIKYYGX_YGLKZ_OTLUXSGZOUT
1
2
3
3