9
Operations ow
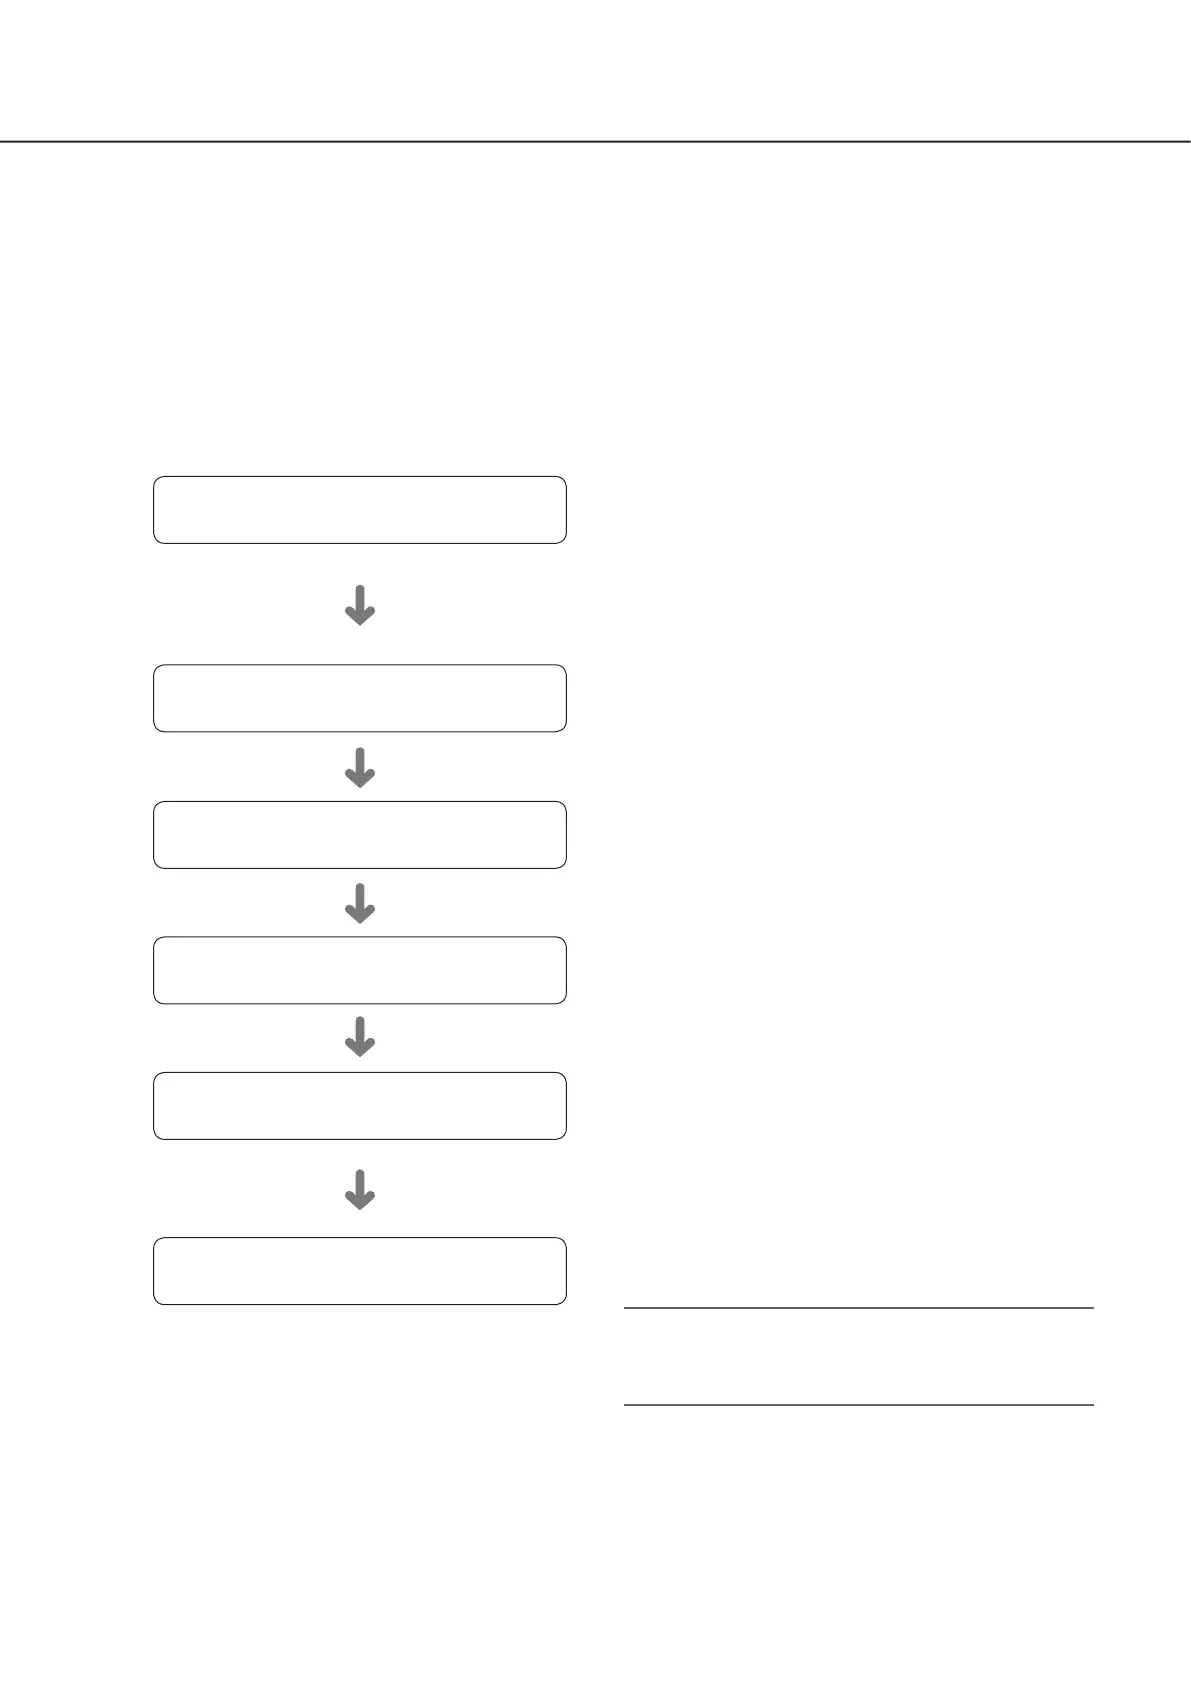
1
Obtain the license (Registration Key)
☞ Page 11 and Activation Key Card
2
Installation of the hard disk drive
☞ Page 12
3
Rack mounting
☞ Page 14
4
Connections
☞ Page 15
5
Turn on the devices
☞ Page 23
6
Register the license (Registration Key)
☞ Page 25
Obtain the "Registration Key" of the recorder by following the
instructions on the included Activation Key Card. To increase
the number of connected cameras, or to use the secure
function, get the registration key of the additional license
according to the appropriate Additional Kit (option). The
obtained "Registration Key" will be used in Step 6.
Install the hard disk drives in the recorder.
Install the recorder in the rack.
Go to step 4 when not installing it in the rack.
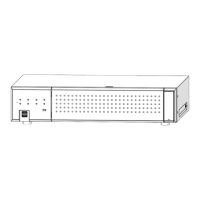
Connect the camera, mouse, PC, monitor, alarm input/out-
put cable, etc. to this product.
Turn on the power to launch in the following order.
①Turn on the power of the camera and the monitor.
②Turn on the power of the recorder.
③Register as an administrator.
Register the Registration Key of the recorder. If necessary,
register the "Registration Key" for each Additional kit.
Important:
• Be sure to register the "Registration Key" of the recorder.
If the "Registration key" of the recorder is not registered,
the Additional Kit cannot be registered.
After registration, click [Restart] button on the license
registration screen to reboot the recorder and activate the
license.
• Professional knowledge on and experience in network and the HDD are required for
the settings and changes of the operation.
• The main monitor is required for the settings.
* The settings can be done through a web browser on the PC (Refer to the Operating
Instructions).
• The PC is required for reading the Important Information, the Operating Instructions
and camera settings.
• The operations flow is explained using the single mode operation of the HDD.
 Loading...
