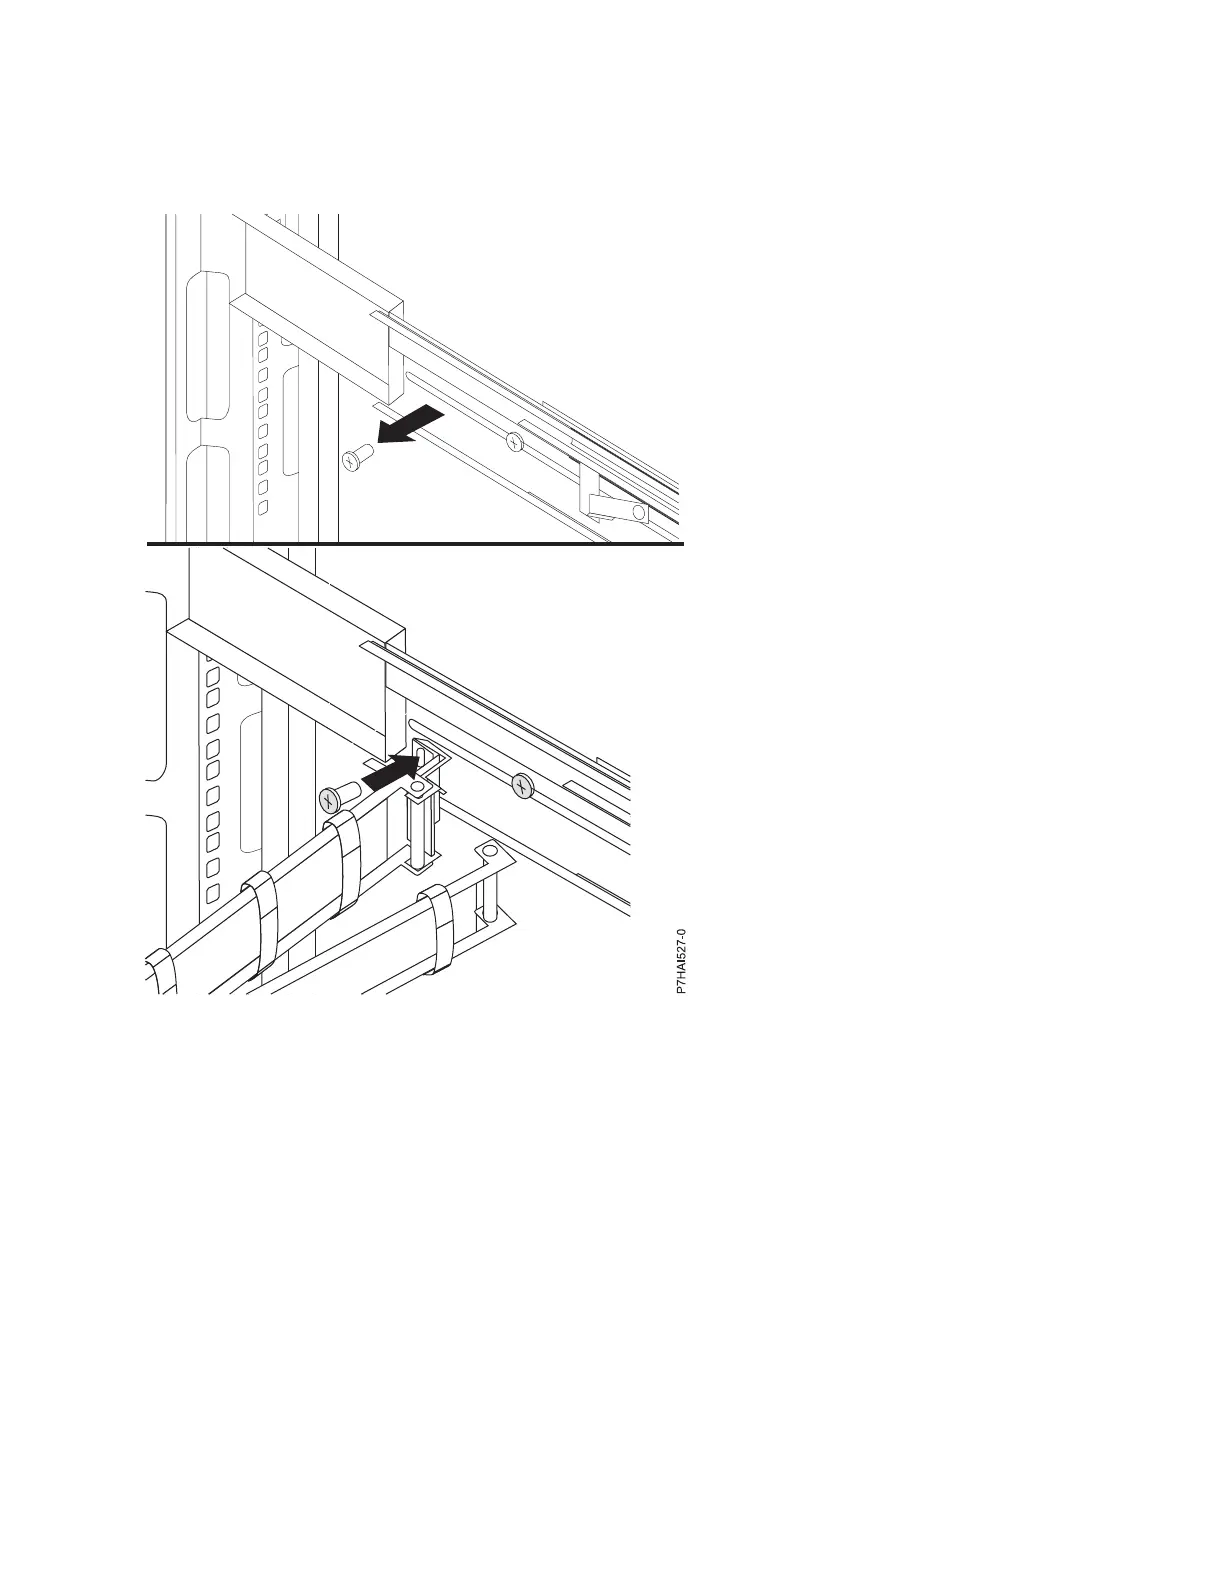
20. Remove the rail-adjustment screw that is located closest to the rear of the rack from the left-slide rail.
Use a screw to attach the cable-management arm to the rail.
21. Connect the video, keyboard, and mouse connectors to either a server or optional console switch in
the rack cabinet. If you are installing the optional console switch, see Installing the Optional Console
Switch and complete the steps described. If not, follow the procedure from Step 21 to complete the
installation of your monitor and keyboard tray.
22. Connect the power cord to the short jumper cord on the cable-management arm.
23. Connect all cables and signal connectors to the correct device or connector.
24. Ensure that all power switches are turned off. Connect the power cord to a grounded electrical outlet
or power distribution unit (PDU).
Note: Ensure that the voltage of the local electrical supply is in the range 100 - 240 volt ac, before
you connect the ac power cord to the dc adapter outlet.
25. Extend the tray from the front of the rack cabinet. Route cables within the rack cabinet, and secure
them with cable straps.
Installing the console switch (optional)
Learn how to install the optional console switch.
Figure 33. Attaching the cable-management arm
Installing and configuring the Hardware Management Console 47