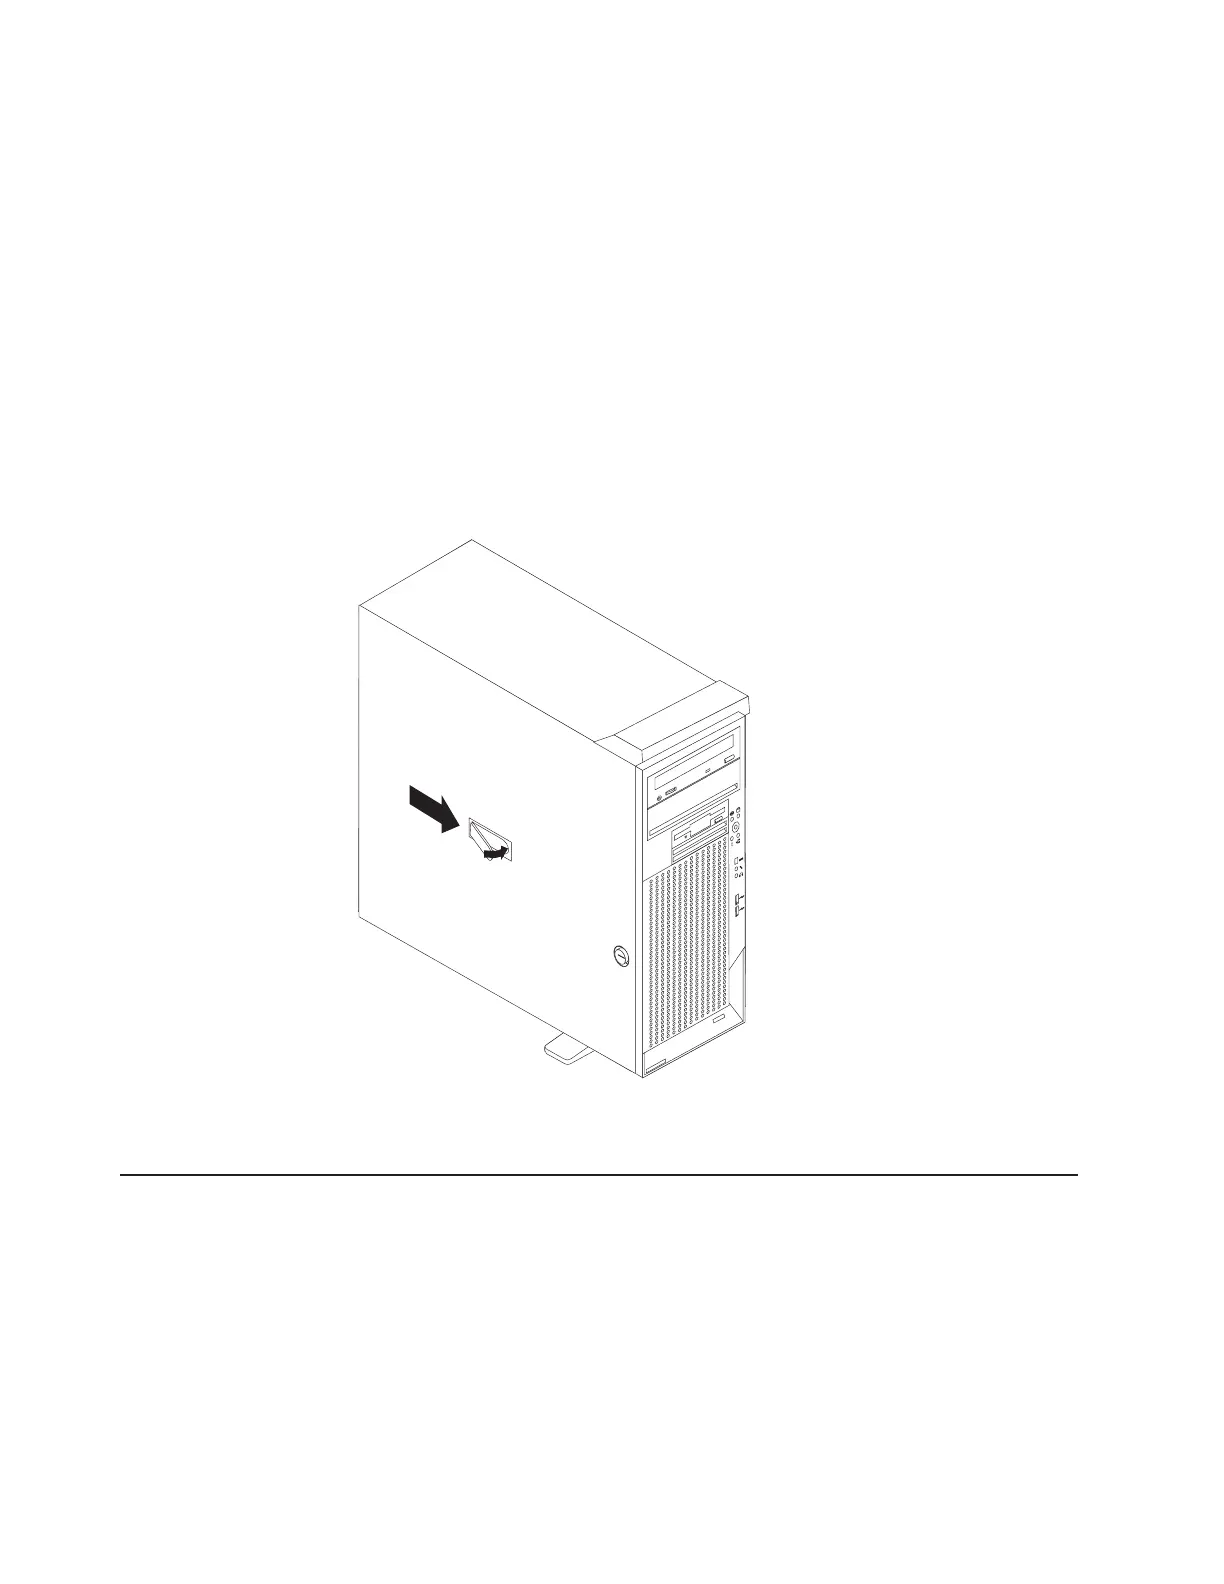
Replacing the side cover
If you removed the support bracket, reinstall it before you replace the side cover.
See “Removing and installing the support bracket” on page 27.
Note: The rear adapter retaining bracket rests against the computer side cover.
You might find it easier to lay the computer on its side to replace the side
cover.
Complete the following steps to replace the side cover:
1. Before installing the cover, check that all cables, adapters, and other
components are installed and seated correctly and that you have cleared all
work tools from inside the computer.
2. Install the side cover by placing it into position on the computer. Be certain that
the lip on the bottom of the cover rests on the ledge on the bottom of the
chassis before rotating the cover up to the vertical position. Press down on the
cover-release latch as you slide the side cover forward to lock the side cover.
1
3
9
4
3. Reconnect the external cables and power cords to the computer.
4. Turn on the attached devices; then, turn on the computer.
Completing the installation
To complete your installation, reinstall the bezel, connect all the cables and, for
certain options, run the Configuration/Setup Utility program. Follow the instructions
in this section.
Cabling the computer
If your computer cables and connector panel have color-coded connections, match
the color of the cable end with the color of the connector. For example, match a
blue cable end with a blue panel connector, a red cable end with a red connector,
and so on.
40 IBM IntelliStation M Pro Types 6220 and 6230: Installation Guide
 Loading...