English
2
SERVICE MODULARI06/2014
1. FOR THE INSTALLER
1.1 INTRODUCTION
• These instructions provide the specifications and the step-
b
y-step procedures for the installation, start up and opera-
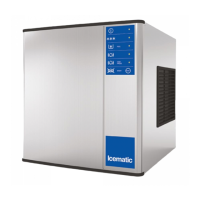
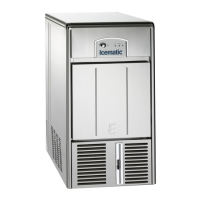
tion for the model M 202-302-402-502 Modular Cubers.
• The Modular Cubers are quality designed, engineering and
constructed, and are thoroughly tested icemaking systems,
providing the utmost in flexibility to fit the needs of a par-
t
icular user.
INSTALLATION NOTE: Allow 15 cm. minimum space at sides
and back for ventilation and utility connections.
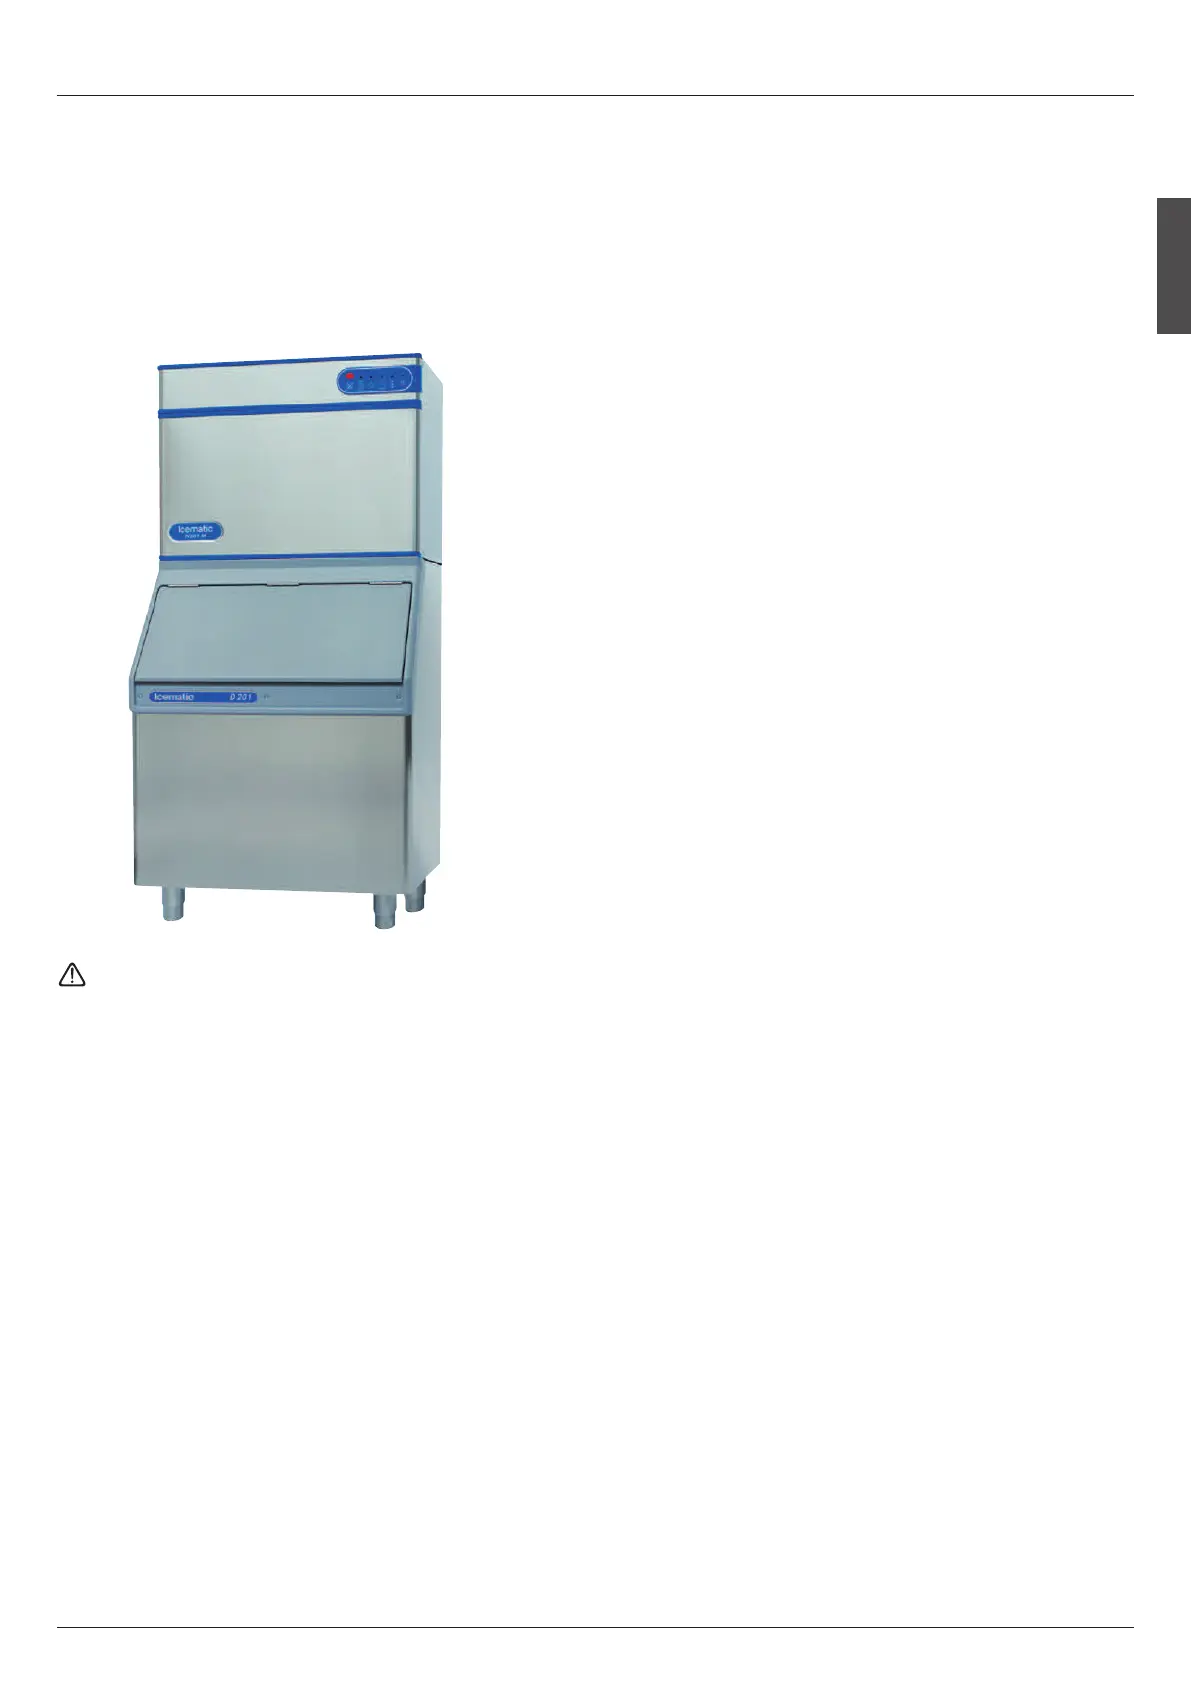
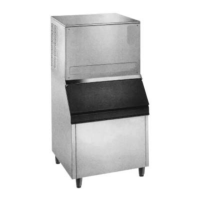
1.2 STORAGE BIN
The models M 202-302-402-502 stack onto Icematic bin
model D 201 - D 310.
1.3 REFRIGERANT R 404 A
Charge per nameplate rating.
1.4 STANDARD LEGS
Furnished with storage bin. Four legs screw into mounting
sockets on cabinet base. Provide 18.5 cm. (7’’) minimum
height including adjustable leveling foot.
1.5 IMPORTANT OPERATING REQUIREMENTS
MINIMUM MAXIMUM
A
ir Temperature 10°C (50°F) 40°C (100°F)
Water Temperature 5°C (40°F) 35°C (90°F)0
Water Pressures 1 bar gauge 5 bar gauge
Electrical Voltage
Variations Voltage
r
ating specified
on nameplate -10% +10%
Extended periods of operation exceeding these limitations
constitues misuse under the terms of Manufacturer’s Limited
Warranty, resulting in a loss of warranty coverage.
1.6 SELECT LOCATION
• The first step in installing the equipment is to select the lo-
cation.
• The purchaser of the unit will have a desired spot in mind,
check out that spot to insure that it is:
- indoors, in an environment that does not exceed the air
and water temperature limitations for the equipment.
- that the necessary utilities are available including the cor-
rect voltage electrical power.
- that there be space around the installed machine for serv-
ice, 15 cm. minimum left, right, and rear for air-cooled
models.
1.7 STORAGE BIN
• The Icematic bins for these units are the D 201 and D 310.
Other bins may be available with bin tops to vary the storage
capacity.
• Lay the bin on its back, using cardboard from the carton to
support it, screw in the legs.
Stand the bin upright, and correct any possible small tears in
the machine mounting gasket with food grade silicone
sealant.