SECTION 3 DISASSEMBLY INSTRUCTIONS
3 - 1
•
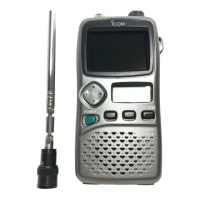
REMOVING THE REAR PANEL
1 Unscrew 3 screws, A
.
2 Unscrew 1 screw, B
.
3 Remove the rear panel in the direction of the arrow.
4 Unplug speaker connector to separate front panel and
rear panel.
•
REMOVING THE LOGIC UNIT
1 Unscrew 1 screw, D
.
2 Remove the LOGIC unit in the direction of the arrow.
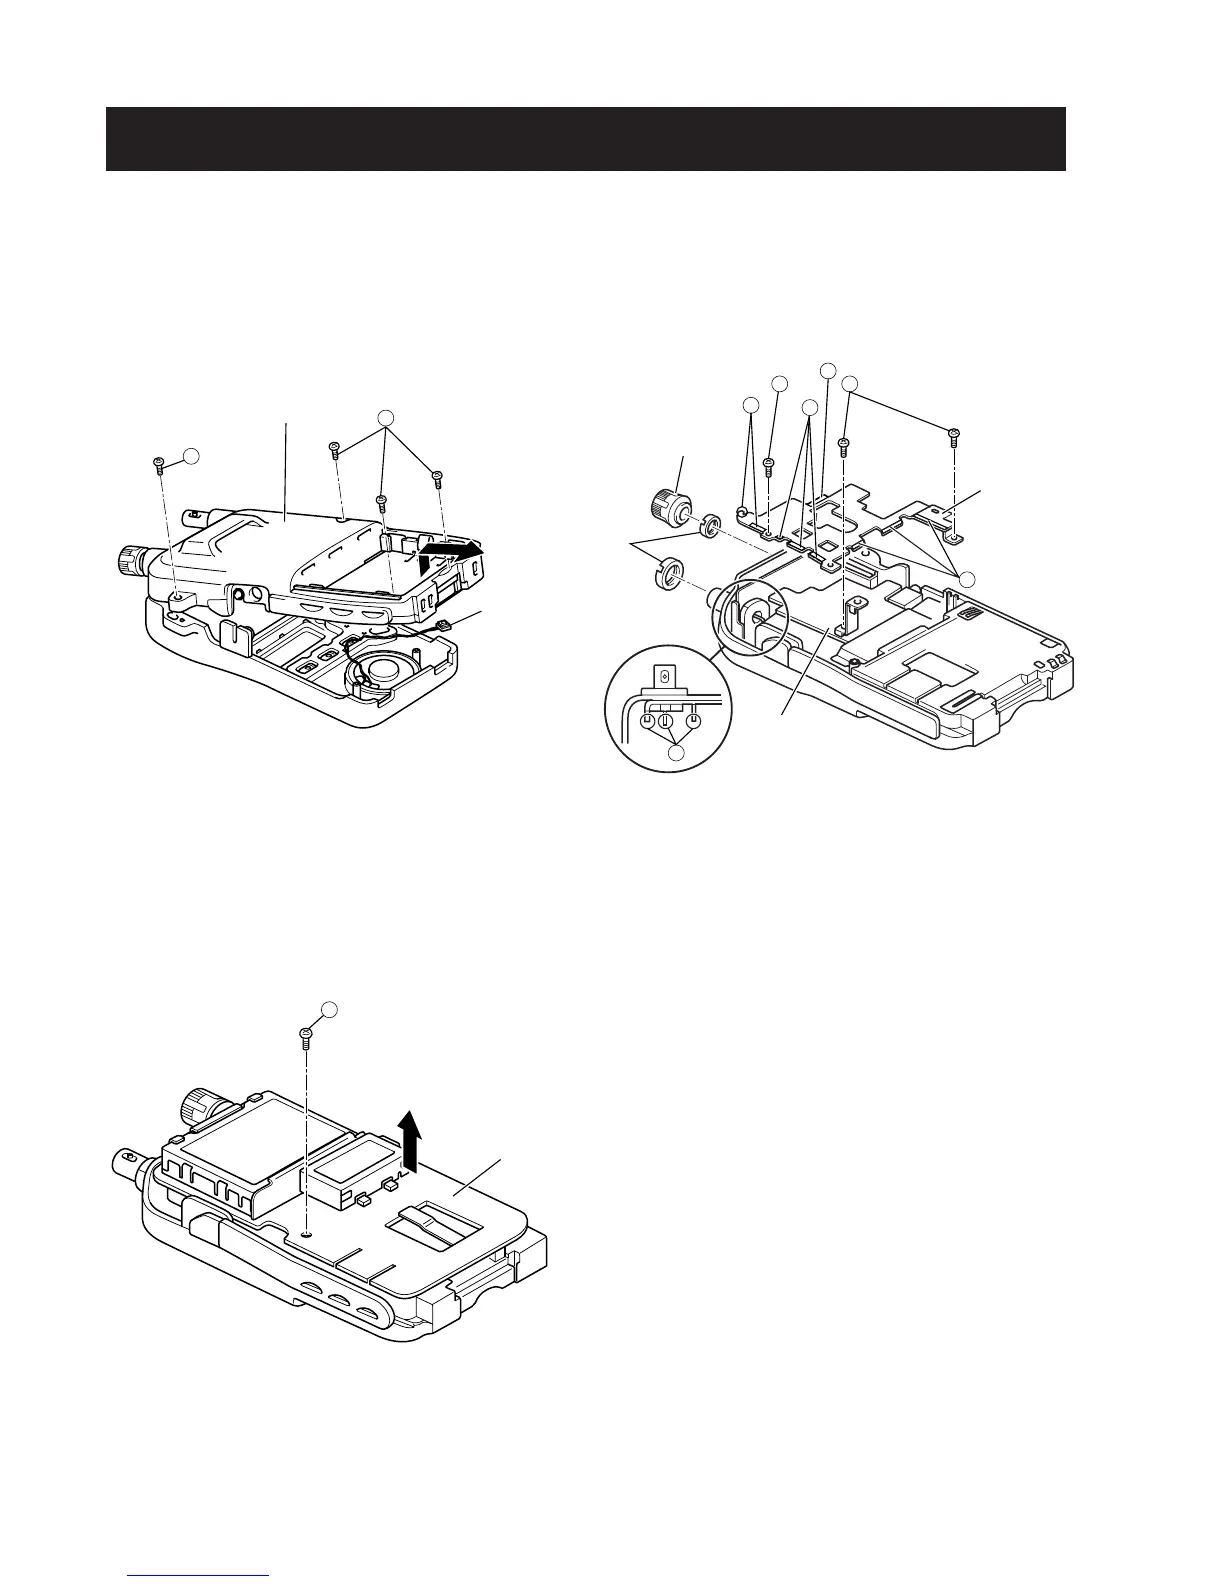
•
REMOVING THE RF UNIT
1 Remove the 1 knob and unscrew 2 nuts
.
2 Unscrew 3 screws, E, and unsolder 8 points, F.
Unsolder 1 points, H ([OTH-2] only).
3 Remove the shield plate.
4 Unsolder 3 points, G, and remove the RF unit.
 Loading...