GM2B-RR-AS-(RR-GM2)-EN maestro.idatalink.comAutomotive Data Solutions Inc. © 2023
3
CHEVROLET CRUZE LIMITED MONOCHROME SCREEN WITH AMP 2016
STEP 1
• Unbox the aftermarket radio and locate its main harness.
• Connect the wires shown on the next page from
aftermarket radio main harness to the GM2 T-harness and
match the wire functions.
• Remove the factory radio.
Note: only connect purple/white wire to radio reverse input or
module damage will occur.
STEP 2
• Connect the GREEN male 2 pin connector of the backup
camera cable to the GREEN female connector of the
backup camera adapter. Connect GRAY connector of
adapter to the vehicle backup camera harness.
STEP 3
• Assemble GM2 T-Harness: If using RR, Unplug RED 2-pin
plugs and connect female 2-pin BLACK to male 2-pin RED.
If using RR2, leave RED 2-pin plugs connected together.
• Connect the factory harness to the GM2 T-harness.
STEP 4
• Plug the aftermarket radio harnesses into the aftermarket
radio.
• Connect the backup camera RCA cable into the
aftermarket radio.
• Connect the steering wheel control cable to the
aftermarket radio. Connect either the blue/yellow wire
(Kenwood/JVC or radios with SWI/KEY wires) or the 3.5mm
to the steering control input of the radio (see Radio Wire
Reference Chart for more details).
STEP 5
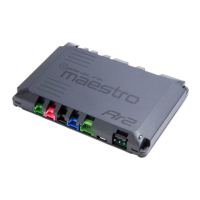
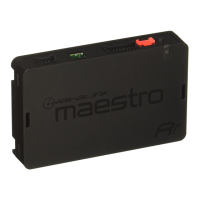
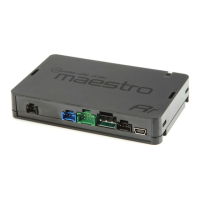
• Connect all the harnesses to the Maestro RR module then
test your installation.
To adjust chime volume:
• Open driver’s door.
• Turn key to Accessory (ACC) position.
• Press volume up or down on steering wheel controls to
raise or lower chime volume.
1
INSTALLATION INSTRUCTIONS P1 /1
 Loading...


