EasyManua.ls Logo

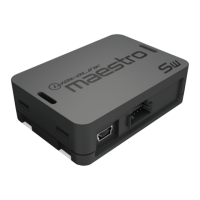
iDataLink maestro Rr User Manual

iDataLink maestro Rr
229 pages
To Next Page IconTo Next Page
Page #1 background imageLoading...
Page #1 background image
NOTICE: Automotive Data Solutions Inc. (ADS) recommends having this installation performed by a certifi ed technician. Logos and trademarks used here in
are the properties of their respective owners.
WARNING
Pressing the printer icon or “quick printing” this document will print
all of the guides in this compilation.
Open the Bookmarks menu and find your vehicle OR scroll
down until you find the install guide for your vehicle.
Print only the pages for your vehicle using the advanced
options in the Print menu.
Install your Maestro RR according to the guide for your vehicle.
HOW TO USE THIS INSTALL GUIDE
1
2
3
SELECT VEHICLE
PRINT PAGES NEEDED
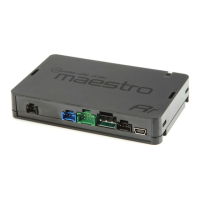
Table of Contents

Other manuals for iDataLink maestro Rr

Questions and Answers:

iDataLink maestro Rr Specifications

General IconGeneral
CategoryAutomobile Accessories
TypeVehicle Interface Module
CompatibilityWorks with select vehicles and aftermarket radios
FeaturesRetains factory features
FunctionalityAllows integration of aftermarket radios with factory vehicle systems
ProgrammabilityProgrammable via Weblink desktop application
Firmware UpdatesSupports firmware updates through Weblink
Data Bus SupportCAN bus
Vehicle CoverageCompatible with a wide range of makes and models
Additional FeaturesMay include support for factory amplifiers, backup cameras, and more
InstallationProfessional installation recommended

Summary

Installation Instructions

Step 1: Prepare and Connect Main Harness

Unbox aftermarket radio, locate harness, connect to TO2 T-harness, and match wires.

Step 2: Connect Backup Camera Harness

Connects the TO2 T-harness to the backup camera harness if the vehicle is equipped.

Step 3: Connect Factory Harness to TO2 T-Harness

Connects the vehicle's factory harness to the TO2 T-harness.

Step 4: Connect TO2 T-Harness to OBDII

Plugs the TO2 T-harness's white 2-pin connector into the vehicle's OBDII connector.

Step 5: Connect Radio and Data Cables

Plugs aftermarket radio harnesses, backup camera, auxiliary RCA, and data cables.

Step 6: Connect Module and Test Installation

Connects all harnesses to the Maestro RR module and tests the installation.

Wiring Diagram

Step 1: Main Harness Wire Identification

Identifies various wires from the main harness and their destinations.

Step 2: Reverse Camera Harness Connection

Illustrates the connection of the reverse camera harness to the TO2 T-harness.

Step 3: Factory Radio Harness Connection

Shows the connection of the factory radio harness to the TO2 T-harness.

Step 4: OBDII Connector Wiring

Details the wiring and connection of the OBDII connector.

Step 5: Maestro RR Module Connection

Depicts the final connection of the Maestro RR module to the main harness.

Radio Wire Reference Chart

Troubleshooting and Support

Maestro RR Reset Procedure

Step-by-step guide to reset the Maestro RR module for troubleshooting.

Technical Assistance Information

Provides contact details for technical support via phone, email, and web.

Related product manuals