ADS-RR(SR)-TOY02-DS-IG-EN maestro.idatalink.com
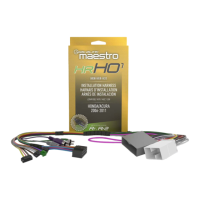
ToyoTa TaComa WiTh JBL 2016-2019
Automotive Data Solutions Inc. © 2019
3
INSTALLATION INSTRUCTIONS
STEP 1
• Unbox the aftermarket radio and locate its main harness.
• Connect the wires shown on the next page from
aftermarket radio main harness to the TO2 T-harness and
match the wire functions.
• Remove the factory radio.
For vehicles with bird’s eye view: to retain this system, con-
nect Yellow/Green wire from TO2 T-Harness to the radio’s
Purple/White wire.
STEP 2
• If the vehicle is equipped with an OEM backup camera,
connect the TO2 T-harness to the backup camera harness.
STEP 3
• Connect the factory harness to the TO2 T-harness.
STEP 4
• Plug the aftermarket radio harnesses into the aftermarket
radio.
• Connect the backup camera RCA cable into the
aftermarket radio (if equipped).
• Connect the auxiliary RCA cables into the aftermarket radio
(if equipped).
• Plug the Data cable to the data port of the aftermarket
radio.
Notes
On Pioneer radio, ensure that there is nothing plugged into
the W/R port.
For Sony radios with OSD Controllable camera: When the
vehicle is equipped with the bird’s eye view camera system,
plug the camera into Camera 1 on the radio. This is the
only camera input that allows camera control through the
touchscreen.
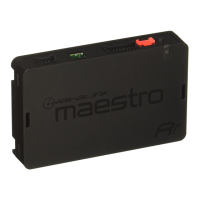
STEP 5
• Connect all the harnesses to the Maestro RR module then
test your installation.
3