5
6
8
7
Ø 6
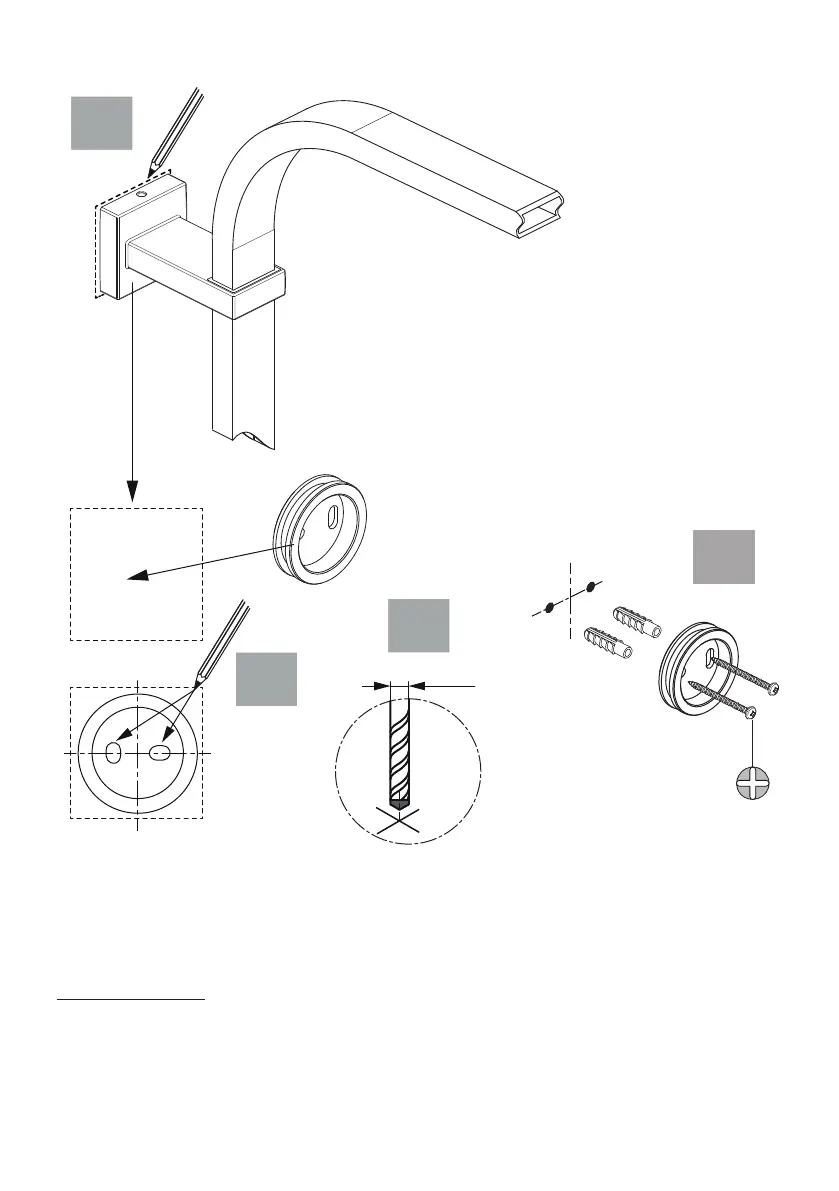
5. Once the riser rail is correctly positioned & is vertical, draw a
line around the perimeter of the bracket onto the wall surface.
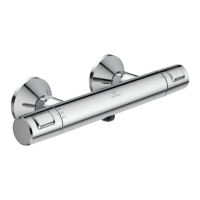
Lift the shower rail assembly o the nipple on the shower valve
& place it safely to one side.
6. Place the inner circular part of the wall bracket onto the
drawn square on the wall. Place it centrally within the square &
orientate it as shown. Mark the two slot positions on the wall.
7. Drill two 6mm holes into the wall at the centre of the marked slots.
8. Tap two wall plugs into the two drilled holes. Using a “posi” screw driver, & the two screws provided,
securely x the circular bracket to the wall.
IMPORTANT NOTE: The wall plugs & screws provided are intended for a solid wall. Check & ensure
these plugs & screws are suitable for the type of installation wall. Otherwise purchase & use wall
xings appropriate to the wall type.
13
 Loading...