24
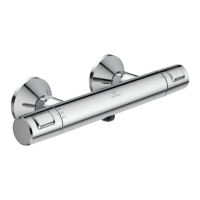
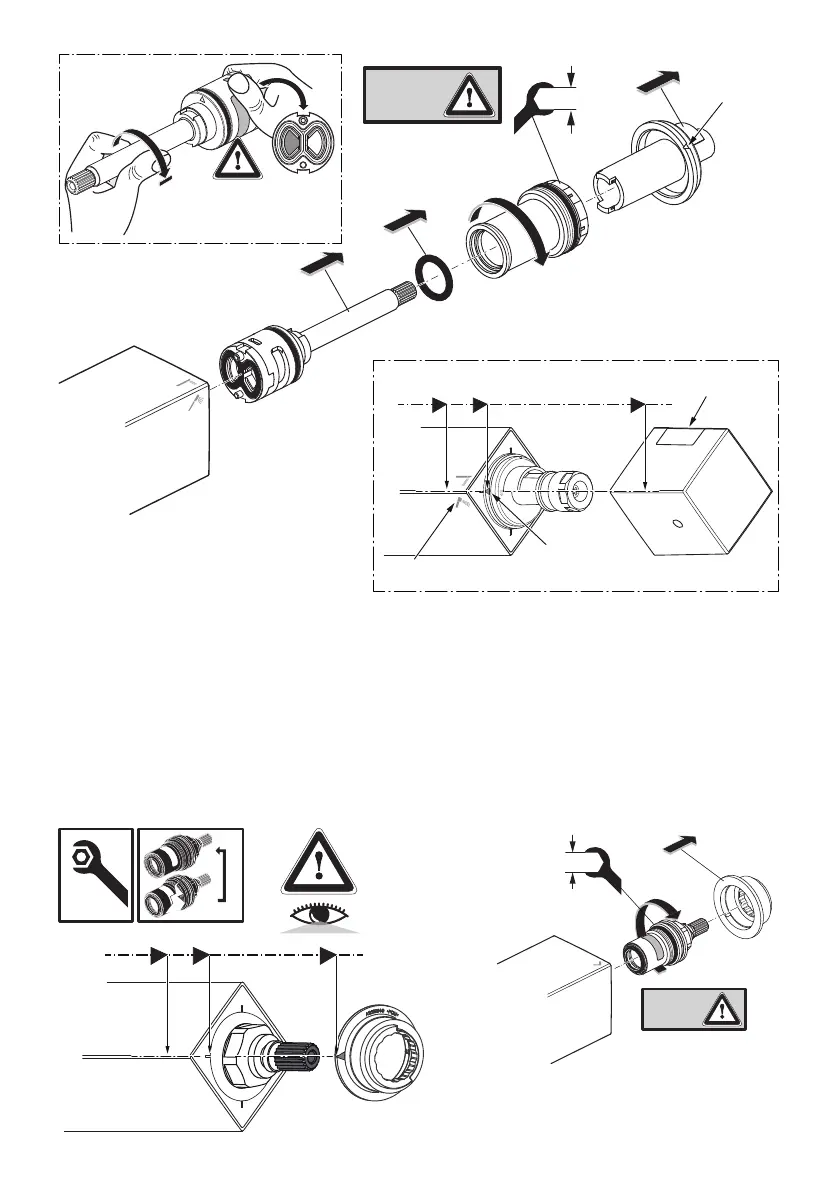
7. With the cartridge located back in the mixer bore, screw the threaded collar into the mixer body by
hand rst & then tighten with a spanner or socket. Ideally torque to 4Nm min to 5Nm max.
8. Ret the stop sleeve as illustarted above. Align the marked arrow on the stop sleeve to the front top
corner of the mixer body or use the marker on the square end cap as guidance.
9. Reverse the sequence to ret the drive bush & handle. Align the button edge of the handle to the rear
edge of the mixer body (overhead shower fully open), t screw, roatate handle 90° back to the o
position (anti-clockwise). Check & adjust the o position as shown in section 8. Ensure correct
alignment of the handle as detailed in section 16.
Stop
sleeve
Shower
symbols
Arrow
marker
Handle corner
with button
Threaded
collar
Rotate spindle clockwise,
left port shown closed.
Arrow
marker
28
min. 4 Nm
max. 5 Nm
19 FLOW CARTRIDGE REPLACEMENT A7537AA
Stop
ring
min. 16 Nm
max. 18 Nm
17
 Loading...