21
INSTALLATION
icos system - Installation and Servicing
21
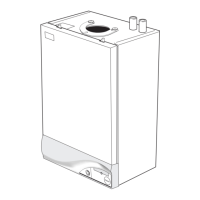
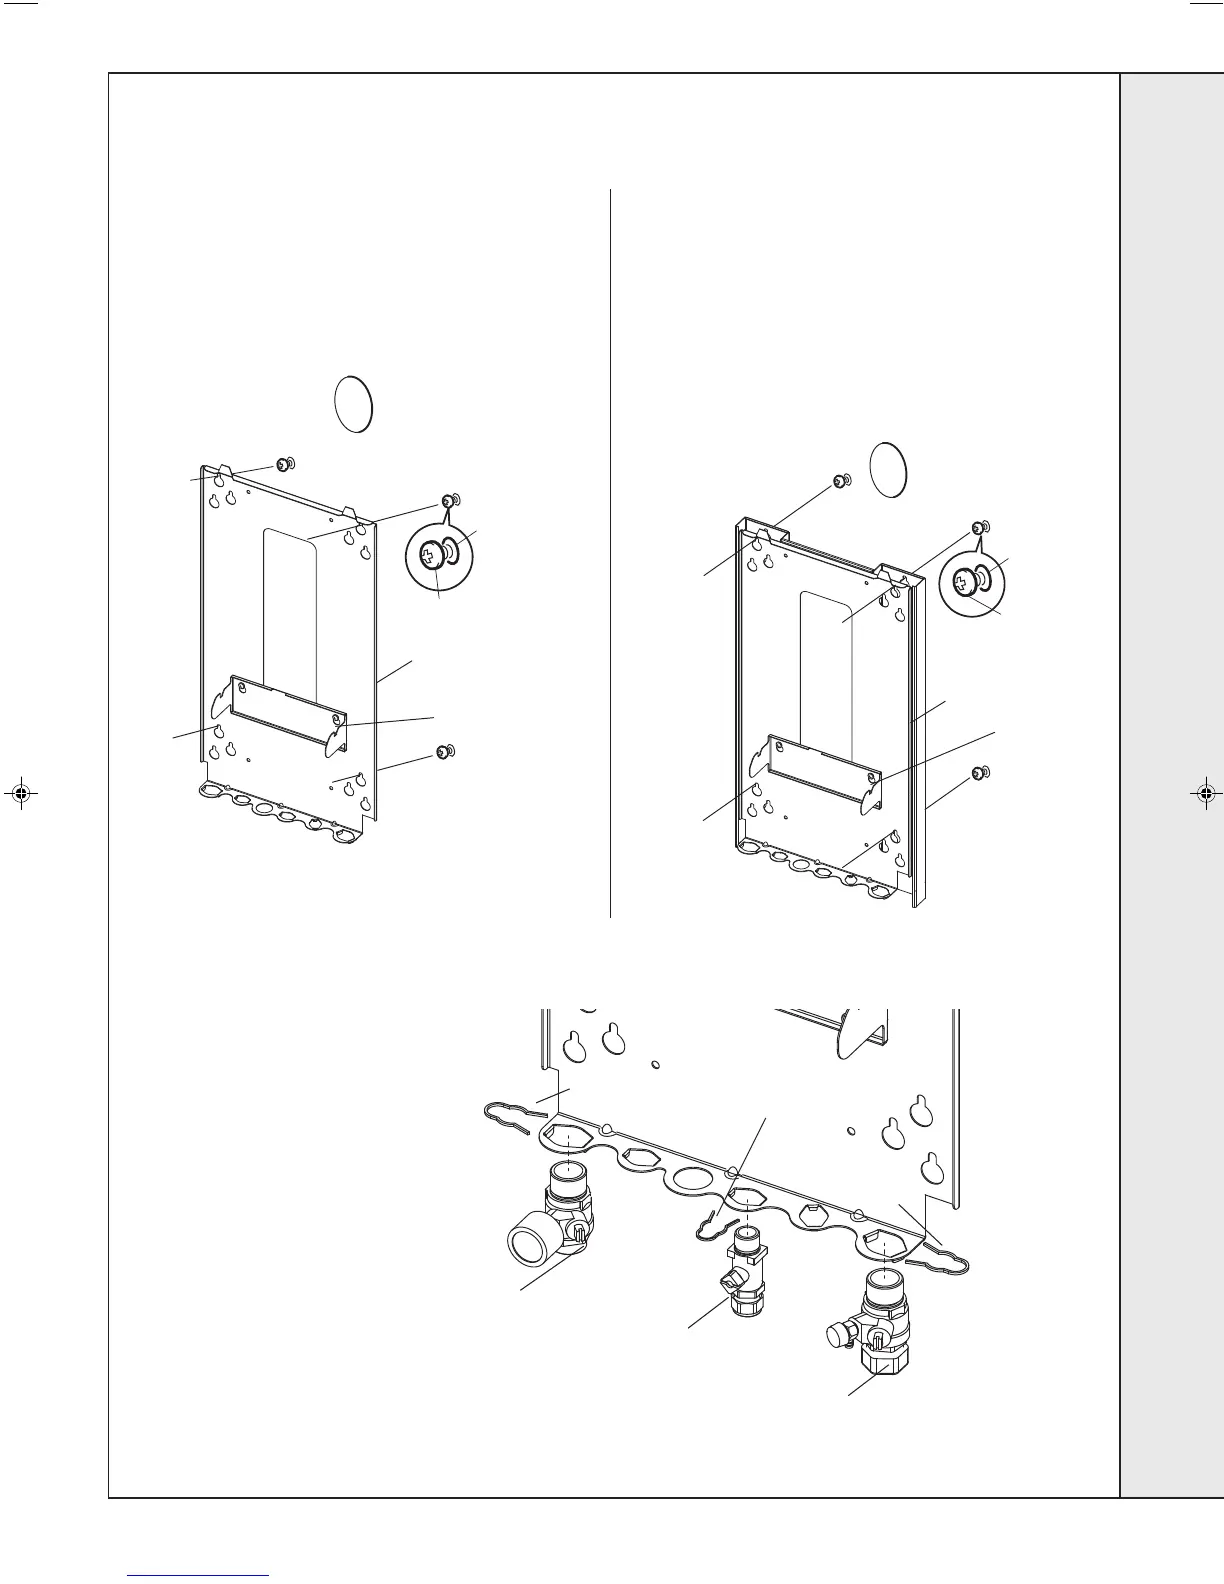
FITTING THE PIPING FRAME AND VALVES (Rear Flue outlet shown)
TO FIT THE PRE-PIPING FRAME DIRECTLY TO THE WALL
• Insert wall plugs.
• Put the screws into the wall plugs and leave 10mm proud
• Hang the frame onto the screws (take care to use the
same hole position from each group as previously chosen
with the wall template) and tighten up.
• Locate the support bracket on the piping frame.
Note. Service connections may be made now, before mounting the boiler, if required. Refer to Frames 27-29.
Piping
frame
Wall
plug
Screw
(10mm proud)
Support
bracket
nm8443
Note. Isolating valves are supplied separately in the hardware pack box.
Fit to the piping frame BEFORE mounting the boiler.
Piping
frame
Wall
plug
Screw
(10mm proud)
Support
bracket
nm8444
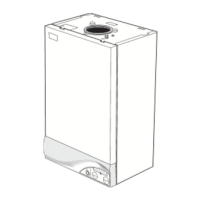
TO FIT THE PRE-PIPING FRAME USING THE STAND-OFF FRAME
OPTION KIT (To allow pipework to be taken upwards)
• Put the screws into the wall plugs and leave 10mm proud.
• Hang the stand-off frame onto the screws and tighten up.
• Fasten the piping frame to the stand-off frame with the
6mm screws provided.
• Locate the support bracket on the piping frame.
Note.
If the clearances above and below the boiler are less than
the length of the pipes it will be necessary to position the
pipes behind the wall mounting plate BEFORE the plate is
screwed to the wall.
nm8
Valve securing
clip 15mm
Valve securing
clip 22mm
Valve securing
clip 22mm
Isolation valve
c/w pressure
gauge
Isolation valve
c/w drain
Compression
gas cock
1. Remove valves and clips from
the hardware pack box.
2. Assemble valves to the frame
and secure in place with clips
provided.
3. Make sure to fit valves in
correct order shown.
INSTALLATION

 Loading...