INSTALLATION
Solar Thermal - Installation and Servicing
33
IN ROOF MOUNTING (TS 8001) - MOUNTING SYSTEM 45
O
ELEVATION
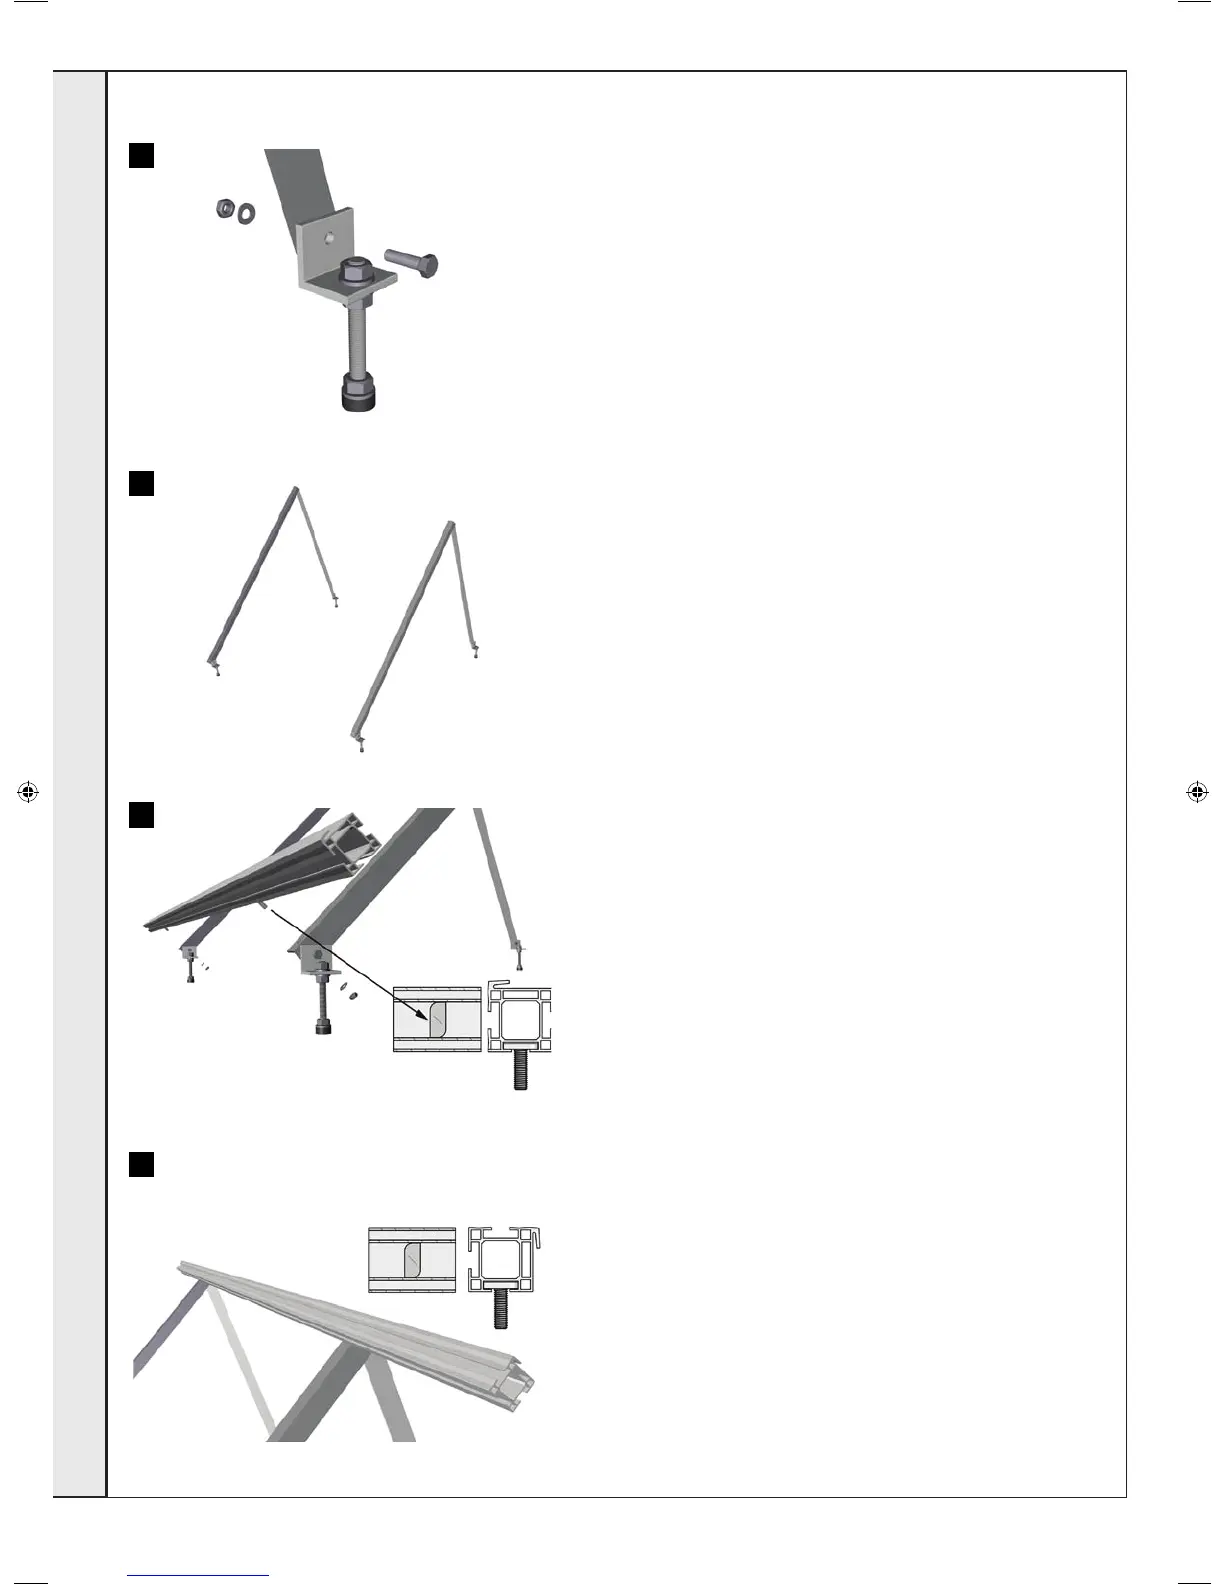
6c. Screw the support bracket to the attachment bracket on the back (C)
Order:
screw – attachment bracket – support bracket – washer – nut
6d. Attach the second mounting triangle as described in 6a-6c
7. Slit T-head bolt into the lower groove of the mounting rail and screw
it to the mounting part using a washer and hexagon nut.
Order:
mounting rail - hammer-head bolt - mounting part - washer - nut
8. Attach upper mounting rail as described in Point 7
Warning: Upper and lower mounting rails must be mounted perfectly
straight and parallel to one another!
6c
6d
7
8
INSTALLATION
207786-2.indd 38 16/02/2012 11:26:18
 Loading...