3.3. Adding the Remote Transmitter to a User code
To add a bi-directional Xwave
2
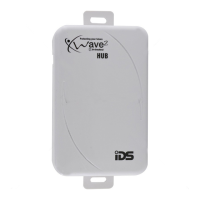
remote transmitter to a user code.
1. Enter the Master User Menu
2. Scroll to menu [Add Bidir Remote] or enter [1][6][*]
3. Enter the Hub that you are teaching the remote too
4. Enter the user code that will be paired with the remote
5. Press any remote button until the remotes ID is displayed
6. Press [*] to confirm
7. Enter the next user code if more than one remote is to be learnt or [#] to exit.
3.4. Allocating Remote Transmitter Buttons
To change the button functions:
1. Enter the Master User Menu
2. Scroll to menu [Edit BD Buttons] or enter [1][7][*]
3. Enter the Hub that the remote belongs too
4. Enter the user code that was paired with the remote
5. Scroll through the buttons until the button to be changed and press [*]
6. Scroll through until the function required and press [*] to confirm
7. Enter the parameter followed by [*] to confirm (The parameter will be the partition
number or the output number.)
See a list of functions below:
Will only arm the partition allocated to button and user code.
Will only disarm the partition allocated to button and user code.
Will only arm or disarm the partition allocated to the user code.
Will only arm the partitions allocated to the user code.
Will only disarm the partitions allocated to the user code.
Will only arm or disarm the partitions allocated to the user code.
Will arm the allocated partition in the current/last used stay profile.
Will arm the allocated partition in stay profile 1 and then allow you to scroll
to the next available profile if one is configured.
Will arm the allocated partition in stay profile 2 and then allow you to scroll
to the next available profile if one is configured.
Will arm the allocated partition in stay profile 3 and then allow you to scroll
to the next available profile if one is configured.
Will arm the allocated partition in stay profile 4 and then allow you to scroll
to the next available profile if one is configured.
Will arm the allocated partition in the current/last used stay profile.
Will arm the allocated partition in stay & Go in stay profile 1 and then allow
you to scroll to the next available profile if one is configured.
Will arm the allocated partition in stay & Go in stay profile 2 and then allow
you to scroll to the next available profile if one is configured.

 Loading...