4
GETTING STARTED
Before you can use your device, you must properly connect it to the computer. After you plug in a new device,
you must personalize it before you can use the authentication and private partition features. The device uses
pre-installed ACCESS Standard software to guide you through the personalization process. The
personalization wizard starts automatically when you plug in a new (or recycled) device. If autorun is not
configured for your computer, you can start ACCESS Standard from the application partition on the device.
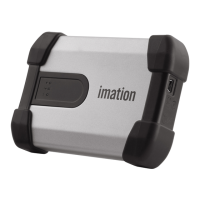
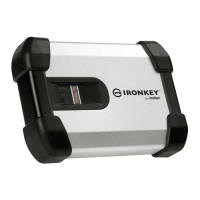
PLUGGING IN THE DEVICE
Depending on the power supplied by the host computer, you may require one or two USB connectors to use
Defender™ H100.
To plug in Defender H100 using one USB port
1. Plug th
e smaller (Mini-A) USB connector into the back of the Defender H100 device.
2. Plug th
e black Type A USB connector into the host computer.
3. Do not plug in the gr
ay Type A USB connector.
If the yellow power LED flashes slowly, follo
w the procedure that uses two USB ports.
To plug in Defender H100 using two USB ports
1. Plug th
e smaller (Mini-A) USB connector into the back of the Defender H100 device.
2. Plug th
e gray Type A USB connector into the host computer.
3. Plug th
e black Type A USB connector into the host computer.
If the yellow power LED flashes slo
wly, the host computer does not meet the USB specification and can-
not supply the required power to the device.
Note 1: Plugging
in the black USB connector first, followed by the gray connector, may delay the start up of
Defender H100 by a few seconds.
Note 2: I
f the yellow power LED flashes quickly, power detection has timed out. Remove all USB connections
and reconnect the cable.
PERSONALIZING A DEVICE
The personalization process involves three main steps:
1 Ap
plying a device profile—The profile sets default preferences for the device. You can choose the Typical
profile, with preconfigured device settings, or the Custom profile that allows you to configure device set-
tings. The Typical profile contains the following device settings:
• Authentication method: password authentication
• Number of device users: 1 (not including the Administrator)
• Private partition uses the total available disk space
• Minimum password length: 6
• Password Retry Limit: 10