Driver Program Installation (For Windows OS)
1. Insert the included installation CD.
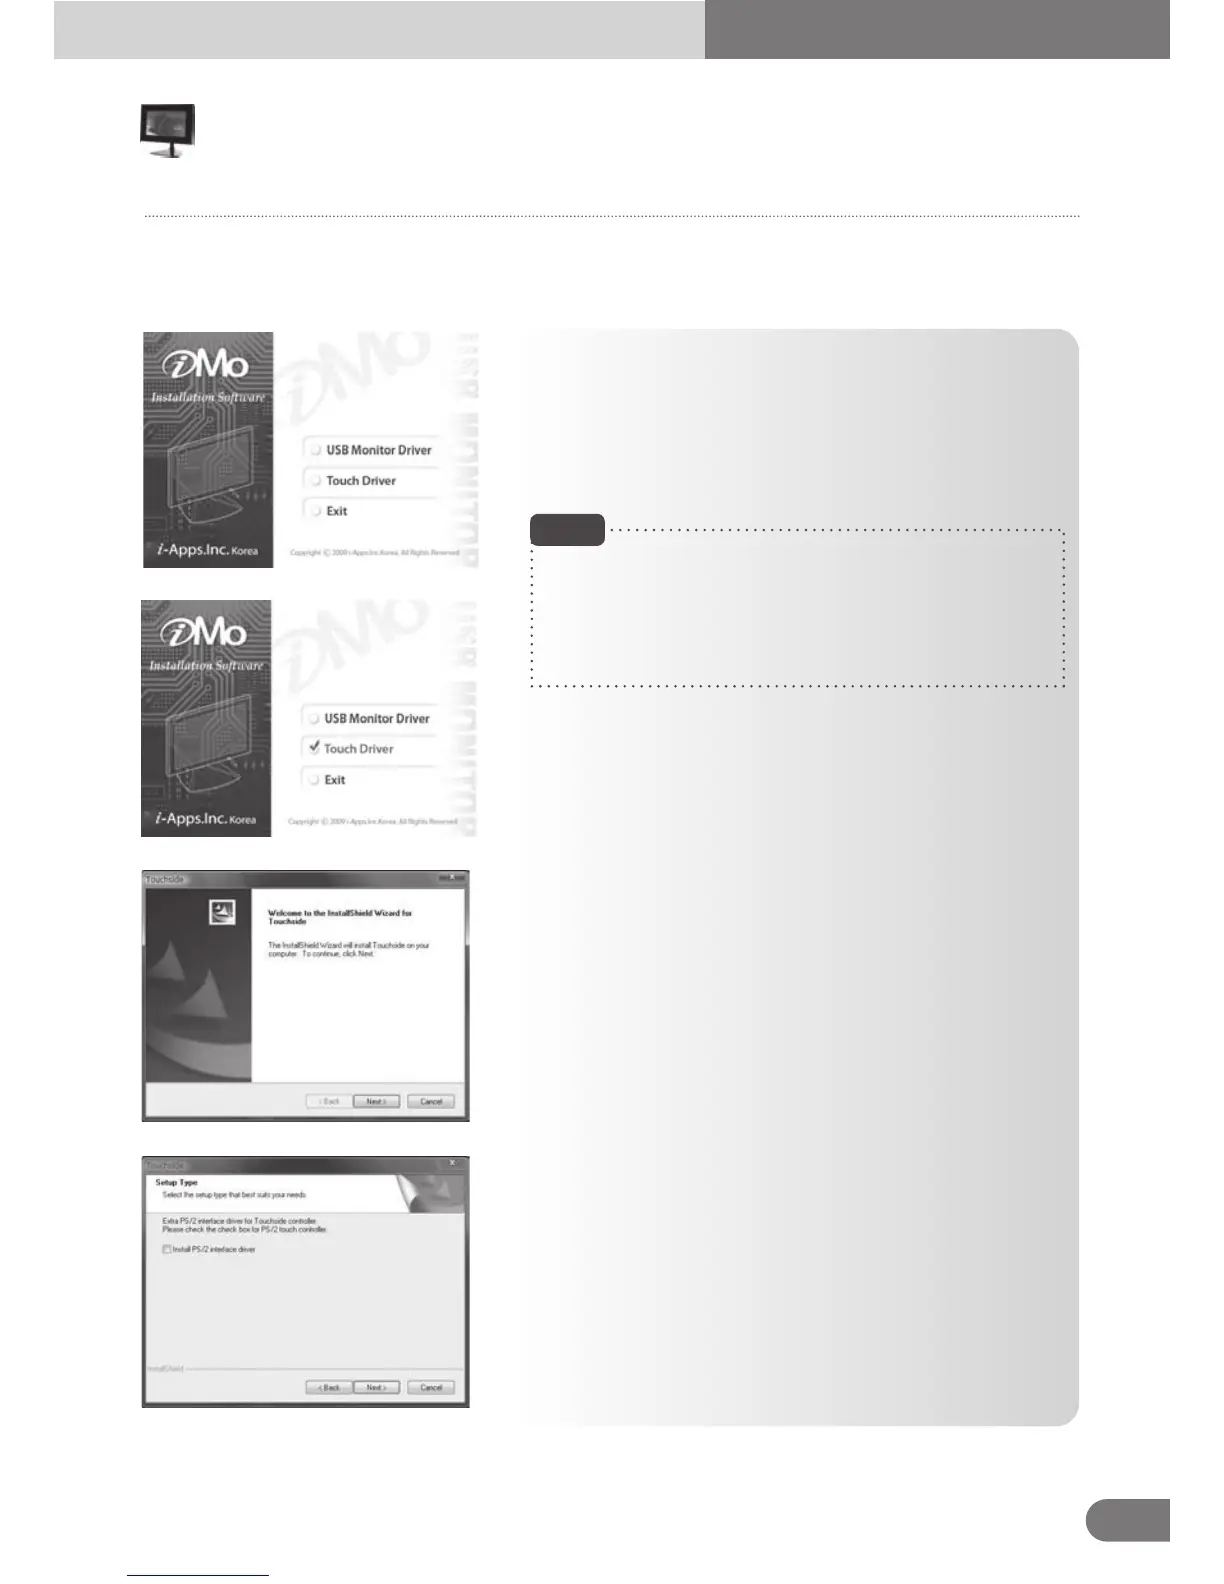
When the CD is inserted, the driver Installer image will
be displayed
● USB Monitor Driver
● Touch Driver
● Exit
2. Select the‘Touch Driver’ button.
3. After selecting the ‘Touch Driver’ button, the driver package
installation wizard will guide user to install Touchside driver
software package. Click [Next] button to proceed installation.
4. The Installation wizard pops up below dialog to hint user to
check this check box if the PS/2 interface of touchscreen is
going to be used. By default, this check box is unchecked.
Then, press [Next] button to proceed installation.
- When ‘Auto Install’ processing is not activated, click on the
“AutoRun” file on the driver CD for Installation.
- Power or USB cable disconnection, during the process of
installation may cause serious error on the PC or OS system.
Note
Turn on the PC and connect the PC with the device by using the USB cable included with USB sub-monitor
(AT-7). When the device is connected to the PC using USB cables, adequate power will be supplied
to the device.
Touch
11
AT-7 User Guide