11
If they were not already screwed, screw the threaded rods (B3) to the sieve holder (B5) paying attention to
following instructions:
1. Insert the rods (B3) in their places that are on the sieve holder (B5).
2. Tighten the threaded bars (B3) on the sieve holder (A5) with the fixing nuts (B4), if you have a shaker A071-
KIT the rods are screwed on the sieve holder (A5) and secured with only two dice.
3. Place the bar (B2) to the desired height and lock it with the knobs (B1).
SIEVES PREPARATION
Depending from the model the appliance can be used with mesh and perforated plate sieves with following
diameters Ø200/250/300/315mm and 8” and 12”. The sieves must be placed as follows:
1. Position the receiver (not perforated sieve used to collect material) in the middle of the sieve holder (B5).
2. Add on the receiver the sieves, paying attention to start on the bottom with the sieves having the
sma
llest openings and continue with the bigger ones
3. At the end add the cover (lid) and fix the series of sieves strongly using the upper blocking bar (B2)
introduced in the two bars fitted on the vibrating plate.
The system to fit the sieves and the upper bar of the sieves, allows also fitting a lid and receiver for wet tests.
WARNING
Before proceeding to the normal use of the appliance be sure that all the parts are
properly tooled up and are suitable for the test that has to be made.
5.04 SPECIMEN POSITIONING
WARNING
Before starting a test, ensure that the sieves on the machine are convenient for
the specimen you are going to test. (See chapter “TOOLING UP ”).
The material positioning can be done in many different ways depending on the kind of test you want to
perform.
For a correct specimen preparation and positioning, please read carefully the standards in force for the kind
of test you wish to perform.
5.05
SWITCHING ON THE EQUIPMENT
ATTENZIONE
Before switching on the appliance, ensure that the sieve shaker is connected to
the feeding net. (Consult the chapter “ELECTRIC CONNECTIONS” of this
manual).
To switch on the machine follow these instructions:
- Put the Main Switch (C1) on the “I” position.
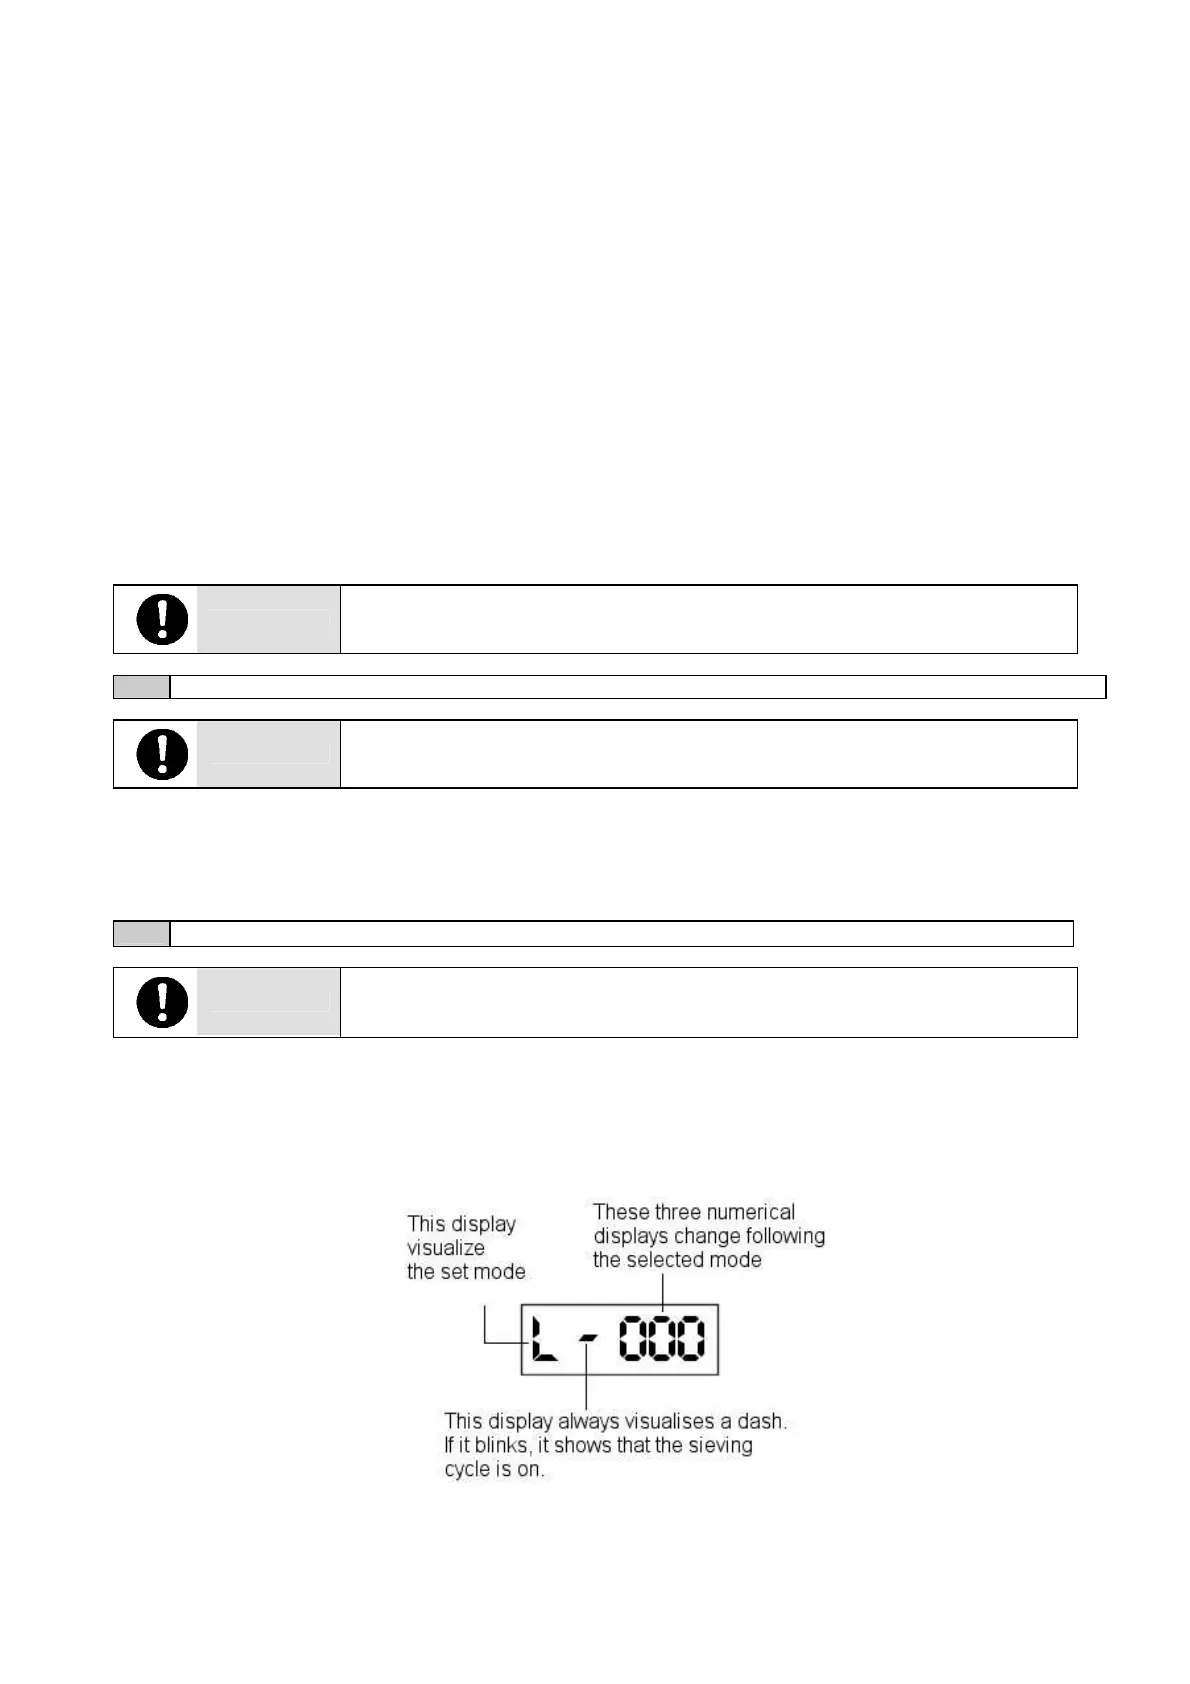
At this step the sieve shaker is ready for the set up and for the use; on the display (C8) the operator will see
for a few seconds the code referred to the machine model and then following picture 6.3-I.
PICTURE 6.3-1
When the machine is switched on, the program opens in L mode and on the numeric display (C8)
the
operator must enter the set up values used during the latest effected test.