8.Installation
Fixed installation
Warning! Don’t aim the lens of infrared thermal imager to any high intensity radiation
source, such as laser emitter or solar. Any damage that caused by not following
instructions are not covered by warranty.
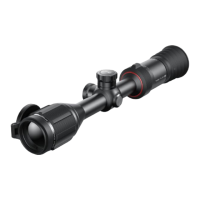
For accuracy of shooting, please install Tube to proper location on your weapon.
⚫ For install Tube series, you need a jig to transfer it, such as the Picatinny rail adapter
included in the package. Tube series designed as 30mm diameter pipe, suits 30mm
standard clip on adapter, such as daylight scope. Base on the suggestions and
instructions from supplier, choose proper tools to install Tube.
⚫ During installation, adjust Tube installation position based on the distance between eyes
and eyepiece (Eye-Relief in specification) and comfort. The eye piece may hurt shooter
during shooting, if you not follow this advice.
⚫ Suggest to install the scope as low as possible, also avoid contact with gun barrel and
other parts;
⚫ Suggest using torque wrench to fasten the screw when installing clip on adapter, to avoid
screwed too tight to damage the scope, suggest torque: less than 2.5Nm;
⚫ When hunting with scope, please zero your rifle refers to “Chapter 9 Zeroing” in this
manual;
⚫ Suggest cover the eyepiece lid when using scope at night or in dark environment, avoid
being found.
Basic settings
⚫ Open the lens lid (14);
⚫ Long press the power button (5) for 2 seconds, device start booting, wait 3 seconds
before entering main menu, finish booting;
Rotate the diopter adjust ring (2) to adjust the clarity of icons on the screen;
⚫ Rotate the focal length adjust ring (13) on objective lens to adjust focal length;