7
For safety reasons, read 1.2 Important safety instructions (
3~5
) carefully before
installation. In addition, review the following for proper use of Instant Stack.
●
When using Smart Stack, both projectors will respond to remote control signals
until the STACK MODE on either projector is set to SUB.
During installation, we recommend you operate one projector with the remote
control and the other with the projector control panel or a wired remote control.
●
Images from Projector A and Projector B may superimpose well initially but
shift over time. Re-adjust the images as needed.
●
If the volume level of the built-in speakers is too high, both projectors may
resonate, noise may occur and image quality may deteriorate.
In this case, check the volume setting on both projectors. Lower the volume
until the symptoms disappear or arrange the projectors side-by-side. If the
image positions are shifted, re-adjust.
2.1 Smart Stack Preparation
When using Smart Stack via an RS232 connection, you must set up both projec-
tors according to the following settings. Otherwise, the Smart Stack menu will not
be available.
●
POWER SAVING MODE in SETUP menu: ENABLE
(User's Manual → SETUP menu)
●
COMMUNICATION TYPE under COMMUNICATION in SERVICE menu: OFF
(User's Manual → OPTION menu)
●
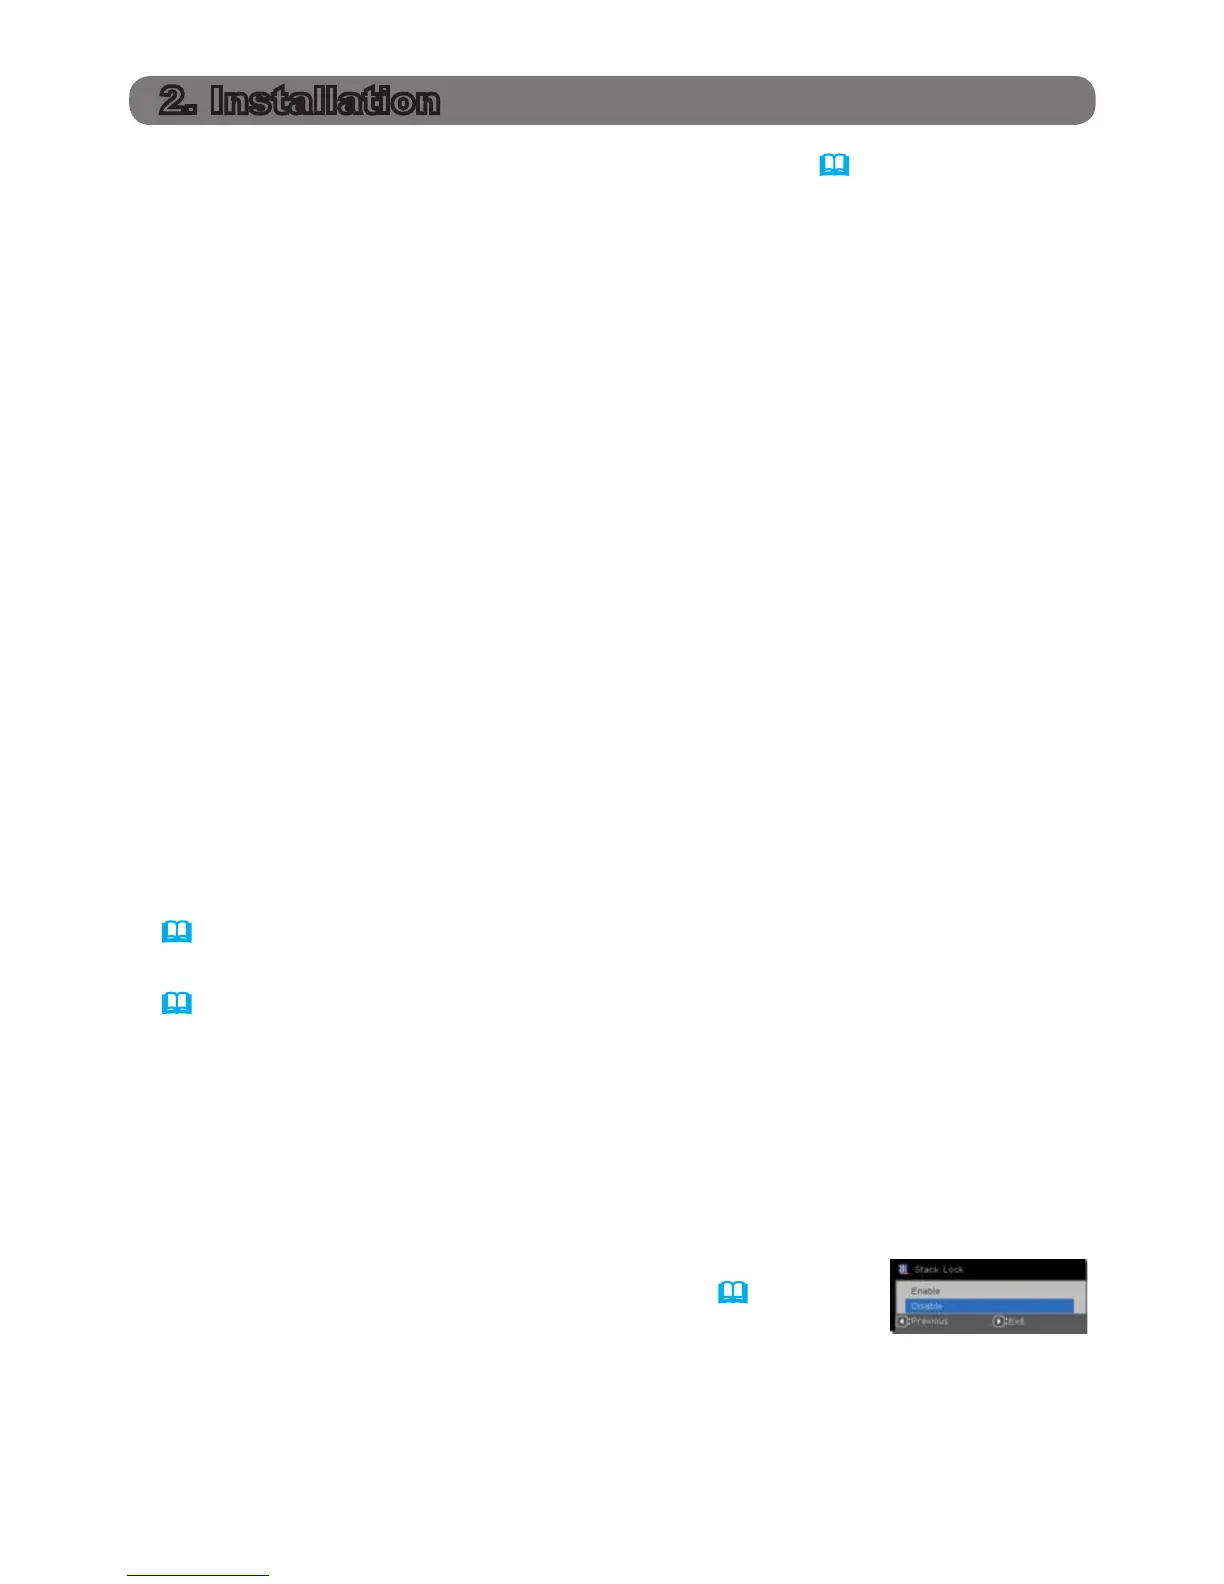
STACK LOCK in SECURITY menu: OFF
When STACK LOCK is set to on, menus related to Instant Stack cannot be
operated. Therefore it is necessary to set it to off during installation and menu
settings.
(1) Use the ▲/▼/◄/► buttons to go into the following menu.
ADVANCED MENU > SECURITY
> STACK LOCK
STACK LOCK dialog will appear on screen. (
User's
Manual → SECURITY menu)
(2) Use the ▲/▼ buttons to highlight OFF, and press the ► button to save the
change.
2. Installation
 Loading...