22
Performing Your Test
Step 3.
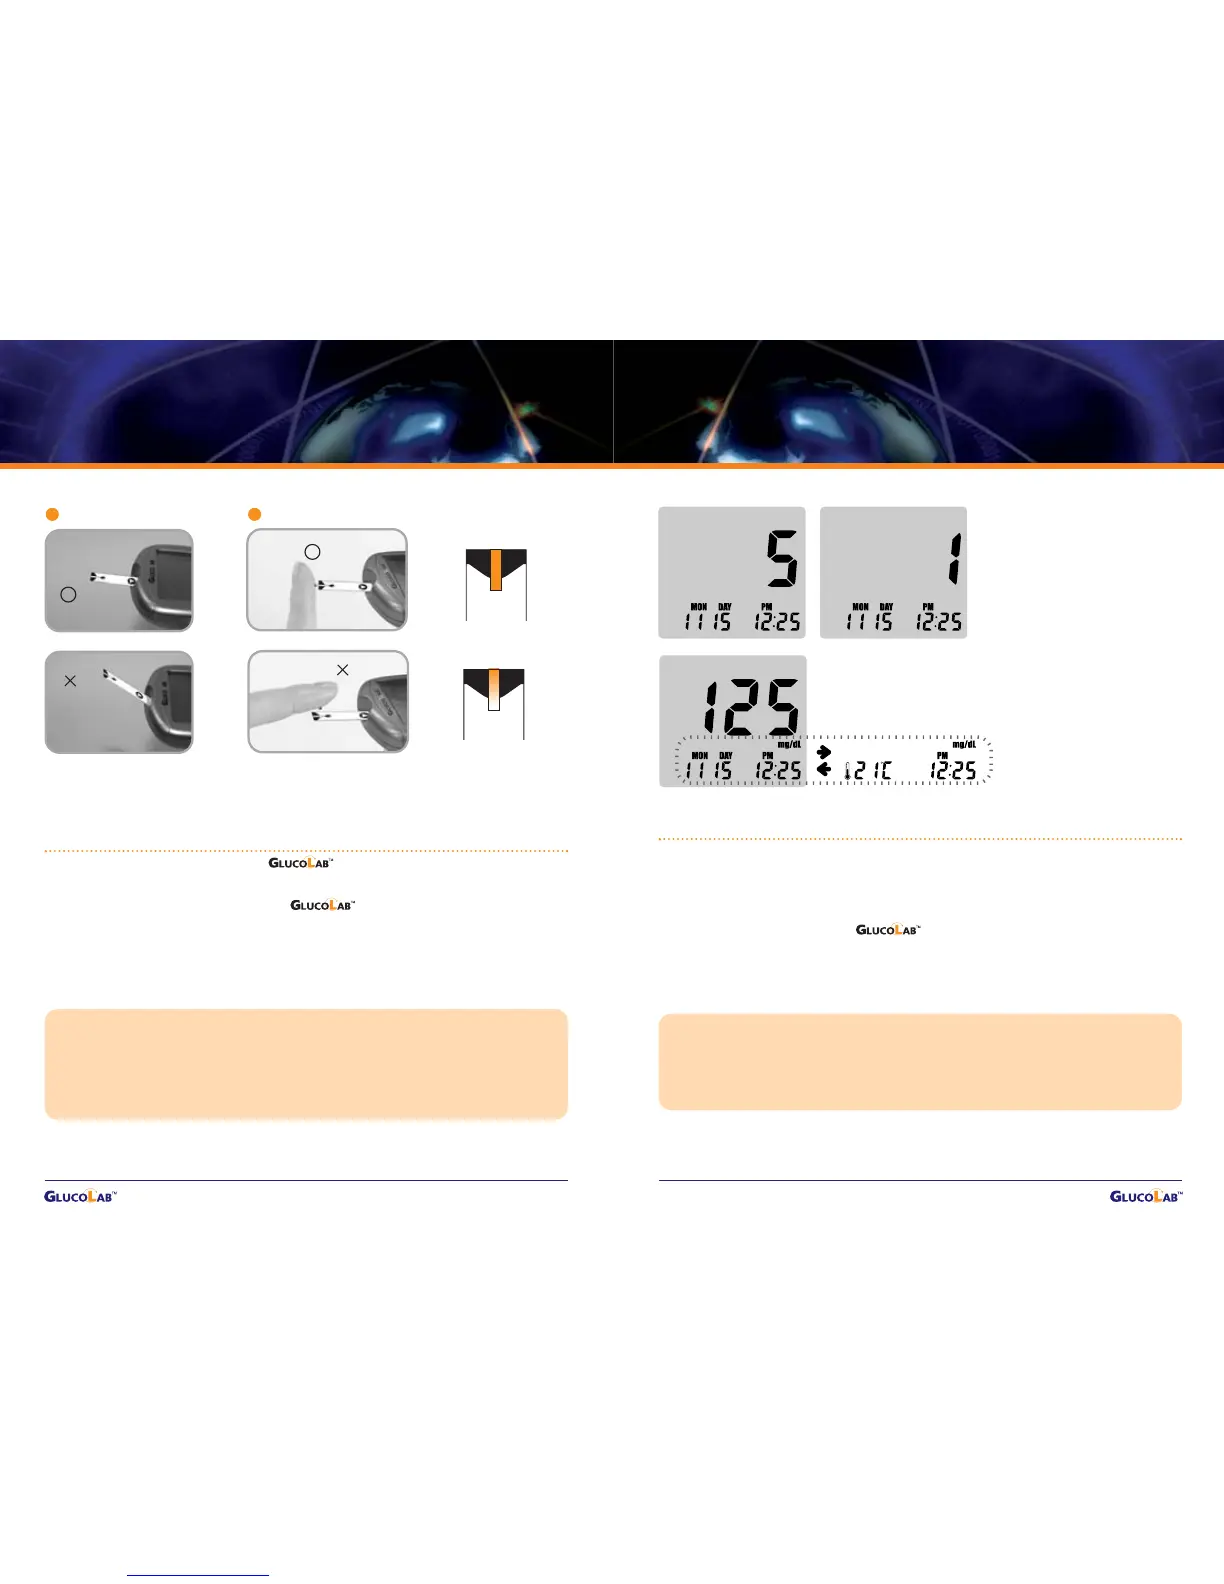
After the test chamber is filled with blood, the test will begin automatically and your
results will appear in 5 seconds. It should begin counting down from 5 to 1 second on
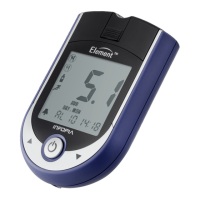
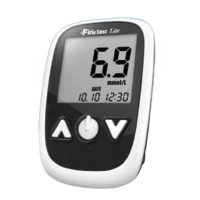
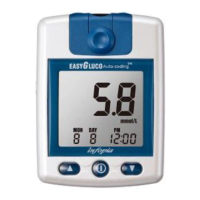
the LCD display window. The LCD window will display the result of your blood
glucose level, temperature and time.
Record the result value in your Logbook. When the test strip is removed,
the meter turns off automatically.
# After inserting the test strip the
date & tempesature will display.
NOTE : The tempesature will
display for a short time only.
CAUTION !
• If the test result is out of the test range, the Hi/Lo message will be shown on the LCD.
(refer p39)
• Safely discard used blood glucose test strips and lancets.
Test Strip Insertion
[ Completely filled ]
[ Poorly filled ]
Applying Blood
Step 2.
Place your fingertip to the top edge of Test Strip. The blood on your finger
will automatically draw into the channel of the test strip. Allow your finger to remain
until you hear a “beep” sound from the Meter. A sample volume of 1µl is
required.
CAUTION !
• If you do not conduct your test after 5 minutes, the meter will automatically power off to
save battery life. In this case, you should start your test procedure from the beginning.
• You may get an inaccurate result if the blood sample is not completely filled in a
single action.
Incorrect
Correct
Incorrect
Correct
Correct
Incorrect
23
Test Your Blood - Preparation


 To Next Page