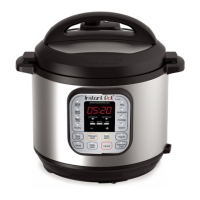
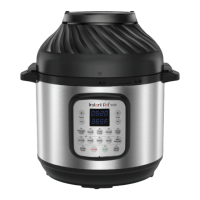
Place the lid on the cooker base and turn it clockwise to close it.
Connect the power cord to a 120V outlet. The cooker will enter standby mode.
Select Canning.
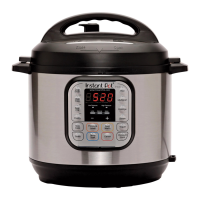
Touch the ‘Minute’ field to select it, then turn the central dial to adjust the time as determined
by the recipe. Touch the ‘Hour’ field to select it, then turn the central dial to adjust the time as
determined by the recipe.
Touch the Pressure field to toggle between Low and Max pressure, select desired pressure
needed for your canning recipe. The display will read Low or Max depending upon the level
selected.
Touch the Venting field to toggle between the venting options, and select the venting
method required for your canning recipe.
Touch Start to begin. The pressure cooker will beep 3 times.
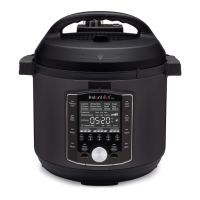
When the Cook time has counted down, the pressure cooker will beep 10 times to signal that
the Smart Program has completed.
The pressure cooker will release pressure automatically using the method that was
previously selected.
Open the lid by turning counter-clockwise and lifting. Ensure the float valve is down and the
Pressure Indicator is OFF before opening the lid.
Using canning tongs and oven mitts, remove the hot jars and place them on a heat resistant
surface and allow to cool to room temperature for 12 to 24 hours.
Note: Refer to the USDA’s Complete Guide to Home Canning for information on testing the seals,
storage, etc.
7
8
9
10
11
12
13
14
15
16
17
26
Canning - Pressure Canning

 Loading...