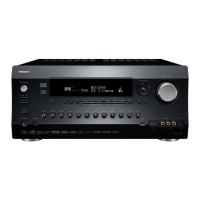
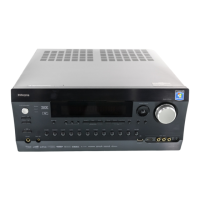
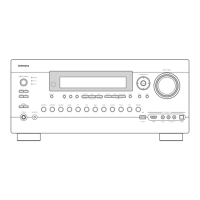
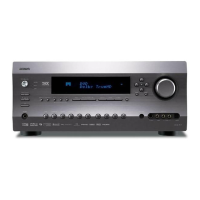
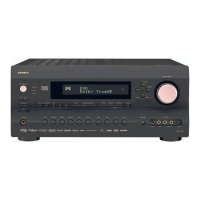
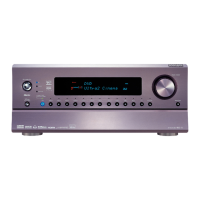
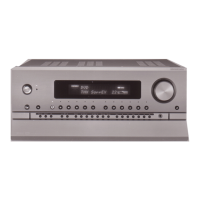
93
En
Troubleshooting
Case 1:
If “No Update” is displayed on the front display of the
AV controller, it means that the firmware has already been
updated. You do not need to do anything further.
Case 2:
If an error occurs, “Error!! *-**” is displayed on the front
display of the AV controller. (Alpha-numeric characters
on the front display are denoted by asterisks.) Refer to the
following table and take appropriate action.
■ Errors during an update via network
Case 3:
If an error occurs during the update process, disconnect
then reconnect the AC power cord and try again.
Case 4:
If an error occurs due to a wrong selection of input
sources, turn off and on the AV controller. Then retry the
update.
Case 5:
If you do not have an Internet connection, please contact
Integra Support (➔ page 94).
The AV controller allows you to update the firmware
using a USB device.
Note
• Never unplug or turn off the AV controller during the update
process.
• Never plug or unplug an HDMI cable or a USB device during the
update process.
• Never unplug the USB storage device containing the firmware
file or the AC power cord during the update process.
• Do not attempt to access the AV controller from your PC while
it is being updated.
• It takes maximum 60 minutes to complete the firmware update.
• The AV controller will retain all your settings after the update is
finished.
Before you start
•Set the “HDMI Control(RIHD)” setting to “Off”
(➔ page 67).
• Turn off the controller device connected via RS232C and
via Ethernet network.
• Turn off Zone 2 and Zone 3.
• Stop playback of contents from Internet Radio,
iPod/iPhone, USB or servers, etc.
• If there is any data in the USB device, remove it first.
Update procedure
7
Turn off the AV controller using 8On/Standby
on the front panel.
Do not use 8Receiver on the remote controller.
Once turned off, the AV controller will
automatically turn on again.
Congratulations! You now have the latest firmware
installed on your Integra AV controller.
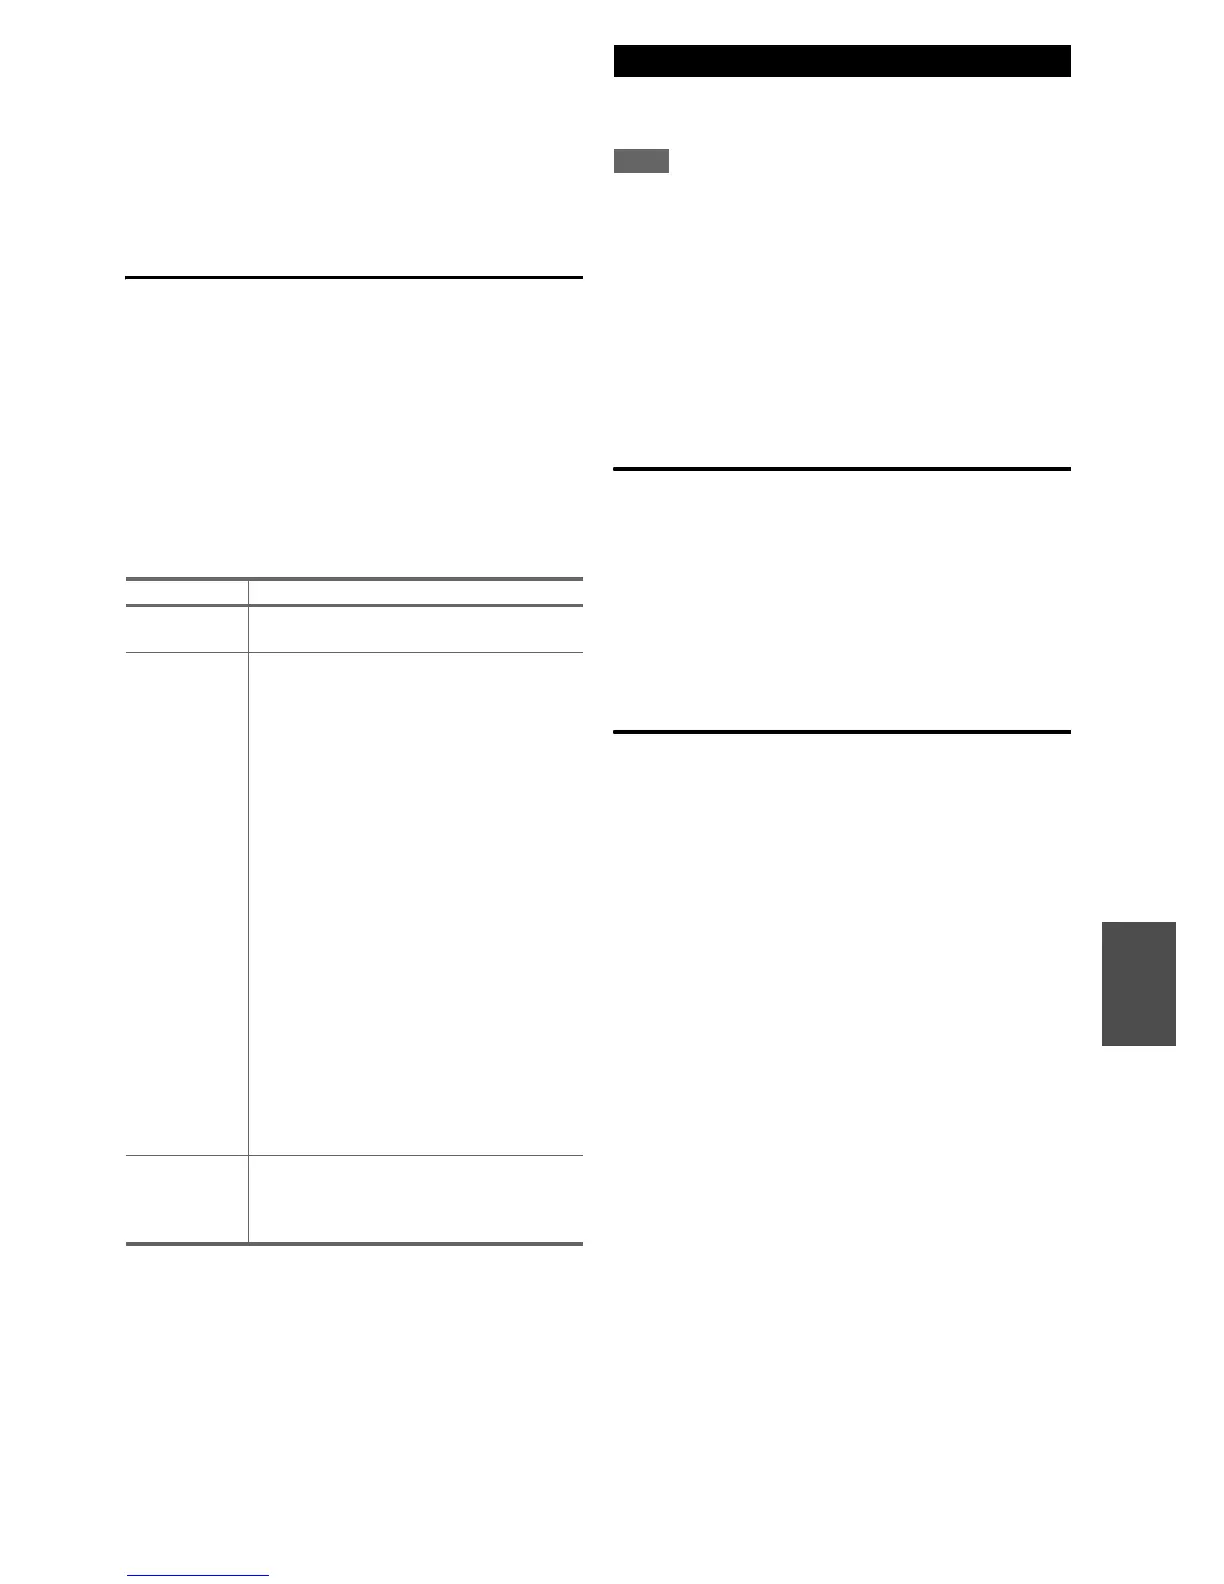
Error Code Description
*
-10,
*
-20
The Ethernet cable was not detected.
Reconnect the cable properly.
*
-11,
*
-13,
*
-21,
*
-28
Internet connection error.
Check the following items:
• Make sure the IP address, subnet mask,
gateway address, and DNS server are
configured properly.
• Make sure the router is turned on.
• Make sure the AV controller and the router
are connected with an Ethernet cable.
• Make sure your router is configured properly.
See the instruction manual of the router.
• If your network allows only one client
connection and there is any other device
already connected, the AV controller will not
be able to access the network. Consult your
Internet Service Provider (ISP).
• If your modem does not function as a router,
you will need a router. Depending on your
network, you may need to configure the
proxy server if necessary. See the document
provided by your ISP. If you are still unable
to access the Internet, the DNS or proxy
server may be temporarily down. Contact
your ISP.
Others Retry the update procedure from the
beginning. If the error persists, please contact
Integra Support (➔ page 94) and provide the
error code.
Updating the Firmware via USB
1
Connect a USB device to your PC. If there is any
data in the USB device, remove it first.
2
Download the firmware file from the Integra web
site. The file name is as follows:
ONKAVR****_************.zip
Unzip the downloaded file. The following three
files are created:
ONKAVR****_************.of1
ONKAVR****_************.of2
ONKAVR****_************.of3
3
Copy the extracted files to the USB device. Be
careful not to copy the zip file.
4
Remove the USB device from your PC and
connect it to the USB port on the AV controller.
When the AV controller has two USB ports, you can
use either one.
5
Make sure the AV controller and TV are turned
on.
If the AV controller is in standby mode, press
8On/Standby on the AV controller to light up the
front display.
6
Select the USB input source.
“Now Initializing…” is displayed on the front
display and then the name of the USB device is
displayed. It takes 20 to 30 seconds to recognize the
USB device.