10
aDvanceD setup
The standard installation of GuestGate is based on the assumption that a DHCP
server is present in your network. If this is not the case, you can still configure
GuestGate manually. To do this, you need to turn GuestGate on while it is
disconnected from the network. If no DHCP server can be found after three
minutes, GuestGate will fall back to its default IP address: 192.168.2.1.
Advanced setup requires:
• A network adapter correctly installed in your computer;
• User rights that allow manual configuration of TCP/IP-related settings on your
PC; and
• GuestGate connected with an RJ-45 cable to the network adapter in your
PC.
Changing the IP Address of Your PC
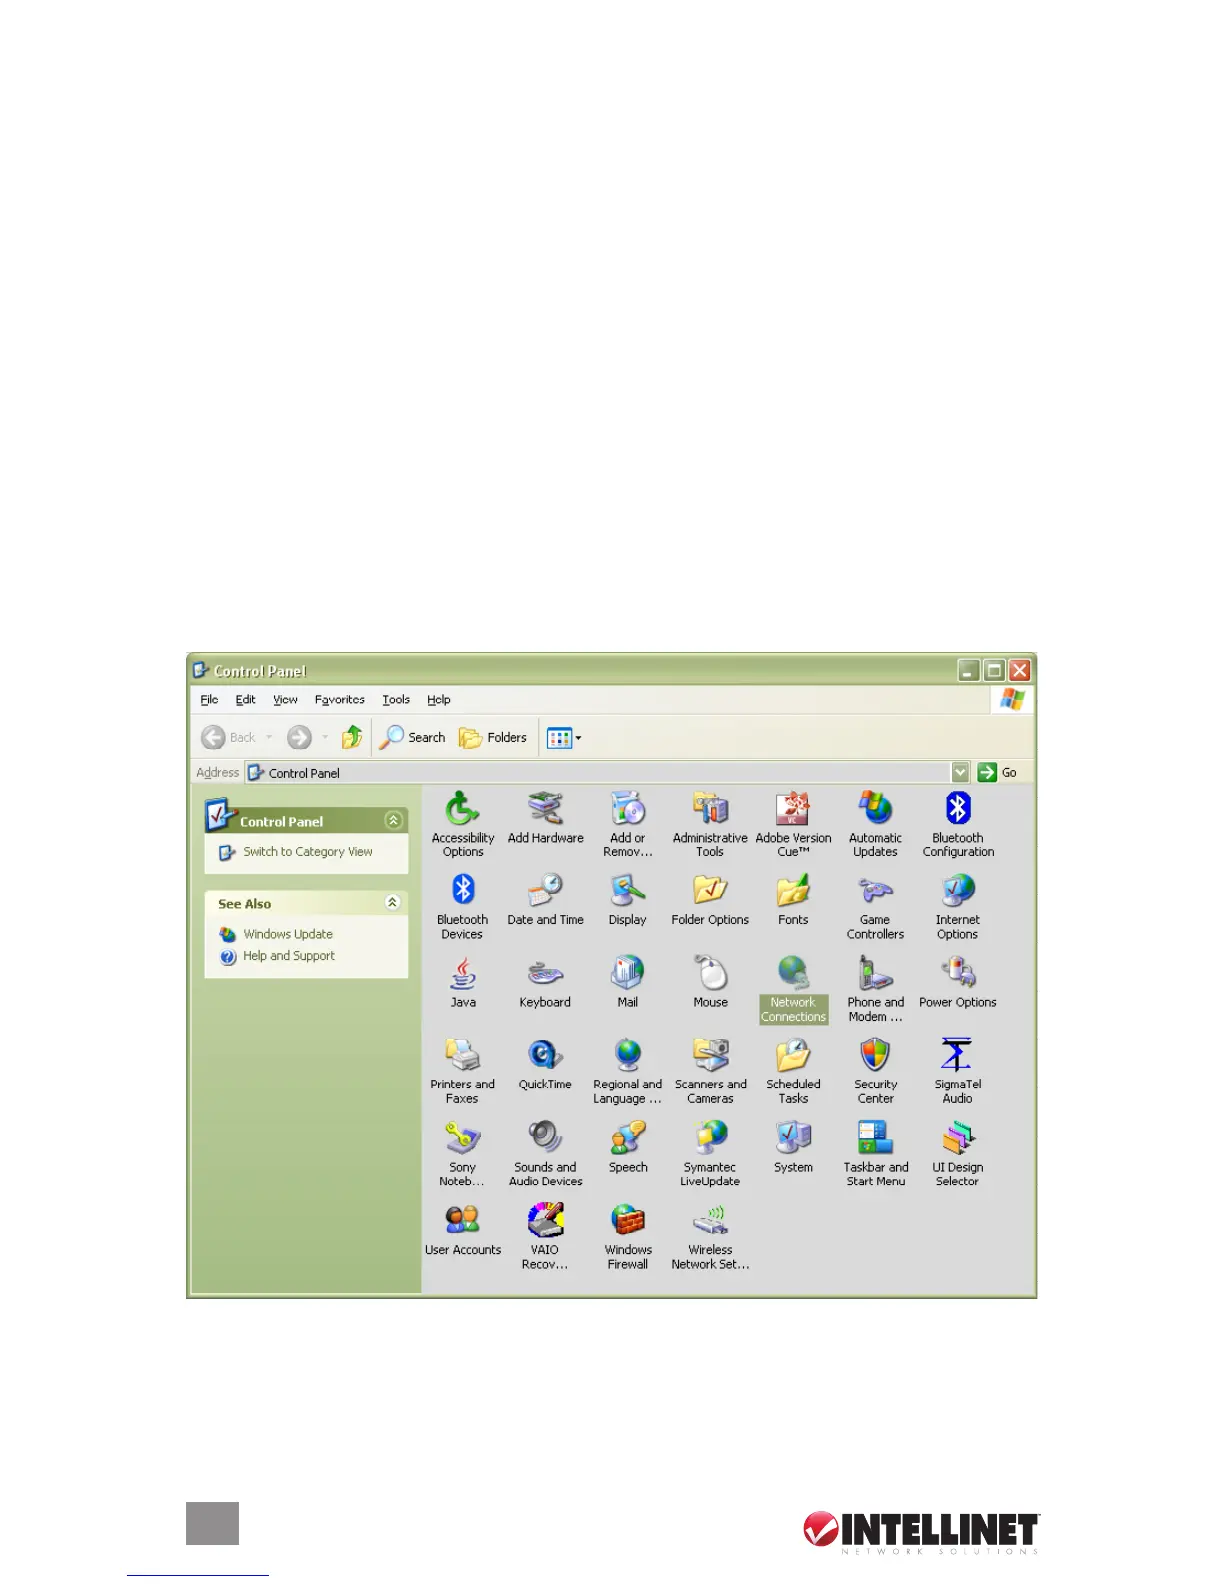
1. Click on “Start” ‡ “Settings” ‡ “Control Panel.”
2. Double-click the “Network Connections” icon.
INSTALLATION