D-0120588-B – 2019/03
Eclipse – Instructions for Use - EN Page 83
Temporary setup allows for making temporary changes to
the selected protocol. The changes will be valid for the
current session only. After making the changes and returning
to the main screen, the name of the protocol will be followed
by an asterisk (*).
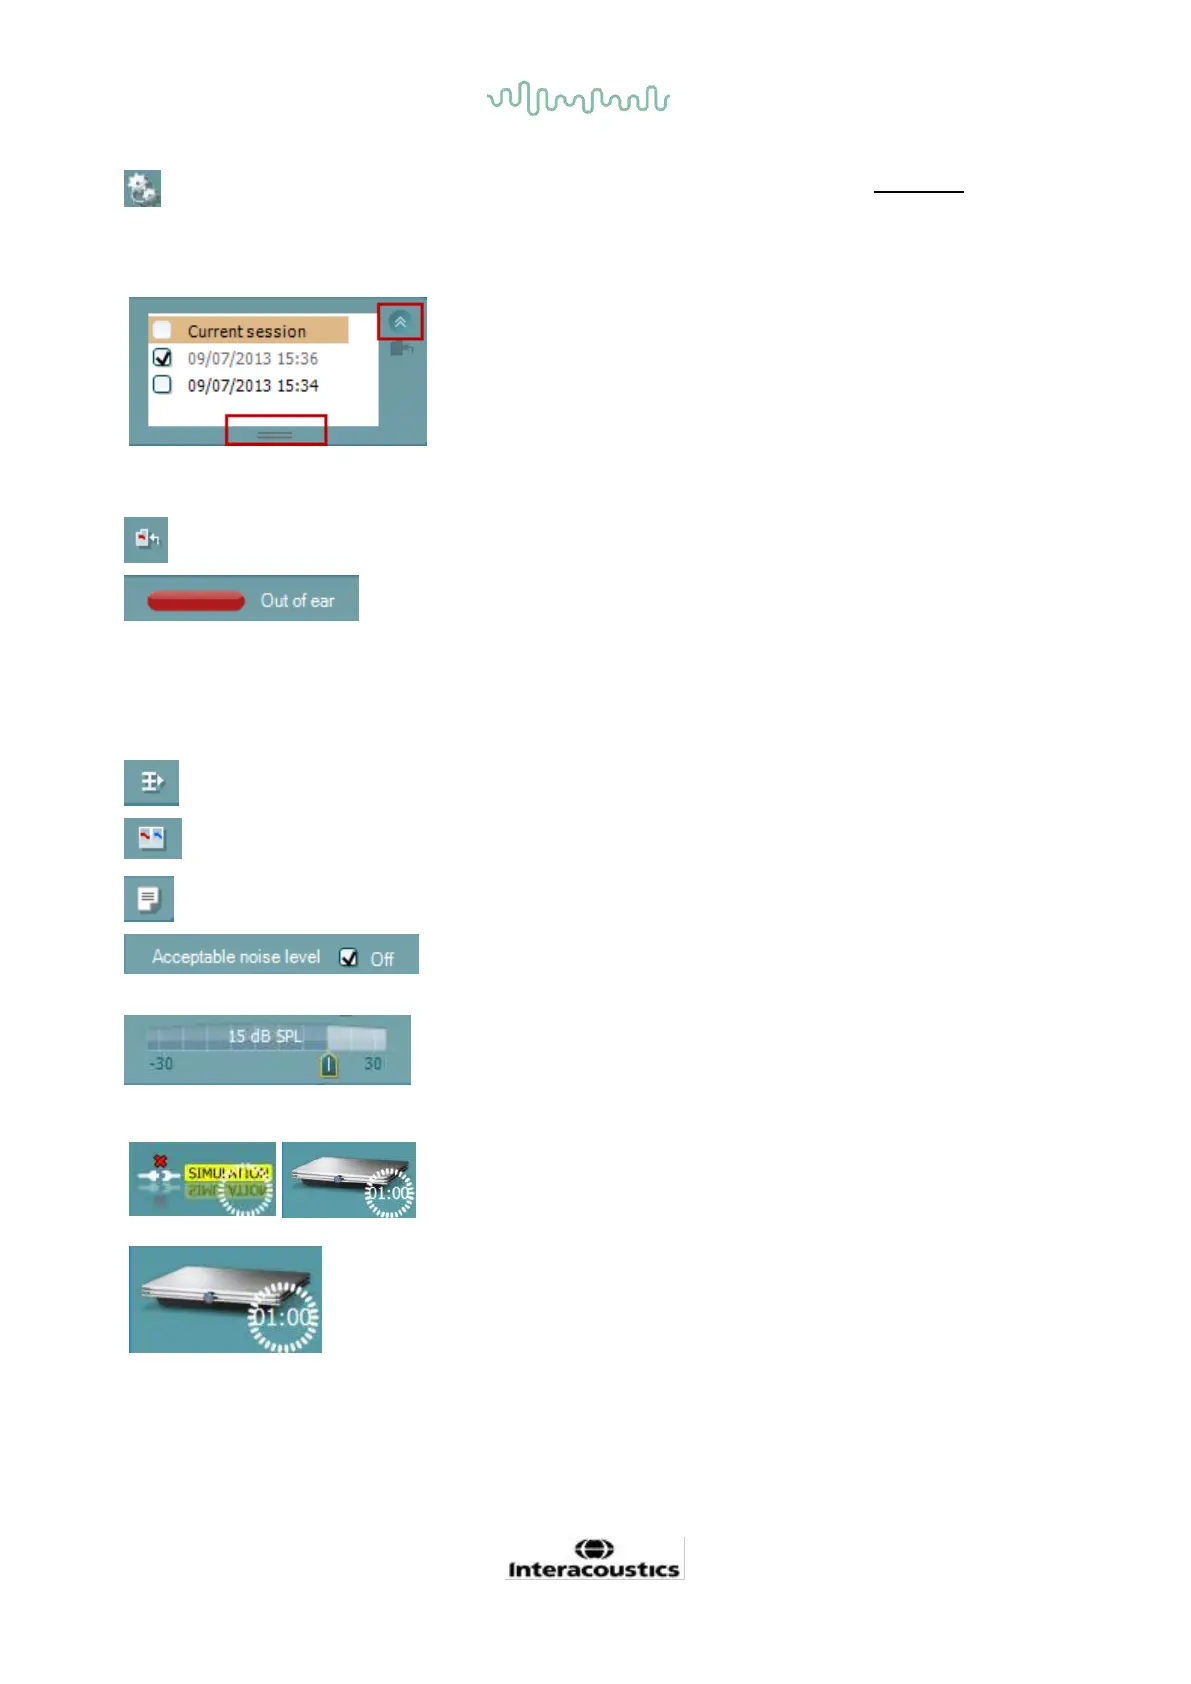
List of historical sessions accesses historical sessions for
review or the Current Session.
The historical session box can be expanded by dragging
downwards with the mouse or minimized/maximized by
clicking on the arrow button.
The session highlighted in orange, is the selected session
displayed on screen. Check the checkbox next to the session
date to overlay historic sessions on the graph.
Go to current session takes you back to the current
session.
Probe status is shown by a colored bar with description next
to it.
When the probe status is Out of ear it will show the color of
the selected ear (blue for left and red for right). When the
probe is detected to be In ear the color is green. When
Blocked, Leaking or Too Noisy the colored bar is amber.
When No probe is detected the status bar is grey.
Summary view toggles between displaying result graph or
result graph with test summary tables.
Monaural/Binaural view toggles between showing the
results of a single ear or both ears.
Report editor button opens a separate window for adding
and saving notes to the current or historic session.
Checking the Acceptable noise level Off box disables the
rejection of any recording even when there is too much noise
in the recording.
The Acceptable noise level slider allows setting the
acceptable noise level limit between -30 and +30 dB SPL
above which recordings are considered to be too noisy. The
VU meter indicates the current noise level and becomes
amber in color when exceeding the set level.
The hardware indication picture indicates whether the
Lyra
or Eclipse hardware is connected.
Simulation mode is indicated when operating the software
in simulation mode (user chosen).
Before testing, the Timer symbol indicates after how much
time the DPOAE test will automatically stop. During testing
the timer counts down to zero. You can disable the
countdown by clicking on the timer during testing. As a result
the timer will begin counting up and indicate how much test
time has passed. Then the test will continue until you
manually press stop.