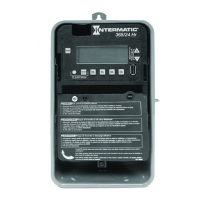
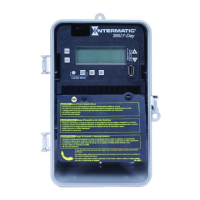
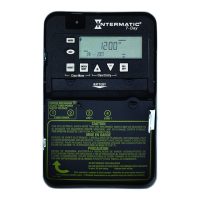
Initial Setup
The following sections provide instructions for the initial setup of the time switch.
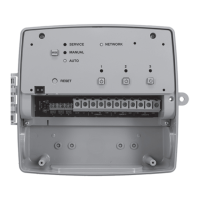
Setting The Output Configuration
The time switch output conguration enables users to control multiple loads simultaneously (SIM), independently (IND), or with a
2-second pulse (PUL). Output circuits are congured in pairs; circuits #1 and #2 rst, followed by circuits #3 and #4.
In PUL mode, an ON event or manual override, causes circuit #1 to turn ON for two seconds, then OFF. An OFF event, or manual
override, causes circuit #2 to turn ON for two seconds, then OFF.
NOTE: The output conguration setup can only be accessed at initial startup of the unit or after a “Clearing Time Switch Memory”
operation. Follow this procedure to set the output conguration.
1. Activate power to the time switch. The display shows IND, the ARROW icon above the ENTER/NEXT button and the LOAD
icons for circuit #1 and circuit #2 turn on.
NOTE: If the display does not show IND the output conguration is already set and a “Clearing Time Switch Memory” operation
must be performed.
2. Press + or - to scroll to the desired output conguration.
3. Press ENTER/NEXT to save the setting for the rst two circuits.
4. The display now shows IND, the ARROW icon above the ENTER/NEXT button and the LOAD icons for circuit #3 and circuit #4
turn on.
5. Press + or - to scroll to the desired output conguration.
6. Press ENTER/NEXT to save the setting for the last two circuits.
7. The output conguration is now completed.
Programming Overview
The steps to program the time switch include setting the current date, time, Astro zone, Astro events, xed events, DST, and Holiday
events, setting the time switch’s operation to AUTO mode, ENERGY SAVER mode or MANUAL mode (only MANUAL mode will
appear if there are no scheduled events) and read or write an event schedule from a USB memory stick.
NOTE: If the time switch is left inactive for ve minutes in a programming mode, it will return to the AUTO mode screen (AUTO icon
turned on). If no scheduled events are programmed, the time switch will return to MANUAL mode. If the date has not yet been
entered, the time switch will go to the Enter Date Mode.
Setting Date
Follow this procedure below to set the date and time in the time switch.
NOTE: If necessary, hold + or - to scroll through the digits rapidly.
1. Press MODE to scroll through the mode selections until SET and DATE icons appear at the top of the display. The month
ashes.
2. Press + or - to select the current month and then press ENTER/NEXT. The day of the month ashes.
3. Press + or - to select the current day of the month, and then press ENTER/NEXT. The year ashes.
4. Press + or - to enter the current year, and press ENTER/NEXT. The month will ash again.
5. Press MODE to move to the next mode selection.
Setting Time
Follow the procedure below to set the time in the time switch.
NOTE: If necessary, hold + or - to scroll through the digits rapidly.
1. Press MODE to advance to the Set Clock mode selection if this selection is not already active. The SET and TIME icons appear
on the display and a ashing 12:00 AM appears (if clock has not been set).
2. Press + or - to select the current time (be aware of the AM/PM setting) NOTE: Seconds can be set to 00 by pressing ENTER/
NEXT.
3. Press MODE to save the time and move to the Enable Daylight Saving Time mode selection.
NOTE: If the time switch programming data is to be read from a USB memory stick, refer to the “Read Time Switch Program
Data…” section in these instructions.
Enable/Disable Daylight Saving Time and Setting Daylight Saving Time Rule
Congure the time switch to automatically adjust for Daylight Saving Time (DST). If DST does not apply to your region, disable the
option as directed in this procedure. Follow this procedure to enable/disable the Daylight Saving Time feature, and if applicable, set
the DST rule.
1. Press MODE to advance to the Set DST mode selection if this selection is not already active. The SET and DST icons appear on
the display.
2. Press + to display ON (enable DST) or press – to display OFF (disable DST) and then press ENTER/NEXT to save.
If DST is Then
Enabled Go to step 3.
Disabled Press MODE to save and exit. The procedure is complete.
3. Press + or - to scroll to the desired DST rules for your area.
NOTE: The DST rules are US2007 (US rules), MX1986 (Mexico rules), and CUSTOM (user-dened start/end dates).
If you select Then
US2007 or MX1986 Go to step 8. NOTE: To view the start and end dates for a DST rule, press ENTER/
NEXT to scroll through the dates and then press MODE.
Custom Press ENTER/NEXT. The screen displays a ashing MAR and 2ND. Go to step 4.
4. Press + or - to select a starting month for customized DST and press ENTER/NEXT.
5. Press + or - to select a starting week (1ST, 2ND, 3RD, 4TH, or LST) and press ENTER/NEXT.
NOTE: DST changes at 2:00 A.M. on Sunday of the user-congured starting and ending weeks. Select LST for the fth Sunday
of a month.
6. Press + or - to select an ending month and press ENTER/NEXT.
7. Press + or - to select an ending week and press ENTER/NEXT.
8. Press MODE to save the DST rules and move to the next mode selection.
Setting Astro Zone and Time Zone
The astronomic feature of this time switch provides a sunset ON event and a sunup OFF event for each circuit (see “Setting
Astronomical ON/OFF Events”). These ON and OFF events automatically adjust to the actual change in sunset and sunup times in
the geographical location (astro zone) that is set in the following procedure.
Follow this procedure to set the Astro Zone for the time switch.
1. The ASTRO ZONE icon appears at the top of the display. The display shows AL C and a ashing US.
(If this mode selection is not already active, press MODE to advance to the Set ASTRO ZONE mode selection.)
NOTE: If a custom location of the time switch had been previously set by adjusting either the latitude or longitude setting, the
display will show the current latitude setting. Simultaneously press + and – to delete the custom time switch location and return
to the previously set geographical location setting (state and section of state).
2. Press + or - to select the country (USA, Canada, or Mexico) and press ENTER/NEXT.
If you selected Then
USA or Canada Press + or - to select the desired state or province and press ENTER/ NEXT. Go
to step 3.
Mexico Go to step 3.
3. Press + or - to select the applicable geographical section within the selected state or province and press ENTER/NEXT
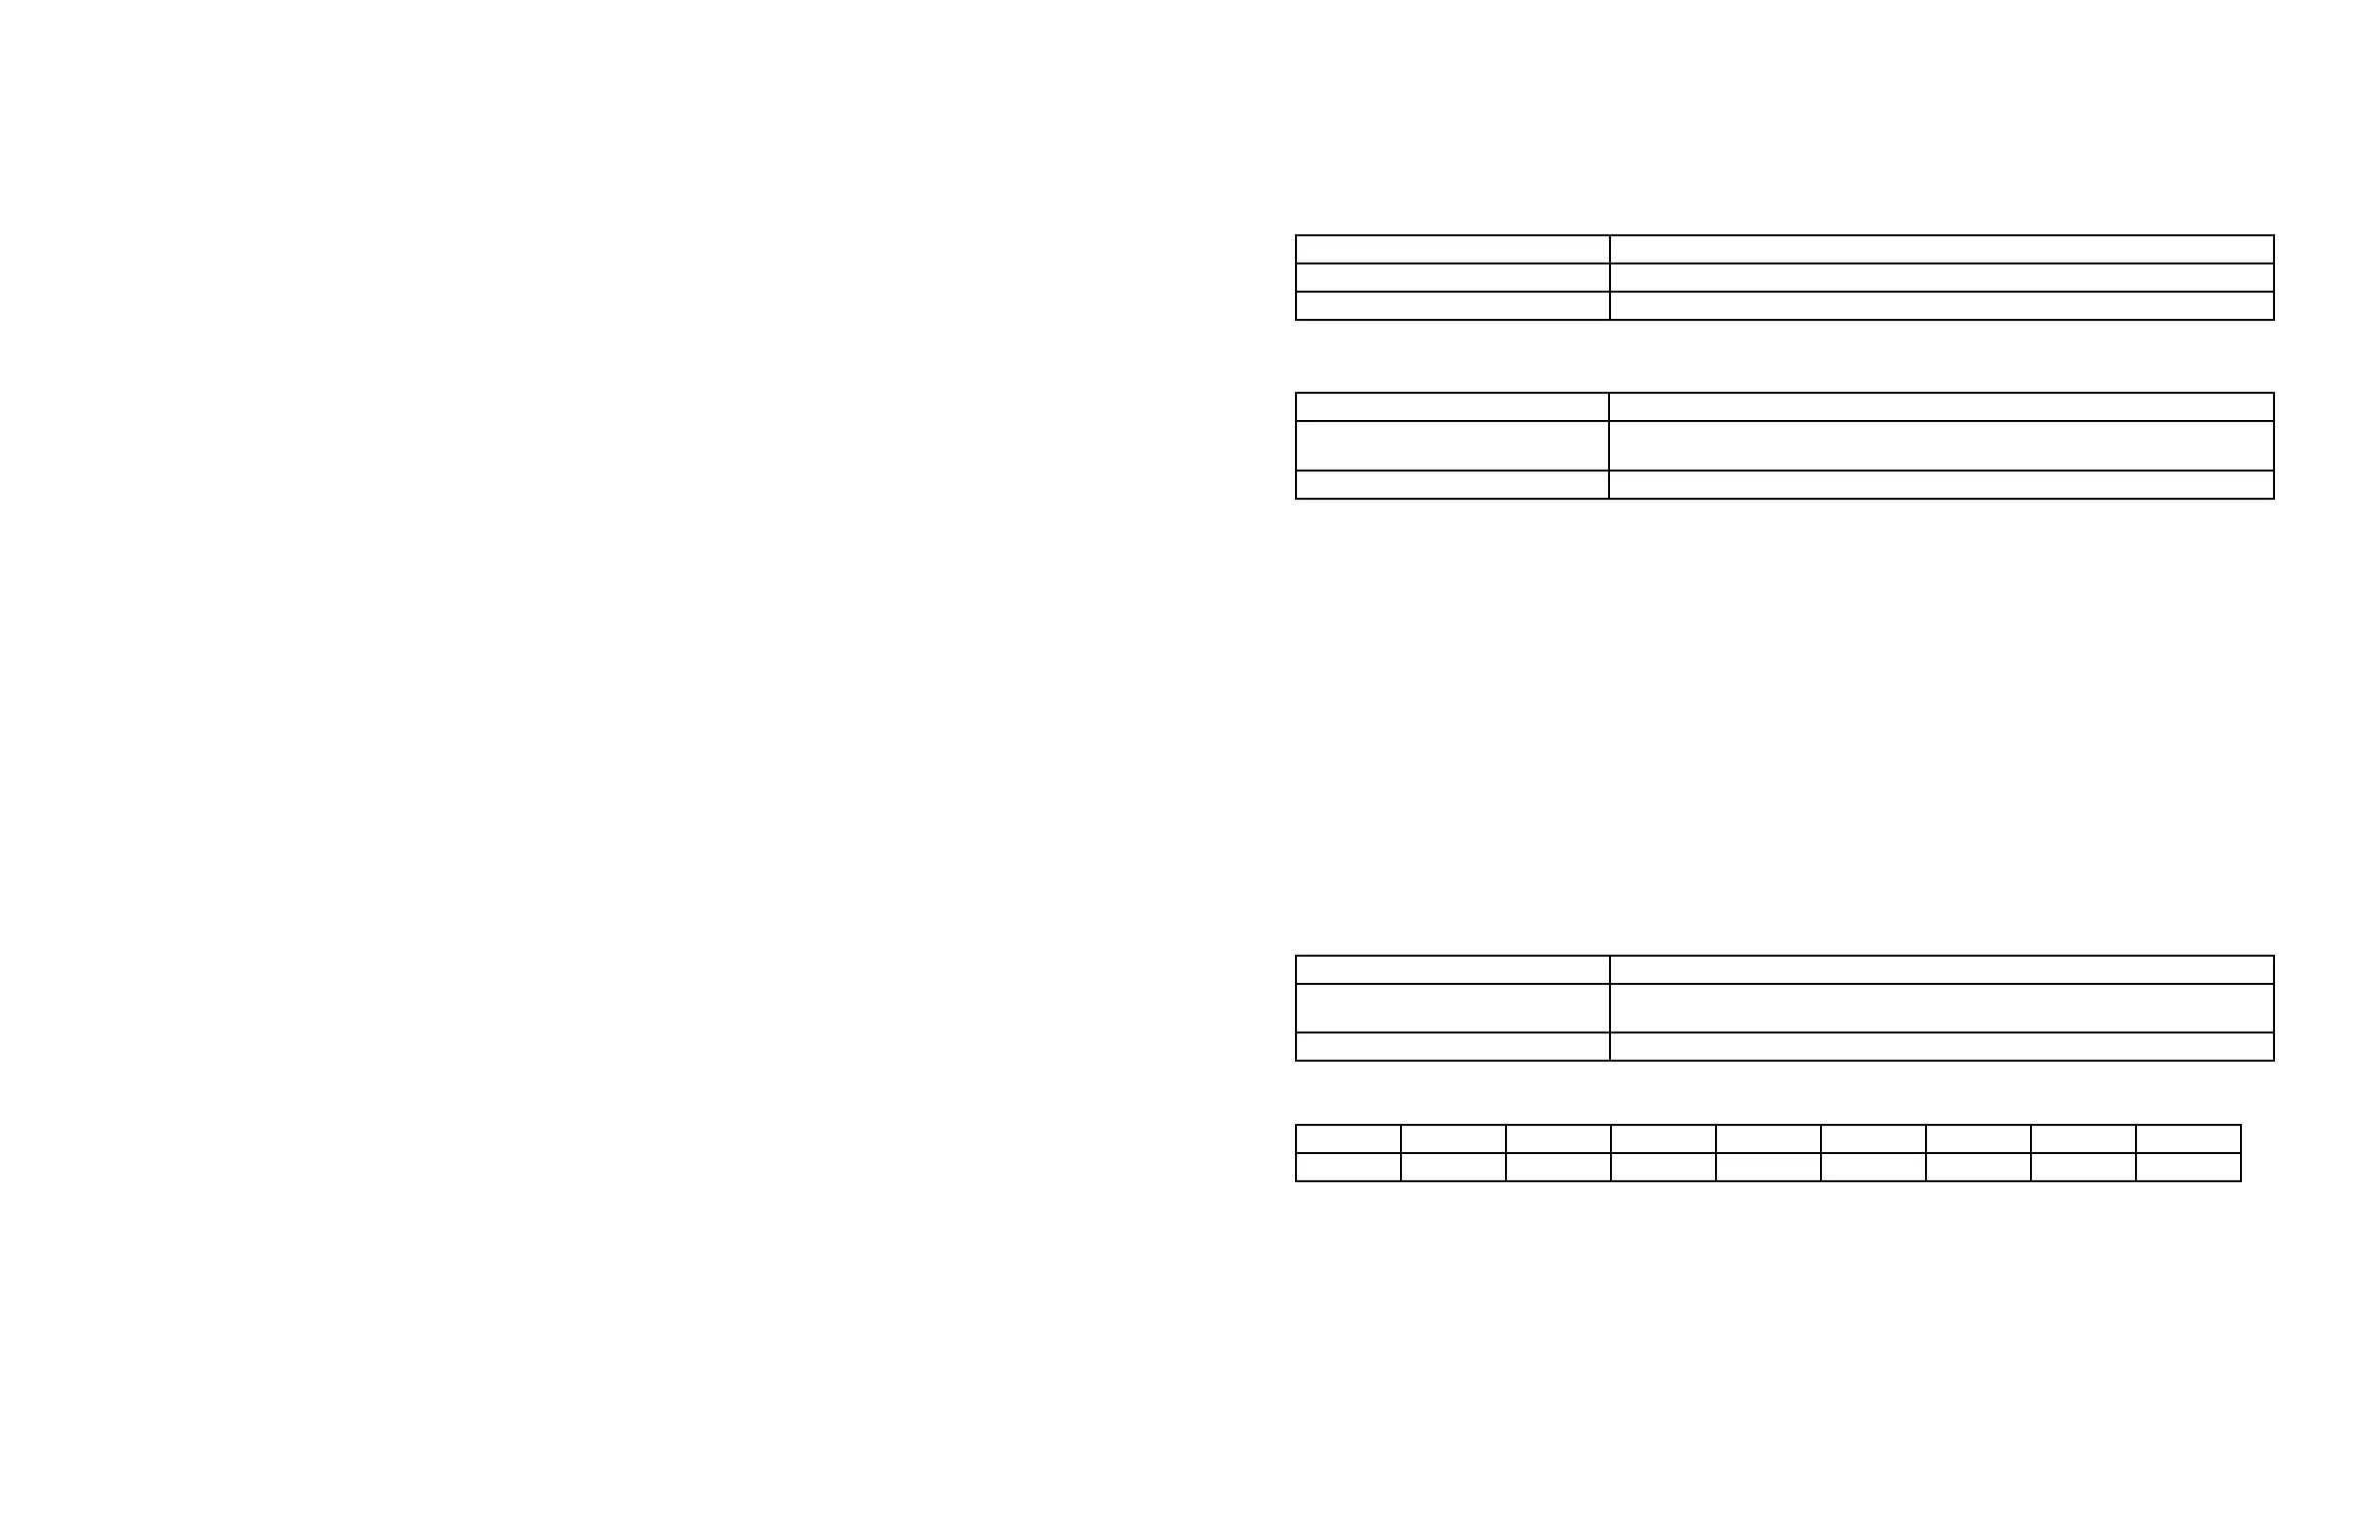
(possible geographical locations are listed in the following table). Not all sections will be available for every state.
N S E W C NE NW SE SW
North South East West Center Northeast Northwest Southeast Southwest
Example: If time switch is located in Chicago then the geographical location within the state of Illinois would be NE.
NOTE: In most cases, the section choice provides an accurate location for your time switch. If a location requires greater
accuracy adjust the latitude and longitude in the time switch. If this is a requirement, follow the applicable steps to set a custom
latitude and longitude.
 Loading...