8 EasyLAN Ethernet Software Instructions
Setting Network Parameters With
Fingerprint and IPL Commands
These instructions require that you start by establishing a serial
connection between your printer and your PC.
To establish a serial connection
1 Use an RS-232 serial cable to connect the printer to your PC.
2 (Optional) Put the printer in Dump mode. Dump mode is
used to verify that the connection is working once it has been
established. Dump mode can be entered through Testmode
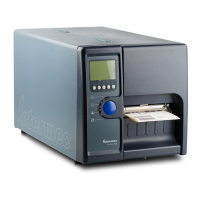
and Extended Testmode, for help see the EasyCoder PD41
Printer User’s Guide (1-960652-xx) or the EasyCoder PD42
Printer User’s Guide (934-009-xxx).
3 Start a terminal program, for example Microsoft
Hyperterminal.
4 Create a new connection. The serial ports on a PC are referred
to as COM1, COM2, etc. and the default settings for the
printer serial connection parameters are:
5 Input text in the terminal window and confirm that the same
characters are printed on the labels.
6 Exit Dump mode.
Parameter Setting
Baud rate 9600
Data bits 8
Parity None
Stop bits 1
Flow control None
Note: Verify your printer serial connection settings by
printing a test label. The settings in your terminal
program must be the same as that of the printer.
 Loading...


