6 Serial/Industrial Interface Kit Installation Instructions
Chapter 2 — Physical Installation
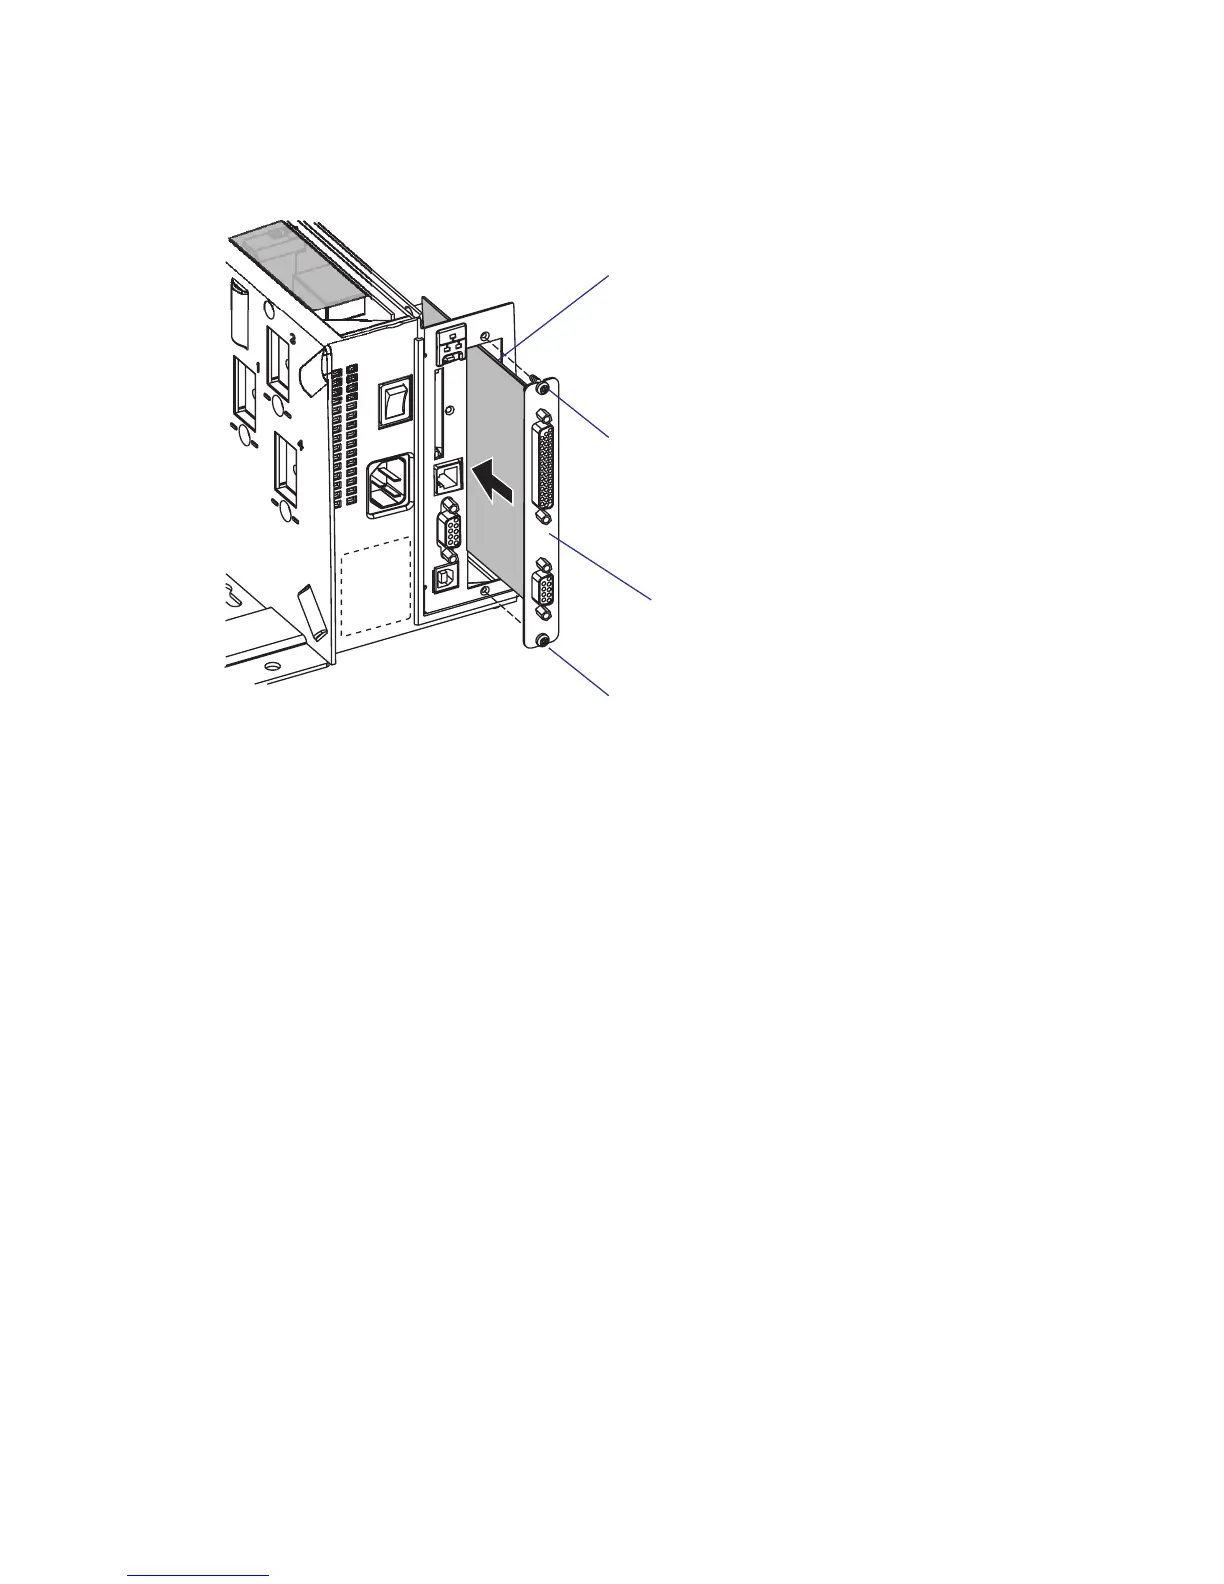
• Insert the interface board with the component side facing right, as
seen from behind.
• Attach the interface board to the printer’s rear plate using the two
screws left over when you removed the original cover plate.
• Using the #T20 Torx screw you previously removed, attach the inter-
face board to the hexagonal spacer on the CPU board.
• e kit contains two fl at cables. Connect the fl at cable with two con-
nectors to P1 on the interface board, see the next page.
Interface board
Component side
#T10 Torx screw
#T10 Torx screw